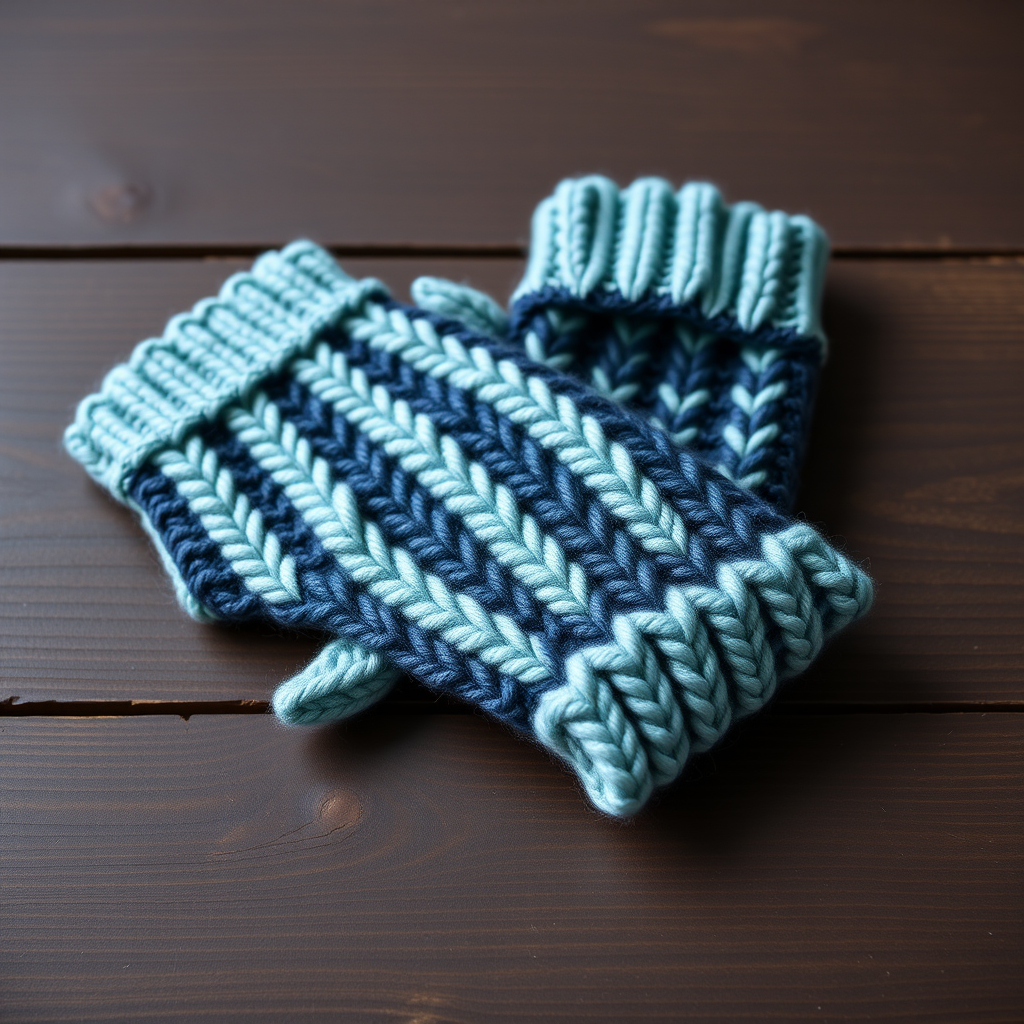
Mossy Glen Fingerless Gloves Free Pattern – Knit a Woodland Textured Pair

Mossy Glen Fingerless Gloves: A Woodland Knitting Adventure
Wrap your hands in the quiet comfort of a forest floor with these exquisite Mossy Glen Fingerless Gloves. This free knitting pattern combines the rich, earthy palette of deep forest green and warm bark brown with a tactile, pebbled moss stitch that evokes the serene beauty of a woodland path. Perfect for crisp autumn days, cozy coffee shop sessions, or as a thoughtful handmade gift, these wristlettes are as practical as they are beautiful. Whether you're a seasoned knitter or a confident beginner looking for a textured challenge, this pattern offers a rewarding project that celebrates the simple joy of creating something both functional and stunning.
In this comprehensive guide, we'll walk you through every step, from gathering your materials to the final finishing touches. The moss stitch creates a wonderfully bumpy, textured fabric that's not only visually appealing but also provides extra warmth and grip. The contrasting ribbed cuffs and top edging add a rustic, polished finish that makes these gloves truly stand out. Let's pick up our needles and bring a touch of woodland magic to life!
Materials Needed for Your Fingerless Gloves
Before you begin, gather the following supplies to ensure a smooth and enjoyable knitting experience. All materials are readily available at your local yarn shop or online.
Yarn
- Worsted weight yarn in two beautiful colors:
- Main Color (MC): Deep Forest Green – approximately 120 yards (110 meters)
- Contrast Color (CC): Warm Bark Brown – approximately 60 yards (55 meters)
Tip: Choose a soft, durable yarn like a wool blend for the best stitch definition and warmth. The sample uses a classic worsted weight, but any similar yarn that meets gauge will work beautifully.
Needles and Notions
- US Size 6 (4.0 mm) knitting needles – or the size needed to obtain the correct gauge. Straight needles are perfect for this flat-knit pattern.
- Tapestry needle – for weaving in ends and seaming.
- Stitch holder – to hold the thumb stitches while you work the hand body.
- Stitch markers – to mark the thumb gusset increases.
- Scissors
Gauge
20 stitches and 28 rows = 4 inches (10 cm) in moss stitch pattern (blocked). Always knit a gauge swatch before starting to ensure your gloves fit perfectly. If your gauge is off, adjust your needle size accordingly.
Step-by-Step Instructions: Knitting Your Mossy Glen Gloves
This pattern is worked flat from the cuff up, then seamed. The instructions are for a medium woman's hand (approximately 7 inches around the palm). You can easily adjust the length by adding or removing rows before the thumb gusset. Let's dive into the detailed steps!
Understanding the Moss Stitch Pattern
The moss stitch is a simple, two-row repeat that creates a beautiful, bumpy texture. It's worked over an even number of stitches.
- Row 1: *K1, P1; repeat from * to end of row.
- Row 2: *P1, K1; repeat from * to end of row.
- Repeat Rows 1 and 2 for the pattern. This creates a staggered, pebbled effect that resembles mossy stones.
Step 1: Knitting the Cuff
With your Main Color (MC) yarn, cast on 40 stitches using your preferred method. A long-tail cast-on works well here.
Work in K1, P1 ribbing for 2 inches (approximately 14 rows). This ribbed cuff will provide a snug, comfortable fit around your wrist. End with a wrong-side row.
Step 2: Working the Main Body
Switch to the moss stitch pattern. Work even in the pattern for 2 inches (approximately 14 rows), ending with a Row 2 of the pattern. This section forms the main body of the glove that covers your palm.
Step 3: Creating the Thumb Gusset (Right Glove)
Now we'll shape the thumb opening using increases. This creates a comfortable, anatomical fit.
- Row 1 (Right Side): Work in moss stitch across the first 20 stitches, place a marker, M1 (make one), K1, M1, place a second marker, then work moss stitch to the end of the row. You should now have 42 stitches on your needle.
- Row 2: Work in moss stitch across all stitches, working the M1 stitches as they appear (knit the knits, purl the purls). This maintains the pattern seamlessly.
- Row 3: Work in moss stitch to the first marker, M1, work in pattern to the second marker, M1, work in pattern to the end. You now have 44 stitches.
- Repeat Rows 2 and 3 until you have 13 stitches between the markers. This will take approximately 6 increase rows. Always end with a wrong-side row after the final increase.
Step 4: Opening for the Thumb
This step separates the thumb from the main hand body.
- Next Row (Right Side): Work in moss stitch to the first marker. Slip the 13 stitches between the markers onto a stitch holder. Remove the markers. Continue in moss stitch to the end of the row. You will now have 40 stitches on your needle for the hand body.
Step 5: Knitting the Hand Body
Continue working in the moss stitch pattern for 2.5 inches (approximately 18 rows), or until the glove reaches the base of your fingers when tried on. This length provides good coverage while leaving your fingertips free.
Step 6: Adding the Top Edging
Switch to your Contrast Color (CC) yarn. Work in K1, P1 ribbing for 4 rows. This creates a neat, sturdy edge that matches the cuff. Bind off loosely in rib pattern to maintain elasticity.
Step 7: Knitting the Thumb
Now we'll bring the thumb to life.
- Transfer the 13 held stitches back onto your needle.
- With MC yarn, pick up and knit 3 stitches along the edge of the thumb opening. You should now have 16 stitches on your needle.
- Work in the moss stitch pattern (adjusting the pattern as needed to maintain the staggered effect) for 1.5 inches (approximately 10 rows).
- Switch to CC yarn and work 2 rows of K1, P1 ribbing. Bind off loosely.
Step 8: Knitting the Left Glove
The left glove is worked identically to the right, but with the thumb gusset mirrored. To do this, work the first 18 stitches in moss stitch, then place a marker, M1, K1, M1, place a second marker, and work moss stitch to the end of the row. Continue the increases as instructed for the right glove. This positions the thumb on the opposite side for your left hand.
Step 9: Finishing and Seaming
This final step brings your gloves together.
- Weave in all loose ends using your tapestry needle, being careful to secure them neatly on the wrong side of the work.
- Fold the glove in half with right sides together.
- Using your tapestry needle and MC yarn, sew the side seam from the cuff up to the thumb opening. Then, continue sewing from the thumb opening to the top edge. This creates the main seam of the glove.
- Repeat the seaming process for the thumb seam, sewing the edges together neatly.
- Block gently to shape. Lay the gloves flat, gently pat them into shape, and allow them to dry completely. This helps even out the stitches and gives a professional finish.
Congratulations! You've completed your very own pair of Mossy Glen Fingerless Gloves. The rich texture and earthy colors make them a joy to wear and a pleasure to gift. Whether you're curled up with a good book or out exploring nature, these gloves will keep your hands cozy and your fingers free. Happy knitting!