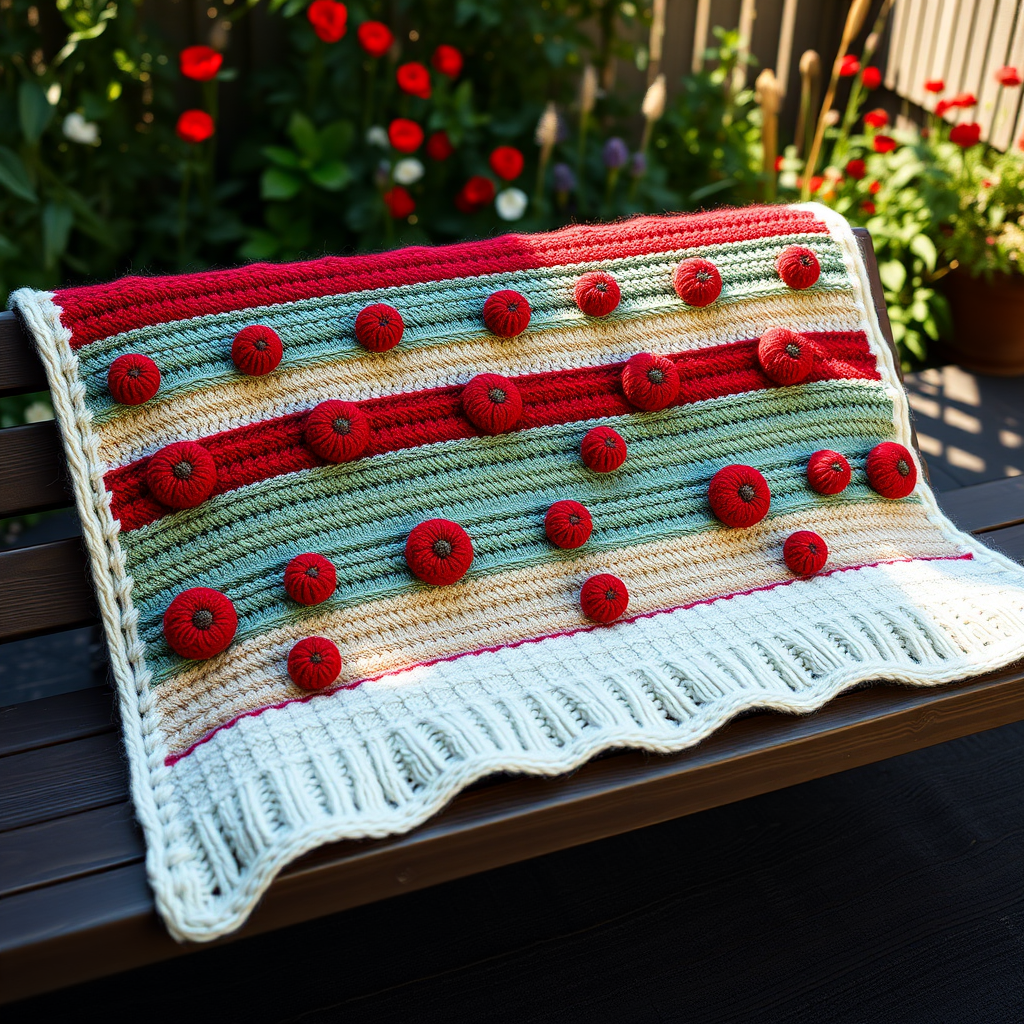
The Lilac Haze Cloud Blanket Free Pattern – A Knitted Symphony of Bubbles and Breezy Stripes

The Lilac Haze Cloud Blanket: A Knitted Symphony of Bubbles and Breezy Stripes
Imagine wrapping yourself in a soft, lilac-hued cloud that feels like a gentle spring breeze. That's exactly what you'll create with the Lilac Haze Cloud Blanket—a stunning one-skein wonder that combines textured bubble stitches with airy, delicate stripes. This pattern is perfect for knitters looking to create a modern heirloom piece that's both cozy and visually captivating. Whether you're crafting a baby blanket, a lap throw, or a decorative accent for your favorite chair, this pattern delivers a plush, dimensional fabric that's as delightful to make as it is to snuggle under.
With just one skein of worsted-weight yarn and a pair of US 8 needles, you'll transform simple stitches into a rich tapestry of raised bubbles and smooth stockinette. The staggered diamond arrangement of the bubble stitches adds depth and intrigue, while the eyelet lace rows provide a breezy, airy contrast. The result? A beautifully balanced blanket that's both textured and elegant, finished with a neat garter stitch border for a polished look.
This pattern is designed with clarity in mind, making it accessible for confident beginners and enjoyable for experienced knitters alike. Let's dive into the materials you'll need and the step-by-step instructions to bring this lilac dream to life.
Materials Needed
Before you begin, gather the following supplies. The beauty of this project lies in its simplicity—just one skein of yarn and basic knitting tools are all you need.
- Yarn: Caron Simply Soft (or any worsted weight yarn) in Lilac—1 skein, approximately 315 yards. The soft, lustrous finish of this yarn enhances the bubble texture beautifully.
- Knitting Needles: US 8 (5.0 mm) knitting needles. Straight or circular needles both work well; circular needles can help accommodate the width of the blanket.
- Gauge: 18 stitches and 24 rows = 4 inches in stockinette stitch. Achieving the correct gauge ensures your blanket matches the finished size and drape.
- Extras: A tapestry needle for weaving in ends, scissors, and blocking mats or a flat surface for finishing.
Finished Size: Approximately 30 inches x 34 inches. You can easily adjust the size by repeating the pattern multiples—just ensure your cast-on number maintains the pattern's stitch repeat.
Step-by-Step Instructions
This pattern is broken into clear sections: the garter stitch border, the main bubble and stripe body, the lace stripe section, and the finishing border. Follow along carefully, and you'll have a gorgeous blanket in no time.
Special Stitches
Before starting, familiarize yourself with the Bubble Stitch (BS), which creates the puffy, dimensional texture that defines this blanket.
Bubble Stitch (BS): Knit into the front, back, front, back, and front of the same stitch (this increases 1 stitch to 5 stitches). Turn your work, then purl these 5 stitches. Turn again, knit these 5 stitches. Turn once more, purl these 5 stitches. Finally, turn and pass the 2nd, 3rd, 4th, and 5th stitches over the 1st stitch—one stitch remains, and a beautiful bubble is formed.
This stitch may seem intricate, but once you practice it a few times, it becomes rhythmic and rewarding. The bubbles are worked on the right side of the fabric, creating a raised, puffy effect.
Cast On and Border
Cast On: Loosely cast on 120 stitches. A loose cast-on is essential here to prevent the edges from pulling and to ensure a stretchy, comfortable border.
Border (Garter Stitch):
- Rows 1-6: Knit all stitches. This creates a neat, ridged border that frames the blanket beautifully.
Main Body: Bubble & Stripe Pattern
Now we begin the main body, which alternates between smooth stockinette and textured bubble rows. The pattern is worked in a 24-row repeat that creates the staggered diamond arrangement of bubbles.
- Row 1 (RS): Knit all stitches.
- Row 2 (WS): Purl all stitches.
- Row 3: K3, *BS, K5; repeat from * to last 3 stitches, K3. This row places bubbles in the first position of the stagger.
- Row 4: Purl all stitches.
- Row 5: Knit all stitches.
- Row 6: Purl all stitches.
- Row 7: K6, *BS, K5; repeat from * to last 6 stitches, K6. This offsets the bubbles, creating the staggered diamond effect.
- Row 8: Purl all stitches.
- Rows 9-12: Repeat Rows 1-2 (stockinette). This smooth section gives the bubbles breathing room.
- Rows 13-18: Repeat Rows 3-8 (bubble rows). This completes the second set of bubbles.
- Rows 19-24: Repeat Rows 1-2 (stockinette). This finishes the main body repeat.
Take your time with the bubble rows—they're the heart of this pattern. The combination of increases and decreases creates a dense, plush texture that's incredibly satisfying to knit.
Stripe Section: Lace & Eyelet
After the main body, we introduce a delicate lace stripe that adds a breezy, airy contrast to the solid bubbles.
- Row 25: K2, *yo, k2tog; repeat from * to last 2 stitches, K2. The yarn over and knit-two-together create an eyelet pattern that's simple yet elegant.
- Row 26: Purl all stitches.
- Rows 27-30: Stockinette (knit on RS, purl on WS). This smooth section frames the eyelet row.
This stripe section is quick to work and provides a lovely visual break from the textured bubbles. The eyelets will open up beautifully when you block the blanket.
Repeating the Pattern
Repeat the Main Body and Stripe Section until you have used almost all of your yarn, ending with a full bubble section (Rows 1-24) for symmetry. This ensures the blanket has a balanced, polished look with bubbles framing both ends.
As you approach the end of your yarn, measure your remaining yarn periodically. You'll want to leave enough for the final border and bind-off—roughly 10-15 yards should suffice.
Final Border and Bind Off
Border (Garter Stitch):
- Rows 1-6: Knit all stitches. This mirrors the starting border, creating a cohesive frame around the entire blanket.
Bind Off: Loosely bind off all stitches in knit. A loose bind-off is crucial here to maintain the stretchy edge and prevent the blanket from curling.
Finishing Touches
Weave in Ends: Use a tapestry needle to weave in all loose ends securely. This step is essential for a professional finish and ensures your blanket withstands years of use.
Blocking: Gently block the blanket to open up the lace and even out the bubbles. To block, soak the blanket in cool water with a mild wool wash, gently squeeze out excess water (never wring), and lay it flat on a towel. Shape it to the finished dimensions and allow it to dry completely. Blocking transforms the fabric, making the bubbles more defined and the eyelets more pronounced.
Your Lilac Haze Awaits
Once your blanket is dry, you'll have a stunning, one-of-a-kind piece that's perfect for draping over a chair, gifting to a loved one, or keeping for yourself. The Lilac Haze Cloud Blanket is a testament to the beauty of simple stitches combined thoughtfully—a modern heirloom that captures the essence of spring in every bubble and stripe.
Whether you're a seasoned knitter or just starting your journey, this pattern offers a rewarding experience with a breathtaking result. So grab your yarn, settle into your favorite knitting spot, and let the soothing rhythm of bubbles and breezy stripes carry you away. Happy knitting!