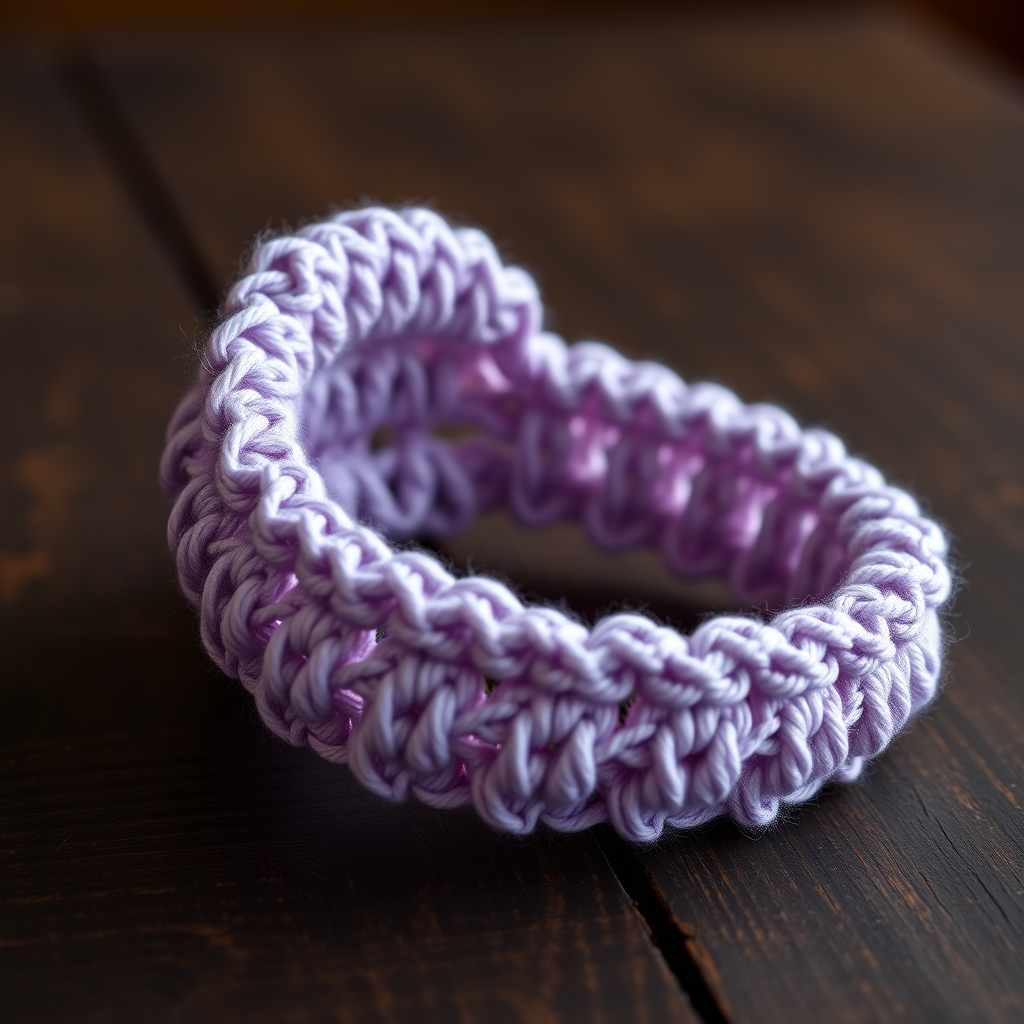
The Gilded Fern Crochet Earrings Free Pattern – A Luxurious Botanical Statement

The Gilded Fern Crochet Earrings Free Pattern – A Luxurious Botanical Statement
Elevate your accessory game with these intricate, nature-inspired crochet earrings that mimic delicate fern fronds with a touch of golden shimmer. Perfect for adding an elegant, handcrafted touch to any outfit, from casual to formal. This free pattern is designed for beginners and experienced crocheters alike, offering a satisfying project that results in a stunning, wearable piece of art.
With a rich palette of deep emerald green and metallic gold, these earrings are a true statement piece. The dense, tight single crochet texture gives the base a subtle three-dimensional curve, while the five distinct leaf motifs and three gold beads create a luxurious botanical look. Whether you're crafting for yourself or gifting to a loved one, these earrings are sure to impress.
Materials Needed
Before you begin, gather the following materials to ensure a smooth and enjoyable crochet experience:
- Yarn: Worsted weight cotton or mercerized cotton yarn in two colors: deep emerald green and metallic gold (e.g., Lion Brand 24/7 Cotton or Scheepjes Maxi Sweet Treat)
- Hook: 2.5mm crochet hook (or size needed to achieve tight, firm stitches)
- Earring Findings: Two earring hooks or posts
- Jump Rings: Two small jump rings (optional, for attaching hooks)
- Notions: Yarn needle, scissors
- Stuffing: A tiny bit of yarn scrap for the gold beads
Gauge: Not critical for this project, but aim for tight stitches to maintain shape; approximately 5 sc = 1 inch.
Abbreviations
Familiarize yourself with these standard crochet abbreviations before starting:
- ch = chain
- sc = single crochet
- hdc = half double crochet
- dc = double crochet
- sl st = slip stitch
- st(s) = stitch(es)
- rnd = round
- inc = increase (2 sc in same st)
- dec = decrease (sc 2 sts together)
Step-by-Step Instructions
This pattern is worked in the round for the base and beads, and in rows for the leaves. Make two of everything for a matching pair of earrings.
Fern Frond Base (Make 2, in Green)
The base forms the teardrop-shaped foundation of the earring. Work tightly to maintain a firm shape.
- Rnd 1: Start with a magic ring, ch 1, work 6 sc into the ring. Pull tight to close. Sl st to first sc to join. (6 sts)
- Rnd 2: Ch 1, inc in each st around. Sl st to join. (12 sts)
- Rnd 3: Ch 1, *sc in next st, inc in next st* repeat around. Sl st to join. (18 sts)
- Rnd 4: Ch 1, *sc in next 2 sts, inc in next st* repeat around. Sl st to join. (24 sts)
- Rnd 5: Ch 1, *sc in next 3 sts, inc in next st* repeat around. Sl st to join. (30 sts)
- Rnd 6: Ch 1, working in back loops only, sc in each st around. Sl st to join. (30 sts) — This creates a subtle ridge for a more defined shape.
- Rnd 7-10: Ch 1, sc in each st around. Sl st to join. (30 sts) — Work these four rounds evenly to build the height of the base.
- Rnd 11: Ch 1, *sc in next 3 sts, dec* repeat around. Sl st to join. (24 sts) — Begin decreasing to taper the bottom.
- Rnd 12: Ch 1, *sc in next 2 sts, dec* repeat around. Sl st to join. (18 sts)
- Rnd 13: Ch 1, *sc in next st, dec* repeat around. Sl st to join. (12 sts)
- Rnd 14: Ch 1, dec around. Sl st to join. (6 sts)
- Fasten off, leaving a long tail. Weave the tail through the front loops of the remaining 6 sts and pull tight to close the bottom. Weave in the end securely.
Fern Leaf Motifs (Make 5 per Earring, in Green)
These leaves are worked in rows and will be sewn onto the base. Each leaf has a pointed tip and a slight curl for a natural look.
- Leaf 1 (largest): Ch 10, sc in 2nd ch from hook, hdc in next ch, dc in next 2 chs, hdc in next ch, sc in next ch, sl st in last ch. Fasten off, leaving a tail for sewing.
- Leaf 2 (medium): Ch 8, sc in 2nd ch from hook, hdc in next ch, dc in next 2 chs, hdc in next ch, sc in last ch. Fasten off, leaving a tail.
- Leaf 3 (small): Ch 6, sc in 2nd ch from hook, hdc in next ch, dc in next ch, hdc in next ch, sc in last ch. Fasten off, leaving a tail.
- Leaf 4 (small): Repeat Leaf 3 instructions exactly.
- Leaf 5 (tiny): Ch 4, sc in 2nd ch from hook, hdc in next ch, sc in last ch. Fasten off, leaving a tail.
Gold Accent Beads (Make 3 per Earring, in Metallic Gold)
These small spherical beads add a luxurious metallic contrast to the green base. They are worked in the round and lightly stuffed.
- Rnd 1: Magic ring, ch 1, 6 sc into ring. Pull tight. Sl st to join. (6 sts)
- Rnd 2: Ch 1, inc in each st around. Sl st to join. (12 sts)
- Rnd 3-4: Ch 1, sc in each st around. Sl st to join. (12 sts) — Work two even rounds to form the bead's body.
- Rnd 5: Ch 1, dec around. Sl st to join. (6 sts)
- Fasten off, leaving a tail. Stuff lightly with a tiny bit of yarn scrap to give the bead a plump shape. Weave the tail through the front loops of the remaining sts and pull tight to close. Weave in the end.
Assembly
Now it's time to bring all the pieces together. Take your time to position everything symmetrically for a polished look.
- Position the base: Hold the fern frond base vertically with the rounded top facing up and the tapered point at the bottom.
- Sew the largest leaf (Leaf 1): Attach it to the top left side of the base, angling it outward. Use the yarn needle and the tail left from the leaf to sew it securely.
- Sew the medium leaf (Leaf 2): Attach it to the top right side, slightly lower than Leaf 1, angling it outward in the opposite direction.
- Sew the two small leaves (Leaf 3 and 4): Attach them to the middle sides, one on each side, positioning them slightly lower than the top leaves.
- Sew the tiny leaf (Leaf 5): Attach it to the bottom center of the base, just above the tapered point.
- Attach the gold beads: Sew the three gold beads along the center of the frond base, spacing them evenly from top to bottom. This creates a beautiful vertical accent line.
- Attach the earring hook: Attach an earring hook or post to the top of the frond base using a jump ring, or by sewing through the top stitch with a needle and thread. Ensure it is secure and centered.
- Repeat for the second earring: Follow the same assembly steps to create the matching earring, ensuring the leaf placement and bead spacing mirror the first for a symmetrical pair.
Finishing
Complete your earrings with these final touches to ensure they look professional and last long.
- Weave in all loose ends: Use the yarn needle to hide any remaining tails inside the stitches. Trim any excess yarn.
- Block the earrings: Gently block the earrings by pinning them to a flat surface and lightly steaming them with an iron (without touching the yarn directly). This helps set the shape and smooth out any unevenness.
- Allow to dry completely: Leave the earrings pinned until they are fully dry. This ensures the shape holds.
- Wear and enjoy: Once dry, your luxurious Gilded Fern earrings are ready to wear. Pair them with a simple outfit to let them shine, or use them to add a touch of elegance to a formal ensemble.
These earrings make a wonderful gift for a nature lover or a fashion enthusiast. The combination of rich green and shimmering gold is timeless and versatile. Happy crocheting!