Gilded Petal Crochet Necklace Free Pattern – A Luxurious Yarn Statement Piece

Gilded Petal Crochet Necklace Free Pattern – A Luxurious Yarn Statement Piece
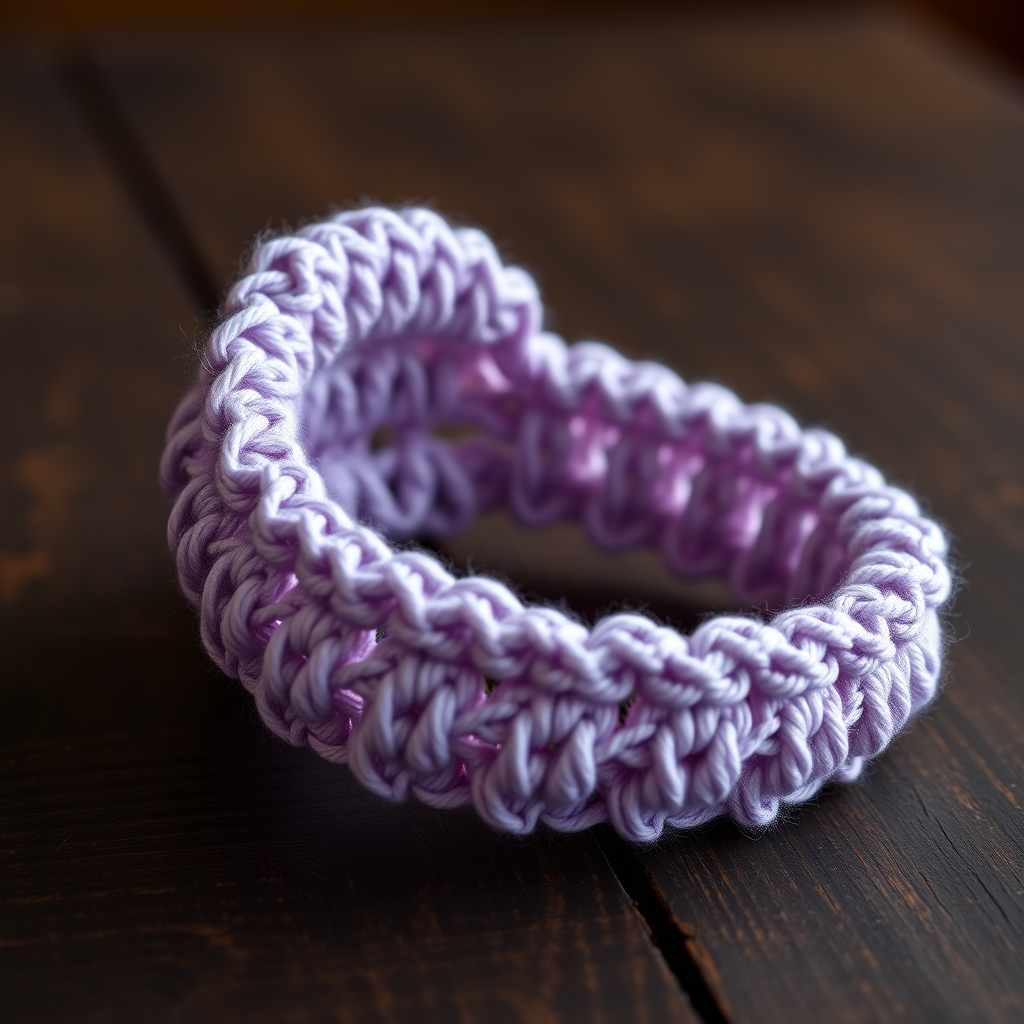
Imagine a necklace that drapes like a cascade of golden petals, blending bohemian elegance with modern glamour. This free crochet pattern guides you through creating a soft, lightweight accessory that elevates any outfit with its intricate texture and warm metallic sheen. Whether you're dressing up for a special occasion or adding a touch of luxury to your everyday style, this sculptural statement piece is sure to turn heads. Best of all, it's beginner-friendly and works up quickly with just a few basic stitches.
Materials Needed
Before you begin, gather the following supplies:
- Yarn: Worsted weight cotton or cotton-blend yarn in a metallic gold (e.g., Lion Brand Yarn 24/7 Cotton in Gold) – approximately 100 yards
- Hook: US G/6 (4.0 mm) crochet hook
- Matching thread for assembly (optional, but helps secure petals)
- Button or bead for closure (optional)
- Tapestry needle for weaving in ends and sewing
- Scissors
Gauge: 4 dc = 1 inch; 2 rows of dc = 1 inch. Gauge is not critical for this project, but consistent tension ensures even petals.
Step-by-Step Instructions
This necklace is worked in two parts: a series of individual petals and a central chain. The petals are crocheted separately and then joined to form a cascading floral cluster. Follow along carefully, and you'll have a gorgeous accessory in no time.
Part 1: Crochet the Petals
You will need to make 7 large petals and 5 small petals. Each petal is worked in rows, starting from the base and widening toward the top.
Large Petal (Make 7)
Row 1: Chain 4. Work 3 double crochet (dc) into the 4th chain from the hook. (Note: The first 3 chains count as your first dc.) Turn your work. You should now have 4 dc total.
Row 2: Chain 3 (this counts as your first dc). Work 1 dc into the same stitch (the base of the chain 3). Then work 2 dc into each of the next 3 dc. Turn. You should now have 8 dc.
Row 3: Chain 3 (counts as dc). Work 1 dc into the same stitch. Then work 1 dc into each of the next 2 dc. Work 2 dc into the next dc. Work 1 dc into each of the next 2 dc. Finally, work 2 dc into the last dc. Turn. You should now have 10 dc.
Row 4: Chain 1. Work 1 single crochet (sc) into each dc across the row. Fasten off, leaving a long tail (about 8–10 inches) for sewing. You should have 10 sc.
Small Petal (Make 5)
Row 1: Chain 4. Work 2 dc into the 4th chain from the hook (the first 3 chains count as your first dc). Turn. You should have 3 dc.
Row 2: Chain 3 (counts as dc). Work 1 dc into the same stitch. Then work 2 dc into each of the next 2 dc. Turn. You should have 6 dc.
Row 3: Chain 1. Work 1 sc into each dc across the row. Fasten off, leaving a long tail. You should have 6 sc.
Part 2: Assemble the Petal Cluster
Now it's time to bring your petals together into a beautiful fan shape.
- Arrange the petals: Lay out your petals on a flat surface. Place the 7 large petals in the center, slightly overlapping their bases. Position the 5 small petals on the outer edges, fanning outward. The overall shape should resemble a stylized flower or a cascade of petals.
- Sew the petals together: Using the long tails from each petal, thread your tapestry needle. Starting from the back, sew through the bases of all the petals, stitching through all layers to secure them firmly. Continue stitching back and forth a few times to ensure the cluster is sturdy. Knot the thread securely and weave in the ends.
Part 3: Create the Chain
The chain forms the necklace part that drapes around your neck.
- With the same metallic gold yarn, chain 60 (or more for a longer necklace, fewer for a choker).
- Fasten off, leaving a long tail for sewing.
Part 4: Attach the Chain to the Petal Cluster
- Position the chain at the top center of the petal cluster, on the back side.
- Using the tail from the chain, sew the end of the chain securely to the back of the cluster. Make several passes through the yarn to ensure it's firmly attached. Weave in the ends.
Part 5: Add a Closure
You have two easy options for closing your necklace:
- Option 1 – Button closure: At the other end of the chain, create a small loop by chaining 5 and slip stitching back into the chain. Fasten off and weave in the ends. Sew a button or bead to the opposite side of the petal cluster (on the back) to act as a closure. Simply loop the chain over the button to wear.
- Option 2 – Tie closure: Simply leave the chain ends long enough to tie together at the back of your neck. This is the easiest option and requires no extra hardware.
Part 6: Finishing Touches
- Weave in all ends: Use your tapestry needle to hide any remaining yarn tails inside the petals or along the chain.
- Block the petals: To give your petals a beautiful, defined shape, lightly block them. Pin the petals out on a blocking mat or towel, gently stretching them into the desired cupped shape. Steam with an iron (without touching the yarn directly) or mist with water and allow to dry completely.
Tips for Success
- Consistent tension: Keep your tension even throughout to ensure all petals are similar in size and shape.
- Customize the length: Adjust the chain length to suit your preference. For a choker, chain 50; for a longer pendant-style necklace, chain 70–80.
- Mix it up: Try different yarn colors for a more bohemian or romantic look. Silver, rose gold, or even a soft ivory would be stunning.
Your Gilded Petal Crochet Necklace is now complete! This luxurious, sculptural piece is perfect for adding a touch of handmade glamour to any outfit. Wear it with pride, knowing you crafted it yourself. Happy crocheting!