Home Decor Knitting Patterns
The Geometric Illusion Wall Hanging Free Pattern
Anonymous
•
July 04, 2026

The Geometric Illusion Wall Hanging Free Pattern
Introduction
Transform your living space with this mesmerizing geometric wall hanging that plays with light and shadow. Perfect for adding a modern touch to any room, this pattern combines simple stitches with a striking design. Whether you are a seasoned knitter or a beginner, this project is a fantastic way to enhance your home decor while honing your knitting skills.
Materials Needed
- Worsted weight cotton yarn in black, white, and grey
- US 8 (5.0 mm) knitting needles
- Tapestry needle for weaving in ends
- Wooden dowel for hanging
Step-by-Step Instructions
- Cast On: Using black yarn, cast on 60 stitches onto your US 8 (5.0 mm) knitting needles.
- Rows 1-10: Knit all stitches for 10 rows to create a garter stitch section.
- Row 11: Switch to white yarn. Begin the checkerboard pattern by knitting 1 stitch, then purling 1 stitch. Repeat this sequence until the end of the row.
- Row 12: Continue with the white yarn. This time, purl 1 stitch, then knit 1 stitch. Repeat this sequence until the end of the row.
- Repeat Rows 11-12: Continue alternating between Rows 11 and 12 for a total of 20 rows. This will create a textured checkerboard effect.
- Switch to Grey Yarn: Change to grey yarn and knit 10 rows in stockinette stitch (knit one row, purl the next).
- Switch Back to Black Yarn: Return to black yarn and repeat Rows 11-12 for another 20 rows to create another checkerboard section.
- Switch to White Yarn: Change to white yarn and knit 10 rows in garter stitch.
- Switch to Grey Yarn: Change to grey yarn again and repeat Rows 11-12 for another 20 rows.
- Switch Back to Black Yarn: Finally, switch back to black yarn and knit 10 rows in stockinette stitch.
- Bind Off: Once you have completed all your rows, bind off all stitches to finish your piece.
- Weave in Ends: Use a tapestry needle to weave in any loose ends of yarn for a clean finish.
- Attach to Dowel: Take a wooden dowel and attach the top edge of your knitted piece to it. You can sew it or use a strong adhesive to secure it in place.
- Block Your Piece: To ensure your wall hanging lays flat and the geometric shapes are well-defined, block the piece by wetting it and laying it flat to dry.
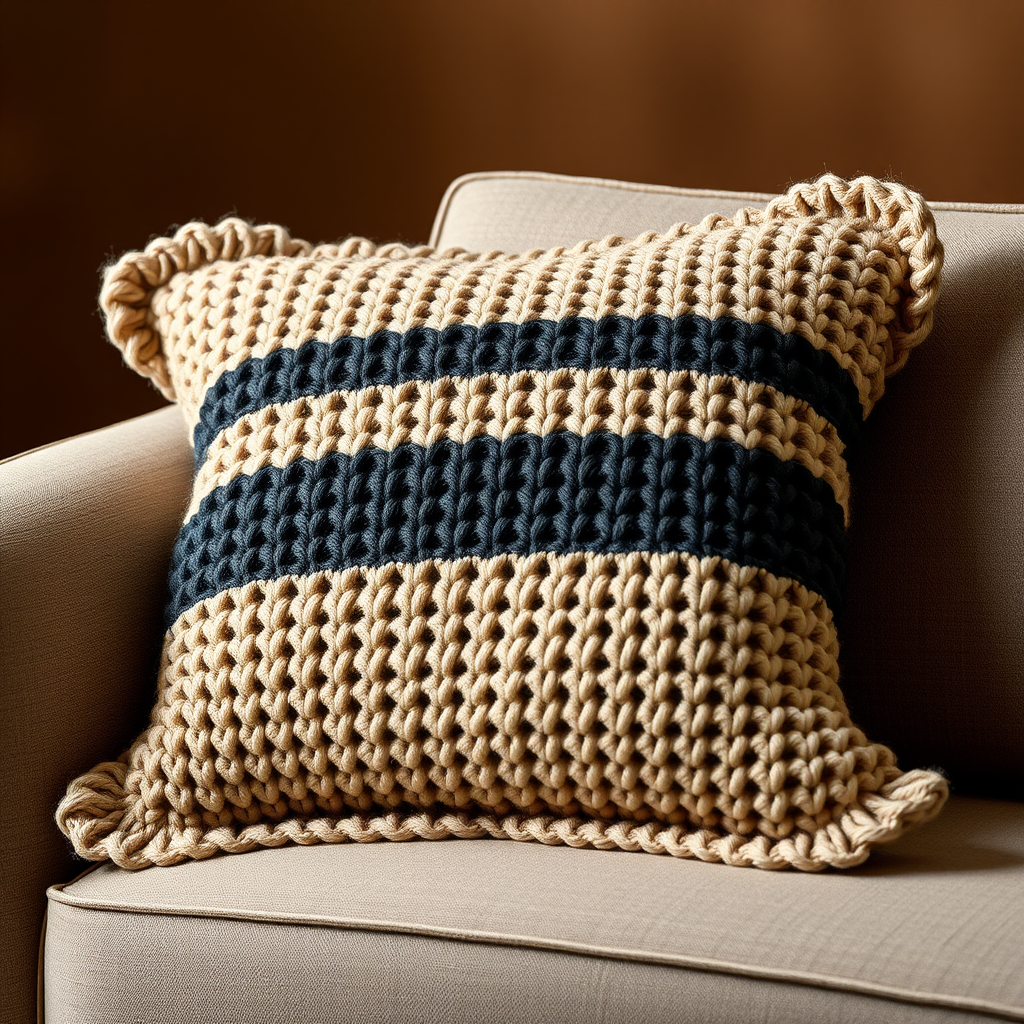
The finished wall hanging measures approximately 20 inches wide by 30 inches long, featuring a striking geometric pattern with alternating sections of black, white, and grey yarn. The texture alternates between garter stitch and a checkerboard pattern, creating an illusion of depth and movement. Enjoy your new handmade decor piece!
Also Check Out: We think you'd love this beautiful pattern on our sister site: Amigurumi Soot Sprite with Bow