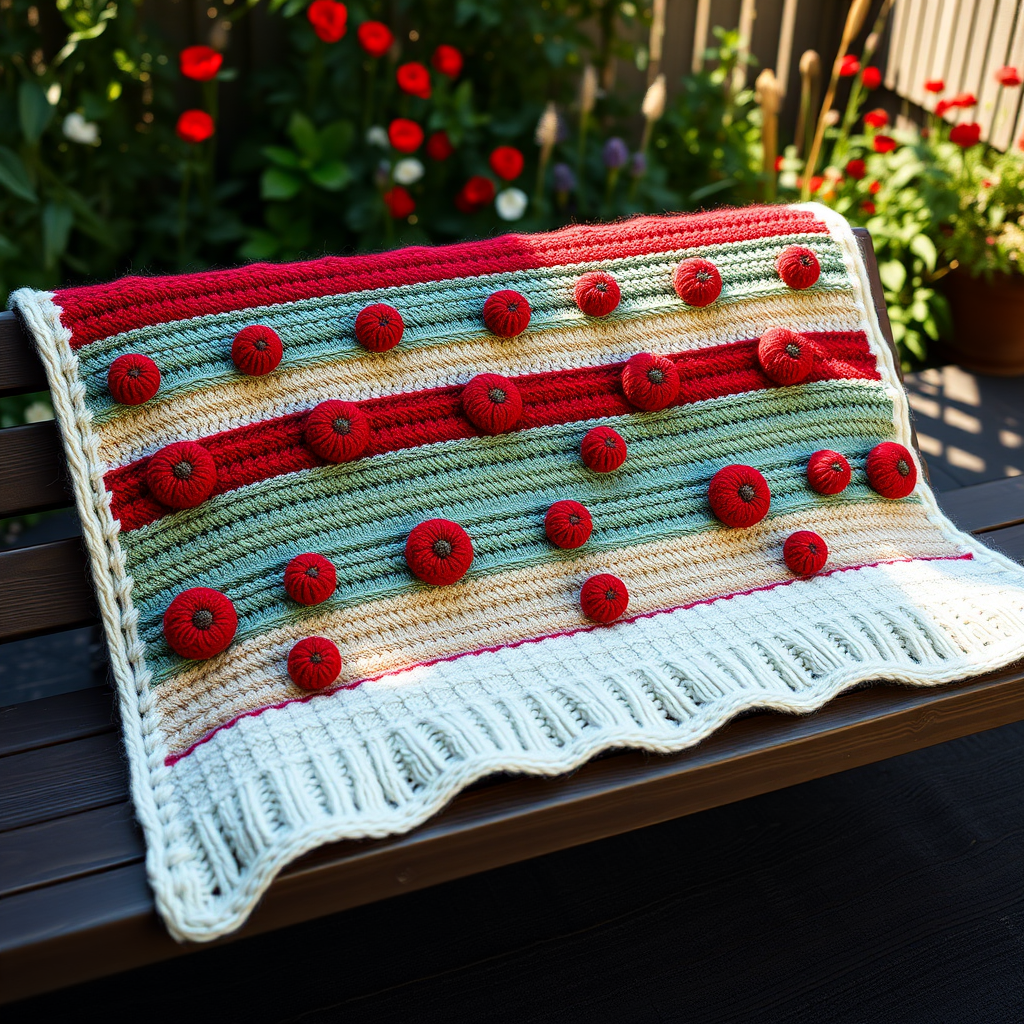
The Frosted Fern Throw Free Pattern – A Knitted Ode to Winter Woodlands

The Frosted Fern Throw Free Pattern – A Knitted Ode to Winter Woodlands
Wrap yourself in the quiet magic of a snow-dusted forest with this deeply textured knitted throw. The Frosted Fern Throw combines chunky cables and delicate lace panels to evoke the beauty of frosted ferns beneath a winter sky. This pattern is perfect for intermediate knitters looking to expand their skills while creating a stunning statement piece for their home.
With its rich palette of Deep Forest Green, Soft Silver, and Ivory White, this throw captures the serene essence of a winter woodland. The alternating color bands create visual interest while the cable and lace textures provide a tactile experience that will keep you cozy all season long.
Materials Needed
Before you begin your knitting journey, gather these essential supplies:
Yarn
- Worsted weight yarn in three shades:
- Deep Forest Green (MC) – approximately 900 yards
- Soft Silver (CC1) – approximately 450 yards
- Ivory White (CC2) – approximately 450 yards
- Total yardage: Approximately 1800 yards
Needles & Notions
- US 9 (5.5 mm) circular knitting needles, 32-inch cable
- Cable needle
- Stitch markers
- Tapestry needle for weaving in ends
Gauge
18 stitches and 24 rows = 4 inches in stockinette stitch (blocked). Always knit a gauge swatch to ensure your finished throw matches the intended dimensions.
Step-by-Step Instructions
Finished Size
Approximately 50 inches wide x 65 inches long (blocked).
Stitch Glossary
Familiarize yourself with these abbreviations before starting:
- C4B: Slip 2 stitches to cable needle, hold to back, knit 2, knit 2 from cable needle.
- C4F: Slip 2 stitches to cable needle, hold to front, knit 2, knit 2 from cable needle.
- K2tog: Knit 2 stitches together.
- SSK: Slip, slip, knit (slip 2 stitches knitwise one at a time, then knit them together through back loops).
- YO: Yarn over.
- P: Purl.
- K: Knit.
Pattern Notes
- The throw is worked flat in one piece from the bottom edge upward.
- The pattern is a repeat of 24 stitches and 20 rows, with a 6-stitch garter border on each side.
- Use a separate ball of yarn for each color block, twisting yarns at color changes to avoid holes.
Getting Started
Cast On: With MC (Deep Forest Green), cast on 150 stitches loosely. A long-tail cast-on works beautifully for this project.
Border Setup
Row 1 (RS): Knit all stitches.
Row 2 (WS): Knit all stitches.
Repeat these 2 rows once more (4 rows of garter stitch total).
Main Pattern
Work the following 20-row repeat, maintaining the first and last 6 stitches in garter stitch (knit every row) as borders. Place stitch markers after the first 6 stitches and before the last 6 stitches to help you keep track.
Row 1 (RS, MC): K6 (border), *K4, C4B, K4, YO, SSK, K2, K2tog, YO, K4*, repeat from * to * until 6 stitches remain, K6 (border).
Row 2 (WS, MC): K6, *P24*, repeat from * to * until 6 stitches remain, K6.
Row 3 (RS, MC): K6, *K2, C4B, C4F, K2, YO, SSK, K2tog, YO, K4*, repeat from * to * until 6 stitches remain, K6.
Row 4 (WS, MC): K6, *P24*, repeat from * to * until 6 stitches remain, K6.
Row 5 (RS, MC): K6, *K4, C4F, K4, YO, SSK, K2, K2tog, YO, K4*, repeat from * to * until 6 stitches remain, K6.
Row 6 (WS, MC): K6, *P24*, repeat from * to * until 6 stitches remain, K6.
Row 7 (RS, CC1): K6, *K4, YO, SSK, K2, K2tog, YO, K4, C4B, K4*, repeat from * to * until 6 stitches remain, K6.
Row 8 (WS, CC1): K6, *P24*, repeat from * to * until 6 stitches remain, K6.
Row 9 (RS, CC1): K6, *K2, YO, SSK, K2, K2tog, YO, K2, C4B, C4F, K2*, repeat from * to * until 6 stitches remain, K6.
Row 10 (WS, CC1): K6, *P24*, repeat from * to * until 6 stitches remain, K6.
Row 11 (RS, CC1): K6, *K4, YO, SSK, K2, K2tog, YO, K4, C4F, K4*, repeat from * to * until 6 stitches remain, K6.
Row 12 (WS, CC1): K6, *P24*, repeat from * to * until 6 stitches remain, K6.
Row 13 (RS, CC2): K6, *K4, C4B, K4, YO, SSK, K2, K2tog, YO, K4*, repeat from * to * until 6 stitches remain, K6.
Row 14 (WS, CC2): K6, *P24*, repeat from * to * until 6 stitches remain, K6.
Row 15 (RS, CC2): K6, *K2, C4B, C4F, K2, YO, SSK, K2tog, YO, K4*, repeat from * to * until 6 stitches remain, K6.
Row 16 (WS, CC2): K6, *P24*, repeat from * to * until 6 stitches remain, K6.
Row 17 (RS, CC2): K6, *K4, C4F, K4, YO, SSK, K2, K2tog, YO, K4*, repeat from * to * until 6 stitches remain, K6.
Row 18 (WS, CC2): K6, *P24*, repeat from * to * until 6 stitches remain, K6.
Row 19 (RS, MC): K6, *K4, YO, SSK, K2, K2tog, YO, K4, C4B, K4*, repeat from * to * until 6 stitches remain, K6.
Row 20 (WS, MC): K6, *P24*, repeat from * to * until 6 stitches remain, K6.
Repeat these 20 rows until the throw measures approximately 62 inches from the cast-on edge, ending with Row 20. This will give you roughly 12 full pattern repeats, depending on your gauge.
Finishing Touches
Border Finish: Work 4 rows of garter stitch (knit all stitches) across all stitches. This mirrors the bottom border and creates a balanced, finished look.
Bind Off: Bind off loosely knitwise. A loose bind-off is crucial here to prevent the edge from pulling in and distorting your beautiful work.
Weave in Ends: Using your tapestry needle, carefully weave in all yarn ends along the wrong side of the work. Take your time with this step – secure ends will ensure your throw lasts for years.
Blocking
Blocking is essential for this pattern to truly shine. Pin the throw to dimensions (approximately 50 inches wide x 65 inches long), gently steam or wet block to open up the lace and define the cables. Allow to dry completely before removing pins.
Blocking transforms the fabric – the lace panels will open up beautifully, and the cables will become crisp and defined. This step is what gives the Frosted Fern Throw its professional, polished appearance.
Tips for Success
- Count your stitches after each pattern repeat, especially when working the lace sections. The YO and decrease pairs should always balance out.
- Use locking stitch markers to mark the beginning of each pattern repeat – this makes it much easier to spot mistakes early.
- Twist yarns at color changes by crossing the old and new yarns over each other to prevent holes from forming.
- Keep your tension consistent when switching between colors. If you tend to knit tighter with certain yarns, consciously relax your hands.
The Frosted Fern Throw is more than just a blanket – it's a labor of love that will become a cherished heirloom. The combination of cables and lace creates a sophisticated texture that looks far more complex than it actually is. Whether you're curling up with a good book or adding a touch of woodland charm to your living room, this throw delivers warmth and beauty in equal measure.
Happy knitting, and may your needles bring you the peace of a quiet winter forest!