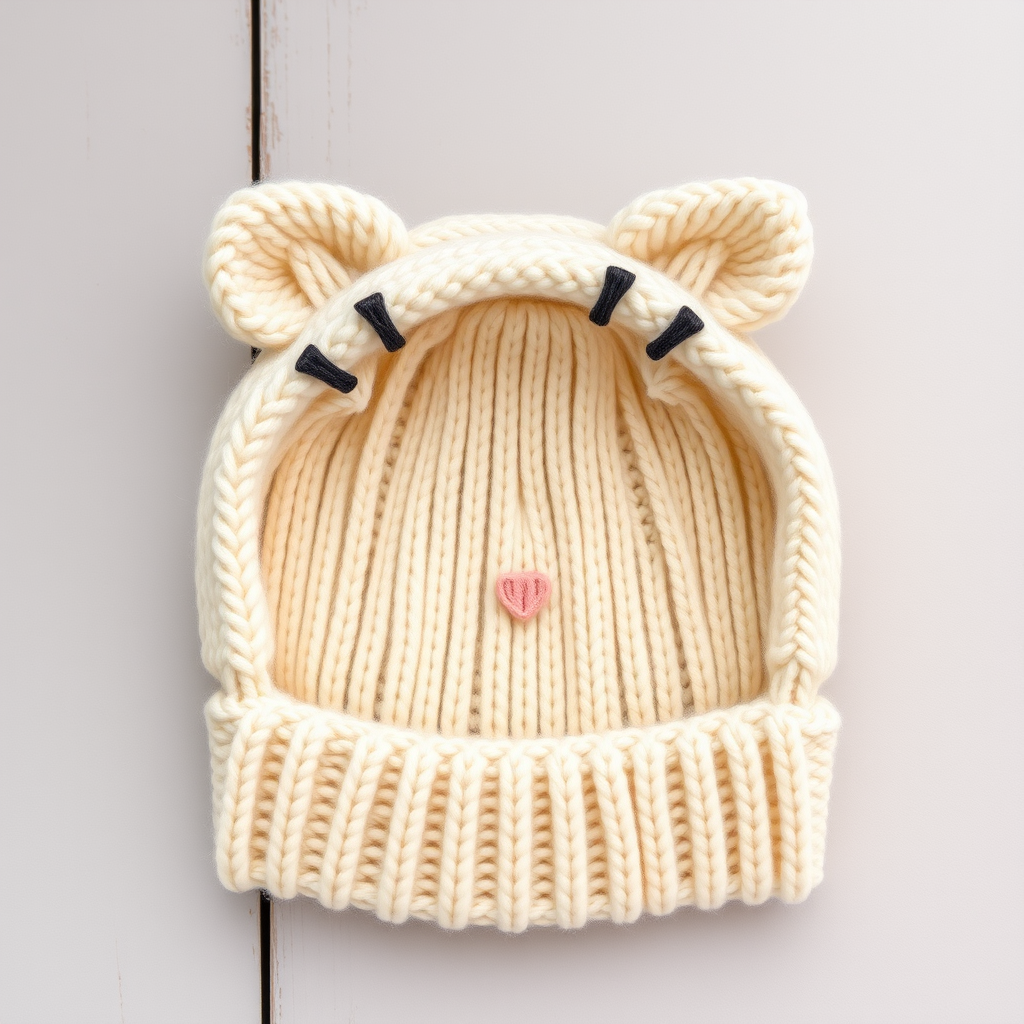
The Cloudberry Cabled Bonnet: A Cozy Knit Free Pattern

Wrap Your Little One in the Coziest Embrace: The Cloudberry Cabled Bonnet
There's something truly magical about knitting for a baby—each stitch is a tiny wish for warmth and comfort. The Cloudberry Cabled Bonnet is designed to be that perfect, heirloom-quality piece you'll cherish forever. Featuring a central cable that mimics a winding cloudberry vine, this bonnet is not just a hat; it's a hug. The gentle, ear-flap design ensures a snug and adorable fit for winter's chill, making it an ideal project for knitters looking to add a touch of texture and love to their handmade wardrobe. Whether you're a seasoned cable-knitter or a confident beginner ready for a new challenge, this free pattern will guide you through creating a truly special accessory.
Materials Needed
Before you begin, gather these supplies to ensure a smooth and enjoyable knitting experience.
- Yarn: Worsted weight (Category 4) superwash merino wool. You will need approximately 100g of a soft heather grey (Main Color, MC) and 20g of a muted blush pink (Contrast Color, CC).
- Needles: US 6 (4.0mm) 16-inch circular needle and a set of double-pointed needles (DPNs) in the same size for crown shaping. Use the needle size needed to obtain the correct gauge.
- Notions: Cable needle, stitch markers, tapestry needle for weaving in ends, scissors.
- Gauge: 20 stitches and 28 rows = 4 inches in Stockinette stitch, blocked. Achieving the correct gauge is crucial for the perfect fit.
Step-by-Step Instructions
This pattern is written for three sizes: 0-3 months (3-6 months, 6-12 months). The sample shown is the 3-6 month size. Follow the instructions in parentheses for your chosen size.
Abbreviations
- CO: Cast on
- K: Knit
- P: Purl
- C4F: Slip 2 stitches to cable needle, hold in front, knit next 2 stitches, then knit 2 stitches from cable needle.
- C4B: Slip 2 stitches to cable needle, hold in back, knit next 2 stitches, then knit 2 stitches from cable needle.
- K2tog: Knit two stitches together (right-leaning decrease).
- SSK: Slip, slip, knit (left-leaning decrease).
- M1L: Make one left (increase).
- M1R: Make one right (increase).
- PM: Place marker.
- SM: Slip marker.
- BO: Bind off.
Brim
With your Main Color (MC), cast on 72 (80, 88) stitches using your preferred method. Join to work in the round, being very careful not to twist your stitches. Place a marker (PM) to indicate the beginning of the round.
Work in K2, P2 ribbing for 1.5 inches. This creates a neat, stretchy band that will hug the baby's head.
Body
Now we begin the beautiful cable pattern. The pattern repeat is 18 stitches wide and 4 rows high.
- Round 1: *K8, P2, K2, P2, K8, P2, K2, P2* repeat from * to * around (4 repeats).
- Round 2 (Cable Round): *K8, P2, C4F, P2, K8, P2, C4B, P2* repeat from * to * around.
- Round 3: *K8, P2, K4, P2, K8, P2, K4, P2* repeat from * to * around.
- Round 4: *K8, P2, K4, P2, K8, P2, K4, P2* repeat from * to * around.
Repeat Rounds 1-4 until the piece measures 4 (4.5, 5) inches from the cast-on edge, ending with a Round 4. This will give you a lovely, textured body for the bonnet.
Crown Shaping
This is where the bonnet takes its shape. When your stitches become too tight for the circular needle, switch to your double-pointed needles (DPNs).
- Round 1 (Decrease Round): *K8, P2, K2tog, K2, P2, K8, P2, K2, SSK, P2* repeat from * to * around. (64, 72, 80 stitches)
- Round 2: *K8, P2, K3, P2, K8, P2, K3, P2* repeat from * to * around.
- Round 3 (Decrease Round): *K8, P2, K1, K2tog, P2, K8, P2, SSK, K1, P2* repeat from * to * around. (56, 64, 72 stitches)
- Round 4: *K8, P2, K2, P2, K8, P2, K2, P2* repeat from * to * around.
- Round 5 (Decrease Round): *K8, P2, K2tog, P2, K8, P2, SSK, P2* repeat from * to * around. (48, 56, 64 stitches)
- Round 6: *K8, P2, K1, P2, K8, P2, K1, P2* repeat from * to * around.
- Round 7 (Decrease Round): *K8, P2tog, K1, P2tog, K8, P2tog, K1, P2tog* repeat from * to * around. (40, 48, 56 stitches)
- Round 8: *K8, P1, K1, P1, K8, P1, K1, P1* repeat from * to * around.
- Round 9 (Decrease Round): *K2tog, K6, P1, K1, P1, K2tog, K6, P1, K1, P1* repeat from * to * around. (32, 40, 48 stitches)
- Round 10: *K7, P1, K1, P1, K7, P1, K1, P1* repeat from * to * around.
- Round 11 (Decrease Round): *K2tog, K5, P1, K1, P1, K2tog, K5, P1, K1, P1* repeat from * to * around. (24, 32, 40 stitches)
Continue decreasing in this manner (knit 2 together at the beginning of each knit section every other round) until only 12 stitches remain. Cut your yarn, leaving a 6-inch tail. Thread the tail through a tapestry needle, then pass it through the remaining 12 stitches. Pull tight to close the top of the bonnet securely. Weave in the end on the inside.
Ear Flaps (Make 2)
These flaps will keep those tiny ears warm and cozy.
With your MC, pick up and knit 16 (18, 20) stitches along the bottom edge of the bonnet, centered on one side. You will now work back and forth in rows.
- Row 1 (Wrong Side): Purl all stitches.
- Row 2 (Right Side): K1, SSK, knit to the last 3 stitches, K2tog, K1. (14, 16, 18 stitches)
- Row 3: Purl all stitches.
Repeat Rows 2 and 3 until only 6 stitches remain.
- Next Row (RS): K1, SSK, K2tog, K1. (4 stitches)
- Next Row (WS): Purl all stitches.
- Next Row (RS): K2tog twice. (2 stitches)
- Next Row (WS): Purl all stitches.
Bind off the remaining 2 stitches. Repeat this entire process for the second ear flap on the opposite side of the bonnet.
I-Cord Ties (Make 2)
These adorable ties in blush pink add the perfect finishing touch.
With your Contrast Color (CC), cast on 3 stitches onto a double-pointed needle.
*Knit 3 stitches. Do not turn your work. Instead, slide the stitches to the other end of the needle. Pull the yarn tightly across the back of the work.* Repeat from * until the cord measures 8 (10, 12) inches. Bind off all stitches.
Attach one tie to the tip of each ear flap by threading the tail through the tip and knotting securely.
Finishing
Weave in all remaining ends with your tapestry needle. Block the bonnet gently to shape—this will help the cables pop and even out the stitches. For an extra-special touch, you can make a small pom-pom using your CC yarn and attach it to the top of the bonnet. Your Cloudberry Cabled Bonnet is now ready to keep a little one warm and stylish!