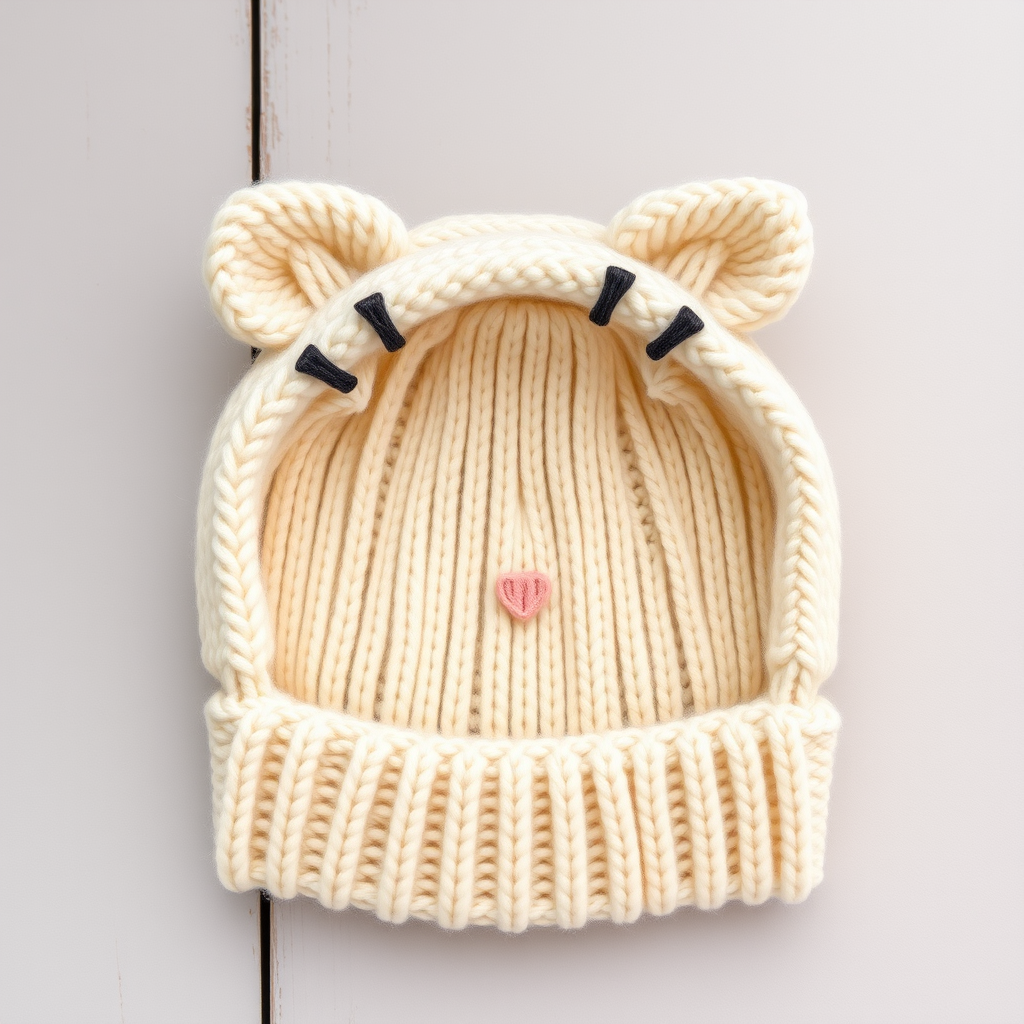
Meadow Breeze Striped Baby Hat Free Pattern – Soft Textured Knit with Seed Stitch Bands

Introducing the Meadow Breeze Striped Baby Hat
There's something truly special about knitting for a little one—each stitch carries warmth, love, and the promise of cozy snuggles. The Meadow Breeze Striped Baby Hat is a delightful project that combines gentle texture with a fresh, airy palette of sage, cream, and buttercup. This charming hat features a soft seed stitch band at the brim, followed by smooth stockinette stripes that create a clean, modern look. It's the perfect handmade gift for a newborn or infant, and it's quick enough to knit up in a weekend.
Whether you're a seasoned knitter looking for a satisfying quick project or a beginner ready to try working in the round, this pattern is designed to be approachable and rewarding. The stretchy, cozy fabric ensures a comfortable fit, and the subtle color transitions evoke the feeling of a gentle spring meadow. Let's gather our materials and get started on creating this adorable accessory!
Materials Needed
Before you begin, make sure you have all the necessary supplies on hand. Here's what you'll need to knit the Meadow Breeze Striped Baby Hat:
- Yarn: Worsted weight (Category 4) cotton-wool blend, approximately 100g per 200m. You'll need three colors:
- Color A (Sage): For the seed stitch brim and one stripe
- Color B (Cream): For the main stripes
- Color C (Buttercup): For the accent stripes
- Needles: US 6 (4.0 mm) 16-inch circular needle and double-pointed needles (or size needed to achieve gauge). The circular needle is used for the main body, and you'll switch to double-pointed needles when the crown decreases make the circumference too small for the circular needle.
- Stitch markers (at least one, to mark the beginning of the round)
- Tapestry needle for weaving in ends
- Scissors
Gauge: 20 stitches and 28 rows = 4 inches in stockinette stitch (knit every round). It's always a good idea to knit a swatch first to ensure your tension matches the pattern, so your hat comes out the right size.
Step-by-Step Instructions
This pattern includes instructions for three sizes: Newborn (0-3 months), 3-6 months, and 6-12 months. The instructions are written for the newborn size, with the larger sizes in parentheses. If you're knitting for a specific baby, measure their head circumference to choose the best size.
Abbreviations
- K = knit
- P = purl
- K2tog = knit two stitches together (decrease)
- PM = place marker
- SM = slip marker
- St(s) = stitch(es)
- RS = right side
- WS = wrong side
Pattern Notes
The hat is worked in the round from the brim up, so there's no seaming required—a great feature for beginners! The seed stitch band is created with a simple repeat of K1, P1, alternating on each round to create that lovely, bumpy texture. The stripes are worked in stockinette (knit every round) with color changes every 4 rounds. To make your stripes look seamless, use the jogless stripe technique: when you start a new color, lift the first stitch of the new color over the last stitch of the old color. This simple trick eliminates the little "step" that can appear at color changes, giving you perfectly clean, horizontal stripes.
Brim
With Color A (Sage), cast on 72 (80, 88) stitches. Place a marker and join in the round, being very careful not to twist your stitches. The marker indicates the beginning of the round.
Rounds 1-6: Work seed stitch as follows:
- Round 1: *K1, P1; repeat from * to end of round.
- Round 2: *P1, K1; repeat from * to end of round. (This means you'll knit the purl stitches and purl the knit stitches from the previous round, creating the seed texture.)
- Rounds 3-6: Repeat Rounds 1 and 2 two more times, so you have a total of 6 rounds of seed stitch. The brim should measure about 1 inch.
Body (Stripes)
Now you'll begin the striped section, working in stockinette stitch (knit every round). Remember to use the jogless stripe technique at each color change for a clean finish.
- Round 7: Switch to Color B (Cream). Knit all stitches.
- Rounds 8-10: Continue with Color B, knitting all stitches. (You'll have a total of 4 rounds of Cream.)
- Rounds 11-14: Switch to Color C (Buttercup). Knit all stitches (4 rounds).
- Rounds 15-18: Switch to Color A (Sage). Knit all stitches (4 rounds).
- Rounds 19-22: Switch to Color B (Cream). Knit all stitches (4 rounds).
- Rounds 23-26: Switch to Color C (Buttercup). Knit all stitches (4 rounds).
- Rounds 27-30: Switch to Color A (Sage). Knit all stitches (4 rounds).
For 3-6 months: Repeat Rounds 19-30 once more (this adds 12 rounds, making the hat taller).
For 6-12 months: Repeat Rounds 19-30 twice more (this adds 24 rounds).
After completing the body, you'll have a lovely striped tube of fabric. The hat should measure approximately 4-5 inches from the cast-on edge, depending on the size you're making.
Crown Decreases
Now it's time to shape the top of the hat. You'll be decreasing stitches in a pattern, with plain knit rounds in between. As the number of stitches decreases, you'll eventually need to switch from the circular needle to double-pointed needles. This is completely normal—just distribute the stitches evenly across three or four DPNs and continue working in the round.
Round 31 (all sizes): Switch to Color B (Cream). *K6 (7, 8), K2tog; repeat from * to end of round. (You'll now have 63, 72, 81 stitches.)
Round 32: Knit all stitches.
Round 33: *K5 (6, 7), K2tog; repeat from * to end. (54, 63, 72 stitches)
Round 34: Knit all stitches.
Round 35: *K4 (5, 6), K2tog; repeat from * to end. (45, 54, 63 stitches)
Round 36: Knit all stitches.
Round 37: *K3 (4, 5), K2tog; repeat from * to end. (36, 45, 54 stitches)
Round 38: Knit all stitches.
Round 39: *K2 (3, 4), K2tog; repeat from * to end. (27, 36, 45 stitches)
Round 40: Knit all stitches.
Round 41: *K1 (2, 3), K2tog; repeat from * to end. (18, 27, 36 stitches)
For 3-6 and 6-12 months only, continue decreasing as follows:
- Round 42: Knit all stitches.
- Round 43: *K1 (2), K2tog; repeat from * to end. (18, 27 stitches)
For 6-12 months only:
- Round 44: Knit all stitches.
- Round 45: *K1, K2tog; repeat from * to end. (18 stitches)
At this point, all sizes should have 18 stitches remaining on your needles.
Finishing
Cut your yarn, leaving a generous 12-inch tail. Thread the tail through a tapestry needle, then carefully slide the needle through all 18 remaining stitches, removing them from the knitting needle. Pull the yarn tight to gather the top of the hat closed, creating a neat, rounded crown. Secure the yarn with a few small stitches on the inside, then weave in the end.
Don't forget to weave in all the other loose ends from your color changes on the inside of the hat. A small, sharp tapestry needle works best for this—just weave the ends through the purl bumps on the inside for a few inches, then trim the excess.
Optional Embellishment
For an extra touch of charm, you can make a pom-pom using Color C (Buttercup) and attach it to the top of the hat. A simple cardboard template or a store-bought pom-pom maker will do the trick. Just tie it securely to the crown, and your Meadow Breeze hat is complete!
Your beautiful, handmade baby hat is now ready to gift or keep. The soft, stretchy fabric and gentle stripes make it a timeless piece that any little one will look adorable in. Happy knitting!