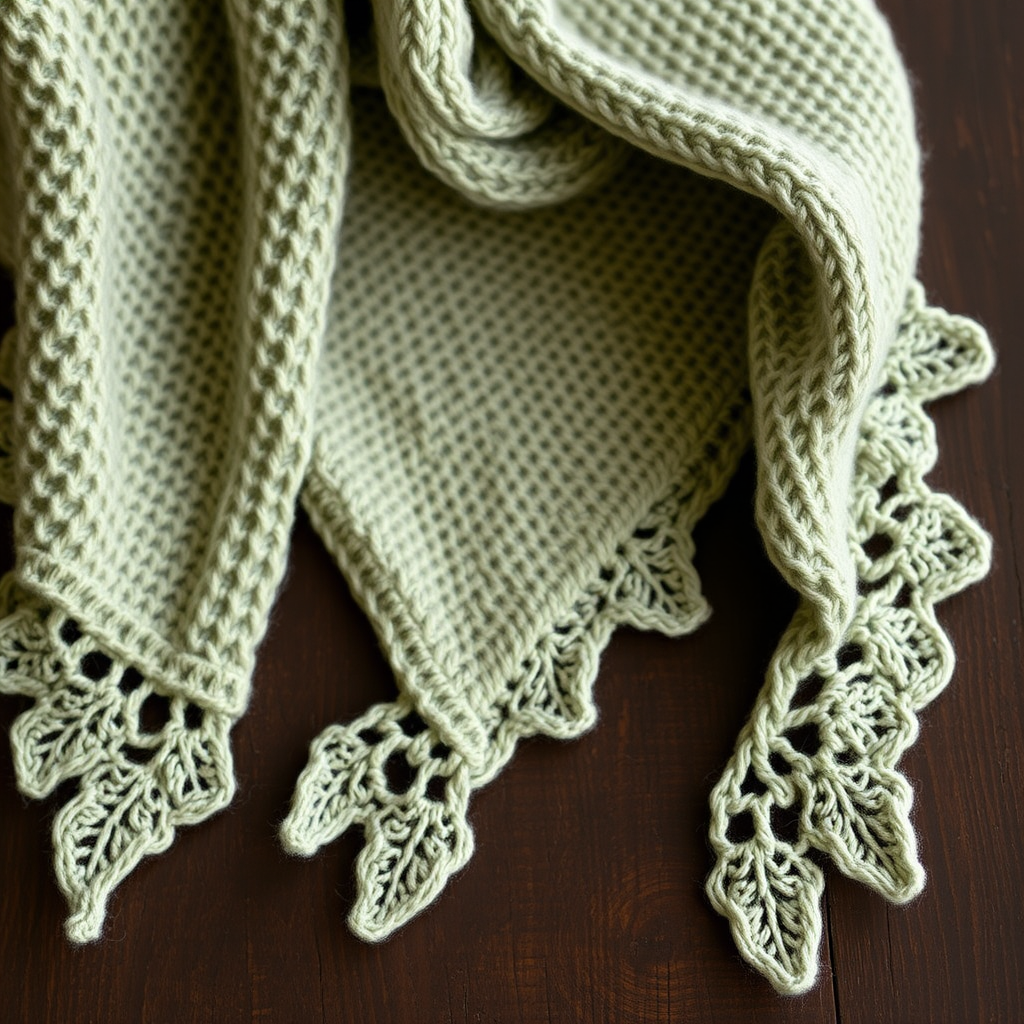
The Celestial Cascade Shawl Free Pattern – A Knitted Lace Crescent with Falling Star Stitches

The Celestial Cascade Shawl: A Free Knitted Lace Crescent Pattern
Wrap yourself in a hand-knitted crescent shawl that mimics a night sky with delicate star-shaped lace and a softly ruffled edge. The Celestial Cascade Shawl uses a unique combination of yarn-over clusters and dropped stitches to create a celestial, airy fabric that drapes beautifully. Whether you're a seasoned lace knitter or a confident beginner looking for a rewarding challenge, this pattern will transport you to a starry evening with every stitch. The gradient colorway of deep indigo, silver, and soft lavender evokes the magic of twilight, making this shawl a stunning addition to any wardrobe or a heartfelt handmade gift.
Materials Needed
Before you begin your celestial journey, gather the following materials. Using the recommended yarn and needle size will ensure your shawl matches the intended drape and gauge.
- Yarn: Fingering weight yarn (e.g., Malabrigo Sock) – 800 yards (2 skeins) in a gradient or variegated colorway. We suggest 'Night Sky' – deep indigo, silver, and soft lavender for the full celestial effect.
- Needle: US 6 (4.0 mm) circular knitting needle, 32-inch or longer. The long cord is essential to accommodate the growing number of stitches.
- Notions: Stitch markers (at least 4), a tapestry needle for weaving in ends, and blocking pins for the finishing process.
- Gauge: 20 stitches and 28 rows = 4 inches in stockinette stitch (blocked). While gauge is important for size, the lace pattern is forgiving; focus on consistent tension.
Step-by-Step Instructions
This shawl is knitted from the top center down to the bottom edge, increasing on both sides to form a crescent shape. Follow the instructions carefully, and you'll be amazed at how the star stitches emerge.
Abbreviations
- k = knit
- p = purl
- yo = yarn over
- k2tog = knit two together (right-leaning decrease)
- ssk = slip, slip, knit (left-leaning decrease)
- pm = place marker
- sm = slip marker
- st(s) = stitch(es)
- rep = repeat
Setup: Casting On and Establishing the Spine
Cast on 3 stitches. Knit 6 rows (garter stitch). This creates a small tab. Now, rotate your work: pick up and knit 3 stitches along the side edge of the tab, and 3 stitches from the cast-on edge. You now have 9 stitches on your needle. Place markers as follows: k3, pm, k3, pm, k3. The center 3 stitches are the spine of the shawl, which will create a subtle garter ridge.
Row-by-Row Instructions
Row 1 (Right Side): k3, yo, sm, k1, yo, k1, yo, k1, sm, yo, k3. (13 sts)
Explanation: The yarn overs (yo) create the increases on each side of the spine. The center 3 stitches (k1, yo, k1, yo, k1) are the beginning of the spine expansion.
Row 2 (Wrong Side): k3, p to last 3 sts, k3.
Explanation: Always knit the first and last 3 stitches of every row to create a garter stitch border. Purl all stitches in between.
Row 3: k3, yo, sm, k1, yo, k3, yo, k1, yo, k3, yo, k1, sm, yo, k3. (19 sts)
Explanation: You are increasing on both sides of the spine. The spine now has 7 stitches (k1, yo, k3, yo, k1).
Row 4: k3, p to last 3 sts, k3.
Increase Section: Building the Crescent Wings
Repeat the following two rows until you have 100 stitches on each side of the center spine. This will take some time, but the rhythm is simple.
Row 5: k3, yo, sm, *k1, yo, rep from * to 1 st before center marker, k1, sm, yo, k1, yo, sm, *k1, yo, rep from * to 1 st before end marker, k1, sm, yo, k3.
Explanation: This row creates a series of yarn overs across each wing. The center spine increases by 2 stitches (yo, k1, yo).
Row 6: k3, p to last 3 sts, k3.
Repeat Rows 5 and 6 until you have 100 sts between the first marker and the center marker, and 100 sts between the center marker and the last marker. (Total 203 sts on needle.)
Star Stitch Lace Section: Creating the Celestial Pattern
Now the magic begins! The star stitch lace pattern is created with a combination of yarn overs and decreases. Repeat these 4 rows until the shawl measures 20 inches from the cast-on edge (or your desired length), ending with a wrong-side row.
Row 1 (RS): k3, yo, sm, *k1, yo, k2tog, yo, ssk, yo, k1, yo, rep from * to 1 st before center marker, k1, sm, yo, k1, yo, sm, *k1, yo, k2tog, yo, ssk, yo, k1, yo, rep from * to 1 st before end marker, k1, sm, yo, k3.
Explanation: The sequence (k1, yo, k2tog, yo, ssk, yo, k1, yo) creates a star-like cluster. The k2tog and ssk balance the yarn overs, keeping the stitch count stable while forming the lace holes.
Row 2 (WS): k3, p to last 3 sts, k3.
Row 3: k3, yo, sm, *k2, yo, k2tog, yo, ssk, yo, k2, rep from * to 1 st before center marker, k1, sm, yo, k1, yo, sm, *k2, yo, k2tog, yo, ssk, yo, k2, rep from * to 1 st before end marker, k1, sm, yo, k3.
Explanation: This row shifts the pattern slightly, creating the diamond shapes between the stars. The k2 at the beginning and end of the repeat adds depth to the lace.
Row 4: k3, p to last 3 sts, k3.
Repeat these 4 rows until the shawl measures 20 inches from the cast-on edge (or desired length), ending with a wrong-side row.
Ruffled Edge: The Grand Finale
The ruffled edge adds a delicate, flared finish to the shawl. This section dramatically increases the stitch count, so be prepared for a longer row.
Row 1 (RS): k3, yo, sm, *k1, yo, rep from * to 1 st before center marker, k1, sm, yo, k1, yo, sm, *k1, yo, rep from * to 1 st before end marker, k1, sm, yo, k3. (This doubles the stitch count.)
Explanation: By adding a yarn over after every knit stitch, you are doubling the number of stitches. This creates the fullness needed for the ruffle.
Row 2 (WS): k3, p to last 3 sts, k3.
Row 3: k3, yo, sm, *k2, yo, rep from * to 1 st before center marker, k1, sm, yo, k1, yo, sm, *k2, yo, rep from * to 1 st before end marker, k1, sm, yo, k3.
Explanation: This row increases the stitch count further by adding a yarn over after every 2 knit stitches, creating an even deeper ruffle.
Row 4: k3, p to last 3 sts, k3.
Bind off loosely. Use a larger needle (e.g., US 8 or 9) or a stretchy bind-off method like the Icelandic bind-off to ensure the edge remains elastic and doesn't pull the ruffle tight.
Finishing: Blocking is Essential
Weave in all ends with your tapestry needle. Soak the shawl in lukewarm water with a drop of wool wash for 20 minutes. Gently squeeze out excess water (do not wring). Lay flat on a towel and shape into a crescent, stretching the lace sections to open up the star patterns. Pin the edges and allow to dry completely. Blocking is essential to reveal the lace and drape—it transforms the fabric from a crumpled mass into a stunning, airy shawl.
Once dry, your Celestial Cascade Shawl is ready to wear. Drape it over your shoulders for an evening out, or gift it to someone special. The star stitches will catch the light, reminding you of a clear night sky. Happy knitting!