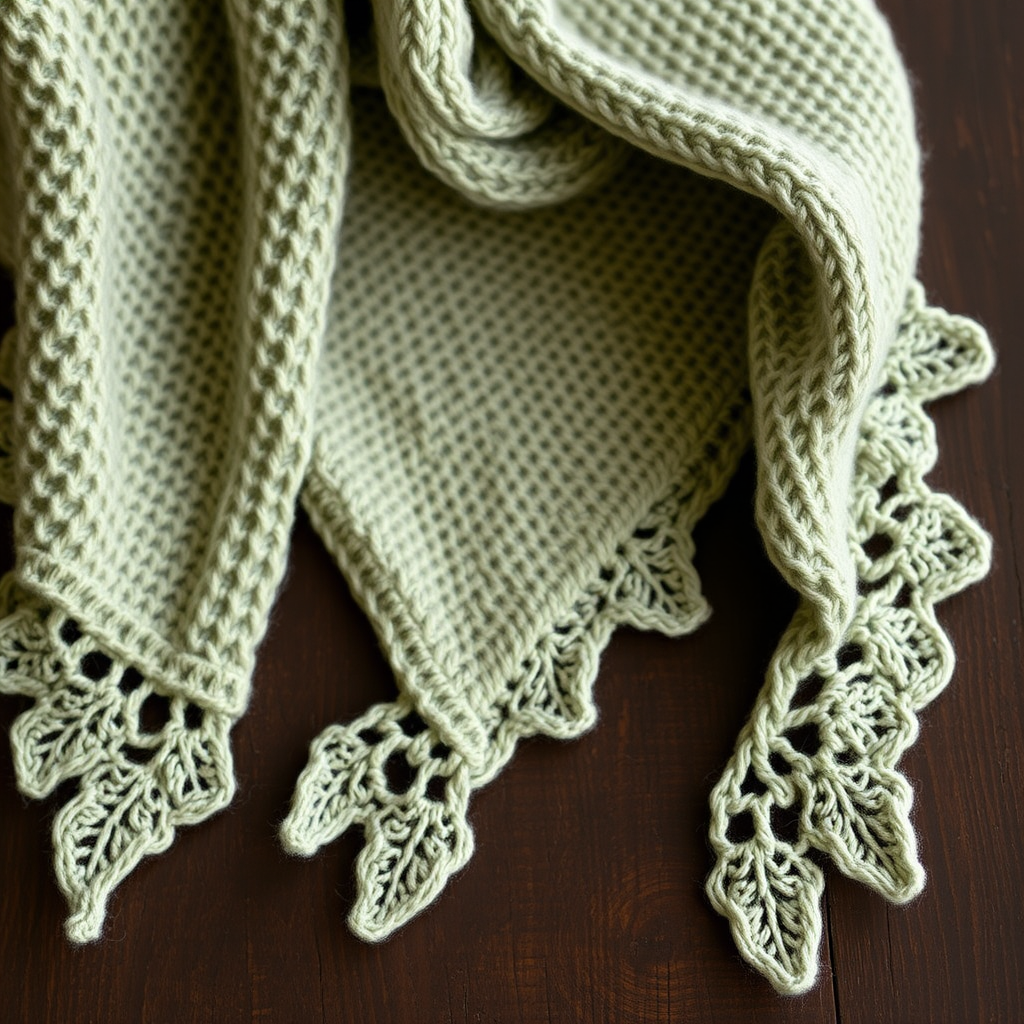
Emberfall Crescent Shawl Free Pattern – Textured Fade Knit Wrap

Introducing the Emberfall Crescent Shawl: A Free Knitting Pattern for Autumn's Warmth
As the leaves begin to turn and the air carries that familiar crispness, there's no better time to wrap yourself in a handmade treasure. The Emberfall Crescent Shawl is a stunning, free knitting pattern designed to capture the very essence of autumn. This crescent-shaped wrap features a rich, textured stitch that beautifully mimics falling leaves, while a breathtaking color fade transitions from deep burgundy through burnt orange to a final, glowing golden amber.
This isn't just a knitting project; it's a relaxing journey. The pattern is thoughtfully structured with a simple, repetitive stitch that is both meditative to knit and visually spectacular. Whether you're an experienced knitter looking for a satisfying project or a confident beginner ready for a challenge, this shawl is the perfect companion for cozy evenings. Let's dive into creating this wearable piece of autumn art.
Materials Needed: Gathering Your Autumn Palette
Before you cast on, let's ensure you have everything you need. This project uses worsted weight yarn, which makes for a quick, cozy knit that's perfect for wrapping up in.
- Yarn: Worsted weight yarn in 3 colors:
- Color A (Deep Burgundy): 220 yards
- Color B (Burnt Orange): 220 yards
- Color C (Golden Amber): 220 yards
- Needles: US 8 (5.0 mm) circular knitting needle, 32-inch or longer. The long cable is essential to accommodate the growing number of stitches.
- Notions: Stitch markers (optional, but helpful for marking the center stitch), tapestry needle for weaving in ends, and blocking pins/mats.
Gauge: 18 stitches and 24 rows = 4 inches in stockinette stitch (blocked). While gauge isn't critical for a shawl, matching it will ensure you use the correct amount of yarn and achieve the intended drape.
Step-by-Step Instructions: Knitting Your Emberfall Shawl
This shawl is worked from the top center outwards, increasing at the edges and center to create its beautiful crescent shape. The stitch pattern is a simple 4-row repeat that builds the leaf-like texture. We'll work in three distinct color sections, changing yarn as indicated.
Getting Started: The Cast On & Foundation
Notes: The shawl is worked back and forth in rows. The first and last 2 stitches of every row are knit (this creates a neat, non-curling garter stitch border). You will be increasing on every Right Side (RS) row.
Cast On: With Color A, cast on 5 stitches.
- Row 1 (RS): K2, yo, k1, yo, k2. (You now have 7 stitches)
- Row 2 (WS): K2, purl to last 2 sts, k2.
- Row 3: K2, yo, k1, yo, k1, yo, k1, yo, k2. (You now have 11 stitches)
- Row 4: K2, purl to last 2 sts, k2.
The Main Stitch Pattern: Creating the Leaf Texture
Now we begin the main pattern. This 4-row repeat is the heart of the shawl, creating the beautiful textured fabric. Place a stitch marker on the center stitch (the 6th stitch) of your row to help you identify it as you work.
- Row 5 (RS): K2, yo, *k1, p1, k1, yo*; repeat from * to * until you reach the last 2 sts, k2. (This row creates increases at the edges and throughout the row.)
- Row 6 (WS): K2, purl all stitches to last 2 sts, k2.
- Row 7 (RS): K2, yo, *k3, yo*; repeat from * to * until you reach the last 2 sts, k2.
- Row 8 (WS): K2, purl all stitches to last 2 sts, k2.
Increasing for the Crescent Shape
To achieve the crescent shape, you will continue repeating Rows 5-8, but you must also manage the increases at the center. Here’s how it works:
- Edge Increases: These are built into the pattern. You always work a yarn over (yo) after the first 2 knit stitches and before the last 2 knit stitches on every RS row.
- Center Increase: When you reach the center stitch (marked with your stitch marker), you will work a yo, k1, yo into that single stitch. This creates the central spine and adds the extra stitches needed for the crescent curve. Simply continue the row's pattern around this center increase.
Color Transitions: Building the Fade
Continue working the stitch pattern, keeping track of your total stitch count. The magic of the fade happens as you switch colors at specific milestones. Weave in ends as you go or leave them to weave in at the end.
- Color A (Deep Burgundy): Work with Color A until you have a total of 90 stitches on your needle.
- Color B (Burnt Orange): Switch to Color B and continue the pattern until you have a total of 180 stitches.
- Color C (Golden Amber): Switch to Color C and continue the pattern until you have a total of 270 stitches.
The Picot Edging & Bind Off
Once you reach 270 stitches, it's time to add a delicate, decorative edge before binding off.
- Final RS Row (Edging): K2, yo, *k2tog, yo*; repeat from * to * until the last 2 sts, k2. This creates a lovely picot-like edge.
- Bind Off Row (WS): K2, purl all stitches to the last 2 sts, k2. Then, bind off all stitches loosely in pattern. A loose bind-off is crucial to ensure the edge remains stretchy and doesn't pucker.
Finishing Touches: Weaving & Blocking
Your shawl is almost complete! The final steps are what transform your knitting into a beautifully draped accessory.
- Weave in Ends: Carefully weave in all loose yarn ends with your tapestry needle, being sure to do so on the wrong side of the work.
- Blocking: This step is essential for a professional finish. Soak the shawl in lukewarm water with a gentle wool wash for 15-20 minutes. Gently squeeze out excess water (do not wring). Lay the shawl flat on a clean towel and roll it up to remove more moisture.
- Shape: Place the damp shawl on blocking mats. Gently stretch and pin the curved edges to create the crescent form. Pin the top edge straight and the bottom edge in a gentle curve. Pay special attention to the picot edge, pinning each point to accentuate the detail. Allow it to dry completely before unpinning.
Once dry, your Emberfall Crescent Shawl is ready to wear. Drape it over your shoulders for a walk in the crisp air, or snuggle up with it and a warm drink. The gradient of colors and the rich texture make it a stunning statement piece that you'll treasure for many autumns to come. Happy knitting!