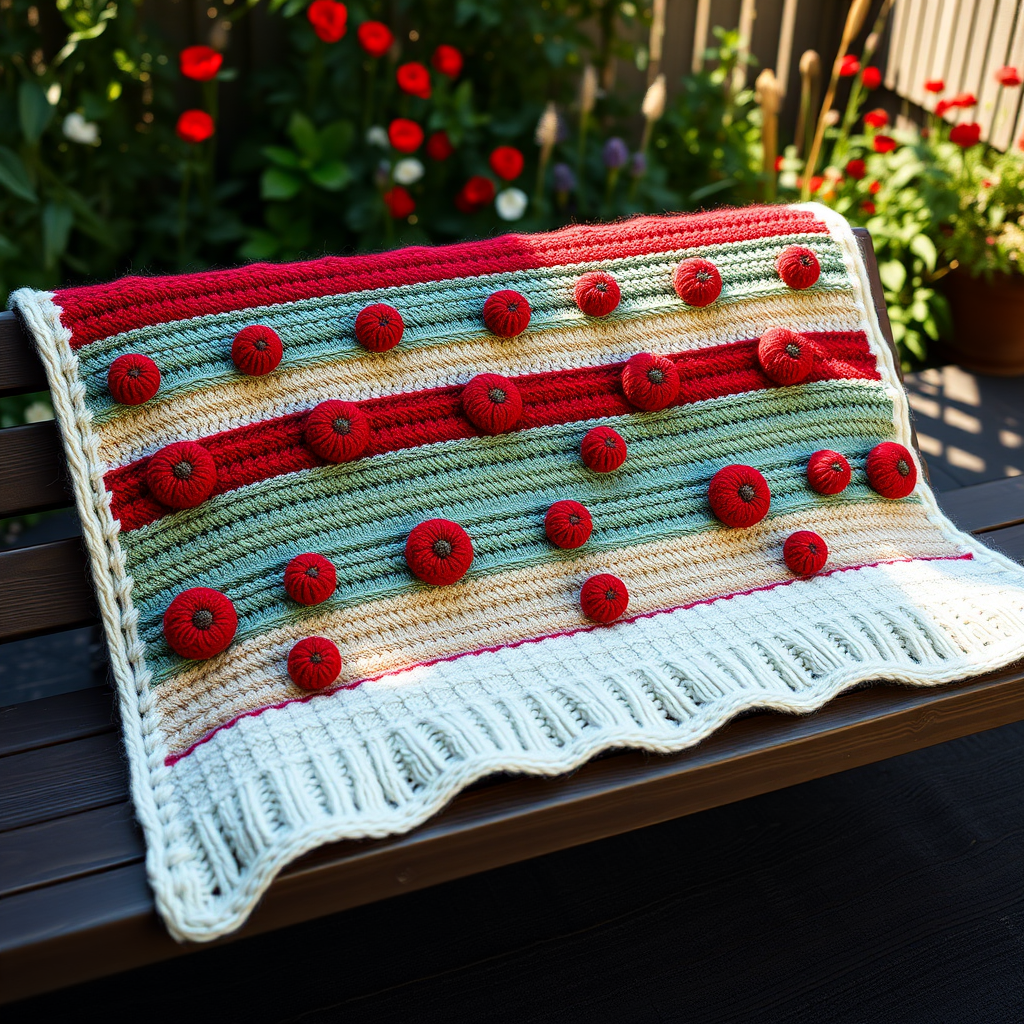
Heirloom Hexagon Garden Blanket Free Pattern – Knit a Vintage-Inspired Floral Mosaic Throw

Heirloom Hexagon Garden Blanket: A Vintage-Inspired Knitted Mosaic Throw
There's something deeply comforting about a blanket that feels like it was passed down through generations—even when you've just made it yourself. The Heirloom Hexagon Garden Blanket captures that magic: a lush mosaic of soft, faded jewel tones that evokes grandmotherly quilts and cozy reading nooks. This modular pattern is perfect for knitters ready to move beyond rectangles, offering a satisfying rhythm of increases and a beautiful payoff when the hexagons come together.
Whether you're draping it over your favorite armchair or gifting it to someone who deserves a handmade hug, this throw is a labor of love that's well worth every stitch. Let's dive into how you can create this floral-inspired masterpiece.
Materials Needed
Before you begin, gather these supplies to ensure a smooth knitting experience:
- Yarn: Worsted weight yarn in 6 colors:
- Cream (MC) – approximately 1200 yards
- Dusty Rose (A) – approximately 400 yards
- Sage Green (B) – approximately 400 yards
- Powder Blue (C) – approximately 400 yards
- Butter Yellow (D) – approximately 400 yards
- Lavender (E) – approximately 400 yards
- Needles: US 7 (4.5 mm) knitting needles (or size needed to achieve gauge)
- Notions: Tapestry needle for weaving in ends and seaming
- Gauge: 20 stitches and 28 rows = 4 inches in stockinette stitch (knit on RS, purl on WS)
Pro tip: Choose yarns with a soft, matte finish to enhance the vintage feel. Acrylic or wool blends work beautifully—just ensure they're all the same weight for consistent hexagon sizes.
Step-by-Step Instructions
Understanding the Construction
This blanket is built from 42 knitted hexagons, arranged in a 7-column by 6-row grid. Each hexagon is worked flat from the center outward, creating a subtle radiating ribbed texture from the yarn-over increases. After knitting all pieces, you'll sew them together with a decorative whip stitch and finish with a garter stitch border.
Hexagon Pattern (Make 42 Total)
Each hexagon follows the same increase pattern. The key is to work the yarn-overs consistently to create six distinct "petals" or points. Here's the complete pattern:
Setup: Using your chosen color, cast on 6 stitches loosely.
Row 1 (Right Side): Knit all 6 stitches.
Row 2 (Wrong Side): Purl all 6 stitches.
Row 3 (RS): K1, *yo, k1; repeat from * to end. You'll have 11 stitches on your needle.
Row 4 (WS): Purl all 11 stitches.
Row 5 (RS): K1, *yo, k2; repeat from * to end. You'll have 16 stitches.
Row 6 (WS): Purl all 16 stitches.
Row 7 (RS): K1, *yo, k3; repeat from * to end. You'll have 21 stitches.
Row 8 (WS): Purl all 21 stitches.
Row 9 (RS): K1, *yo, k4; repeat from * to end. You'll have 26 stitches.
Row 10 (WS): Purl all 26 stitches.
Row 11 (RS): K1, *yo, k5; repeat from * to end. You'll have 31 stitches.
Row 12 (WS): Purl all 31 stitches.
Row 13 (RS): K1, *yo, k6; repeat from * to end. You'll have 36 stitches.
Row 14 (WS): Purl all 36 stitches.
Row 15 (RS): K1, *yo, k7; repeat from * to end. You'll have 41 stitches.
Row 16 (WS): Purl all 41 stitches.
Row 17 (RS): K1, *yo, k8; repeat from * to end. You'll have 46 stitches.
Row 18 (WS): Purl all 46 stitches.
Row 19 (RS): K1, *yo, k9; repeat from * to end. You'll have 51 stitches.
Row 20 (WS): Purl all 51 stitches.
Bind Off: Bind off loosely on the right side. This ensures the edges remain stretchy for easy seaming.
Note: The yarn-overs create the increases that form the hexagon's six points. As you work, you'll notice the piece naturally takes on a hexagonal shape—this is normal and exactly what we want!
Color Distribution
To achieve the balanced mosaic look, you'll need:
- 7 hexagons in Cream (MC)
- 7 hexagons in Dusty Rose (A)
- 7 hexagons in Sage Green (B)
- 7 hexagons in Powder Blue (C)
- 7 hexagons in Butter Yellow (D)
- 7 hexagons in Lavender (E)
Total: 42 hexagons
Customization option: For a more organic, heirloom feel, you can vary the center color of each hexagon. Knit 6 hexagons with a Cream center and colored outer rows, and 6 with a colored center and Cream outer rows. However, the simplest approach—using one solid color per hexagon—creates a clean, cohesive look that's perfect for beginners.
Assembly: Sewing Your Hexagons Together
Once all 42 hexagons are complete and you've woven in the yarn tails, it's time to assemble your blanket. Follow these steps carefully:
Step 1: Arrange Your Layout
Lay out your hexagons on a flat surface in a 7-column by 6-row grid. Play with the arrangement until you're happy with the color distribution. Diagonal stripes, random scatter, or a gradient from light to dark all work beautifully. Take a photo for reference before you start sewing.
Step 2: Sew Vertical Seams First
Using your tapestry needle and Cream (MC) yarn, thread a long piece (about 18 inches). Place two adjacent hexagons with right sides facing up, edges touching. Using a whip stitch, insert the needle through the bound-off edge of one hexagon, then through the corresponding bound-off edge of the neighboring hexagon. Continue along the entire edge, matching corners carefully. The whip stitch creates a subtle, decorative ridge on the surface—this is part of the charm!
Step 3: Complete All Vertical Seams
Sew all hexagons in each column together first. You'll have 6 columns of 7 hexagons each.
Step 4: Sew Horizontal Seams
Now, sew the columns together horizontally. Again, use a whip stitch through the bound-off edges, matching corners precisely. Take your time here—proper corner alignment ensures a flat, professional finish.
Pro tip: As you sew, periodically lay the blanket flat to check for puckering. If you notice any, gently adjust your tension.
Adding the Garter Stitch Border
The border frames your beautiful mosaic and gives the blanket a finished, polished look.
Step 1: Pick Up Stitches
With the right side facing you, use your US 7 needles and Cream (MC) yarn to pick up and knit 1 stitch for every bound-off stitch along the outer edge. You'll have approximately 300 stitches total. Don't worry about exact numbers—just pick up evenly around the entire perimeter.
Step 2: Knit Garter Stitch Rows
Work in garter stitch (knit every row) for 6 rows total. This creates a lovely, textured border that echoes the cozy feel of the hexagons.
Step 3: Bind Off Loosely
Bind off all stitches loosely to maintain the blanket's drape. A loose bind-off prevents the edges from pulling or curling.
Finishing Touches
Weave in all ends: Use your tapestry needle to weave in any remaining yarn tails on the wrong side of the blanket. Be thorough—this ensures your blanket lasts for years.
Block gently: To shape your blanket and even out the seams, wet block it. Soak the blanket in lukewarm water with a mild wool wash, gently squeeze out excess water (never wring!), and lay flat on towels. Gently stretch it to the desired dimensions and pin if needed. Allow to dry completely.
Your Heirloom Awaits
As you wrap yourself in your finished Heirloom Hexagon Garden Blanket, you'll feel the pride of creating something truly special. The soft, faded colors and textured hexagons create a cozy, nostalgic piece that will be treasured for generations—perhaps even becoming a real heirloom someday.
This pattern is wonderfully adaptable: make a smaller baby blanket with fewer hexagons, or add more rows for a larger bedspread. The possibilities are as endless as your yarn stash.
Happy knitting, and enjoy your garden of stitches!