Ember Ridge Double Thick Potholder Free Pattern – Knit with Thermal Ribbing

Ember Ridge Double Thick Potholder: A Free Knitting Pattern for Modern Kitchens
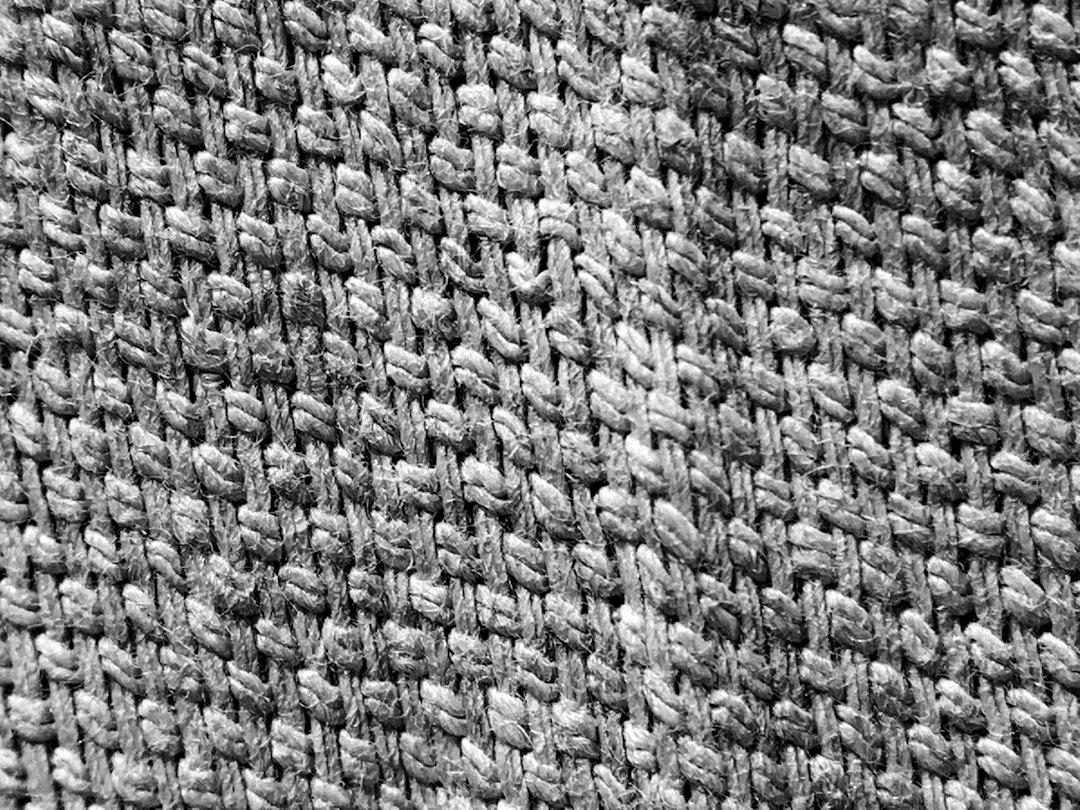
Transform your kitchen into a cozy, stylish haven with the Ember Ridge Double Thick Potholder. This free knitting pattern combines dense, heat-resistant cotton with a modern thermal ribbed texture, creating a practical yet beautiful accessory that protects your hands in style. The earthy terracotta and cream palette adds a warm, handmade touch to any home, making it a perfect gift for housewarmings or a delightful treat for your own kitchen.
This pattern is designed with beginners in mind, featuring clear instructions and simple techniques. The double-thick construction ensures excellent insulation, while the geometric ribbing provides a comfortable, secure grip. Let’s dive into this rewarding project that blends function with modern aesthetics.
Materials Needed
Before you begin, gather the following materials to ensure a smooth knitting experience:
- Yarn: Worsted weight 100% cotton yarn (e.g., Lion Brand Kitchen Cotton) – approximately 120 yards in Terracotta (Main Color, MC) and 120 yards in Cream (Contrast Color, CC). Cotton is essential for heat resistance and durability.
- Knitting Needles: US 7 (4.5 mm) straight needles.
- Crochet Hook: Size G/6 (4.0 mm) or similar, for the edging and loop.
- Tapestry Needle: For weaving in ends and sewing the hanging loop.
- Scissors: For cutting yarn.
Gauge: 20 stitches and 28 rows = 4 inches in stockinette stitch (blocked). While gauge is not critical for this project, matching it ensures your potholder is the correct size (approximately 8 inches square).
Step-by-Step Instructions
This potholder is knitted flat in two identical layers, which are then joined with a crochet edge for a clean, professional finish. The thermal ribbing pattern creates a thick, airy fabric that insulates exceptionally well.
Abbreviations
- CO: Cast on
- K: Knit
- P: Purl
- K2tog: Knit two stitches together (decrease)
- SSK: Slip, slip, knit (decrease)
- St(s): Stitch(es)
- Sl st: Slip stitch (crochet)
- Ch: Chain (crochet)
- Sc: Single crochet (crochet)
Layer 1 (Make 2)
Follow these instructions to create two identical layers. The thermal ribbing is achieved by alternating knit and purl stitches in a specific pattern.
Step 1: Cast On
With your Terracotta (MC) yarn, cast on 36 stitches using your preferred method (long-tail cast on works well).
Step 2: Establish Thermal Ribbing Pattern
Row 1 (Right Side): K1, *K1, P1; repeat from * to the last stitch, K1.
Row 2 (Wrong Side): K1, *P1, K1; repeat from * to the last stitch, K1.
Step 3: Continue Ribbing
Repeat Rows 1 and 2 until the piece measures 8 inches from the cast-on edge, ending with a Wrong Side row. This creates the dense, textured body of the potholder.
Step 4: Begin Decreases for the Top Edge
Now we will shape the top of the potholder with a series of decreases to create a neat, rounded edge.
Next Row (Right Side): K1, *K2tog, K1; repeat from * to the last stitch, K1. (You will have 25 stitches on your needle.)
Next Row (Wrong Side): K all stitches.
Next Row (Right Side): K1, *SSK, K1; repeat from * to the last stitch, K1. (You will have 17 stitches on your needle.)
Next Row (Wrong Side): K all stitches.
Next Row (Right Side): K1, *K2tog; repeat from * to the last stitch, K1. (You will have 9 stitches on your needle.)
Step 5: Finish the Layer
Cut the yarn, leaving a long tail (about 12 inches). Thread the tail through a tapestry needle, then pass it through the remaining 9 stitches on your knitting needle. Slip the stitches off the needle and pull the yarn tight to gather the top. Secure with a knot and weave in the end. Repeat this entire process to make a second identical layer.
Joining the Layers
Now we will join the two layers together to create the double-thick construction.
Step 1: Position the Layers
Place the two knitted layers together with their wrong sides facing each other. The right sides (the nicer-looking sides) should be facing out.
Step 2: Single Crochet Edging
Using your Cream (CC) yarn and crochet hook, join the yarn at any corner by inserting the hook through both layers and making a slip stitch. Work a round of single crochet (sc) evenly around the entire edge, inserting your hook through both layers each time. This will securely bind the layers together.
Step 3: Turning Corners
At each corner, work 3 single crochet stitches into the same corner stitch to allow the edging to turn smoothly without puckering.
Step 4: Finish the Edging
When you return to the starting corner, join with a slip stitch to the first single crochet. Fasten off and weave in the ends securely.
Creating the Hanging Loop
Add a functional and decorative hanging loop to one corner.
Step 1: Make the Chain
With your Cream (CC) yarn and crochet hook, chain 12 stitches.
Step 2: Form the Loop
Slip stitch into the first chain to form a loop. Fasten off, leaving a tail for sewing.
Step 3: Attach the Loop
Using a tapestry needle and the yarn tail, securely sew the loop to one corner of the potholder. Weave in all remaining ends.
Final Finishing
Block the potholder lightly to shape it and even out the stitches. To block, dampen the potholder with water, gently press out excess moisture, and lay it flat to dry, shaping it into a perfect square. Your Ember Ridge Double Thick Potholder is now complete and ready to add warmth and style to your kitchen!
Enjoy your handmade creation, and feel free to experiment with different color combinations to match your kitchen decor. Happy knitting!