Driftwood Dune Blanket Free Pattern – Knit a Textured Coastal Throw

Driftwood Dune Blanket Free Pattern – Knit a Textured Coastal Throw
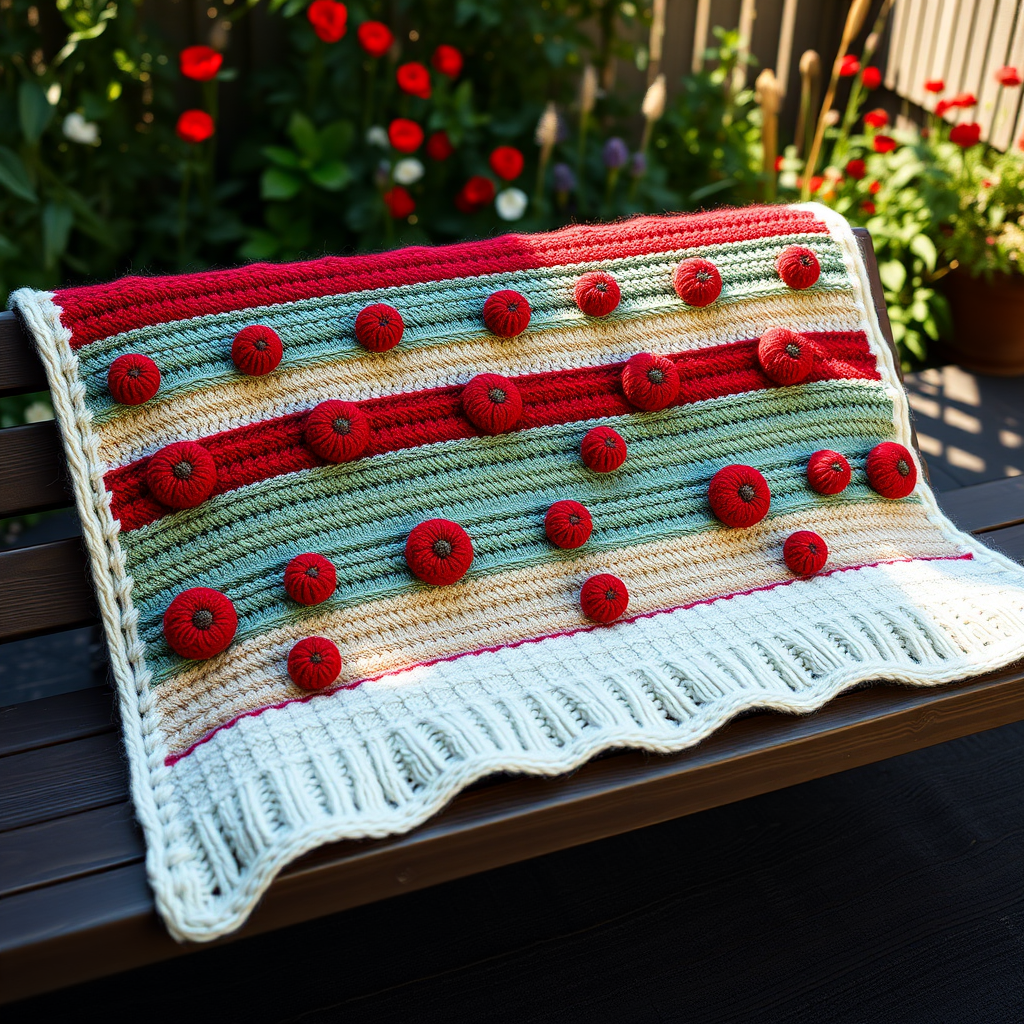
Wrap yourself in the serene beauty of a windswept shore with this chunky, textured knit blanket. The Driftwood Dune Blanket combines soft sand, misty blue, and weathered gray tones in a stunning, modern design. This free knitting pattern is perfect for intermediate beginners who want to create a statement piece for their living room or bedroom. The soothing color palette and plush, chunky texture will bring a touch of coastal calm to any space, making it a joy to knit and even more delightful to snuggle under.
This pattern is worked flat in one piece, using simple knit and purl stitches with a subtle eyelet wave pattern that mimics the ebb and flow of ocean tides. The wide horizontal bands of color create a modern, minimalist aesthetic that fits beautifully into farmhouse, coastal, or Scandinavian-inspired decor. Whether you're an experienced knitter looking for a relaxing project or a confident beginner ready to tackle your first blanket, the Driftwood Dune Blanket is an achievable and rewarding project.
Materials Needed
Before you begin, gather the following materials. Using the exact yarn weight and needle size is crucial to achieving the correct gauge and finished dimensions.
Yarn
- Super bulky weight yarn (size 6) in three colors:
- Color A (Sand): Warm beige – approximately 500g
- Color B (Misty Blue): Cool dusty blue – approximately 350g
- Color C (Weathered Gray): Soft gray – approximately 350g
- Total yarn needed: approximately 1200g
Needles & Notions
- US 15 (10mm) circular knitting needle with a 32-inch cable (required to hold the large number of stitches comfortably)
- Stitch markers (optional, for tracking sections)
- Tapestry needle for weaving in ends
- Scissors
Gauge
6 stitches and 8 rows = 4 inches in stockinette stitch (knit one row, purl one row). Always knit a gauge swatch before starting to ensure your blanket matches the finished size of 50 inches wide x 60 inches long. If your gauge is off, adjust your needle size accordingly.
Step-by-Step Instructions
Follow these detailed instructions carefully. The pattern is broken into color sections, and each row is clearly explained. Take your time, count your stitches regularly, and enjoy the rhythmic process of knitting this beautiful throw.
Abbreviations
- CO: Cast on
- K: Knit
- P: Purl
- K2tog: Knit two stitches together (decrease)
- Yo: Yarn over (increase, creates an eyelet hole)
- Sl: Slip stitch
- Rep: Repeat
Pattern Notes
- The blanket is worked flat in one piece from the bottom up.
- Use a long-tail cast on for a neat, stretchy edge.
- When changing colors, carry the new yarn up the side of the work. Simply twist the old and new yarns together at the beginning of the row to avoid creating holes, and you won't have to weave in as many ends at the end.
- Keep your tension consistent, especially when switching between knit and purl rows.
Section 1: Sand Base (Color A)
This section creates the solid, warm foundation of your blanket using a simple garter stitch (knitting every row).
- CO 75 stitches with Color A.
- Rows 1-10: K all stitches. (You will have 10 ridges of garter stitch, which looks like 5 visible bumps on each side).
Section 2: Misty Blue Waves (Color B)
This section introduces the first wave pattern. The yarn overs (yo) and knit-two-togethers (K2tog) create a delicate, lacy eyelet pattern that resembles sea foam.
- Row 11: Switch to Color B. K all stitches.
- Row 12: P all stitches. (This creates a stockinette stitch base).
- Row 13 (Eyelet row): K1, *yo, K2tog, rep from * to the last 2 stitches, K2. (This row creates the wave pattern. The yarn over adds a stitch, and the K2tog removes one, keeping the stitch count at 75).
- Row 14: P all stitches.
- Rows 15-16: K all stitches. (This creates a garter stitch border between the wave patterns).
- Rows 17-20: Rep Rows 11-14. (This creates a second wave pattern).
- Rows 21-22: K all stitches.
Section 3: Weathered Gray Dunes (Color C)
This section mirrors the Misty Blue section but uses the soft gray yarn, adding depth and a sense of coastal dunes to the design.
- Row 23: Switch to Color C. K all stitches.
- Row 24: P all stitches.
- Row 25 (Eyelet row): K1, *yo, K2tog, rep from * to the last 2 stitches, K2.
- Row 26: P all stitches.
- Rows 27-28: K all stitches.
- Rows 29-32: Rep Rows 23-26. (This creates a second wave pattern in gray).
- Rows 33-34: K all stitches.
Section 4: Sand Base Repeat (Color A)
Return to the warm sand color to create another solid garter stitch band, grounding the blanket.
- Rows 35-44: Switch to Color A. K all stitches. (This is a 10-row garter stitch section, matching Section 1).
Section 5: Misty Blue Waves Repeat (Color B)
Repeat the exact same sequence as Section 2 to create a second band of blue waves.
- Rows 45-56: Rep Section 2 (Rows 11-22).
Section 6: Weathered Gray Dunes Repeat (Color C)
Repeat the exact same sequence as Section 3 for another band of gray waves.
- Rows 57-68: Rep Section 3 (Rows 23-34).
Section 7: Sand Base Final (Color A)
Finish the main body of the blanket with a final band of sand-colored garter stitch.
- Rows 69-78: Switch to Color A. K all stitches.
- Do not bind off yet. Leave the stitches on the needle or place them on a stitch holder. You will use these stitches when picking up for the border.
Border
The border frames the blanket beautifully and gives it a polished, finished look. It is worked in garter stitch (knitting every row) using Color A.
- Pick up stitches: With Color A, starting at the bottom left corner of the blanket, pick up and knit 1 stitch for every row along the left side. Then pick up and knit 1 stitch for every cast-on stitch along the bottom edge. Continue picking up 1 stitch for every row along the right side. Finally, pick up and knit the 75 stitches from the top edge (the ones you left on the needle or holder). Tip: To keep your corners neat, pick up 2-3 extra stitches in each corner to prevent curling.
- Knit the border: Once you have picked up all the stitches around the entire blanket, you will be working in the round on your circular needle. Knit 5 rows of garter stitch around the entire blanket. Note: Since you are working in the round, to create garter stitch you will need to knit one round, then purl one round, alternating. If you prefer, you can work the border flat by picking up stitches on one side at a time, but working in the round is more efficient.
- Bind off loosely: Bind off all stitches very loosely to ensure the edge remains stretchy and doesn't pucker. Use a larger needle for binding off if needed, or use a stretchy bind-off method like the "Jeny's Surprisingly Stretchy Bind-Off."
Finishing
- Weave in all ends securely using a tapestry needle. If you carried yarn up the sides, you will only have a few ends to weave in at the very beginning and end of each color section.
- Block gently: Lay the blanket flat on a clean surface. Lightly mist it with water (or use a steam iron held a few inches above the fabric) to relax the stitches and even out the tension. Do not stretch it aggressively; just gently shape it to the finished dimensions of 50 inches by 60 inches. Allow it to dry completely before using.
Your Driftwood Dune Blanket is now complete! This cozy, textured throw is perfect for draping over a sofa, folding at the foot of a bed, or gifting to someone special. The combination of chunky yarn, soothing colors, and the gentle wave pattern makes it a truly special piece that you'll be proud to say you made yourself. Happy knitting!