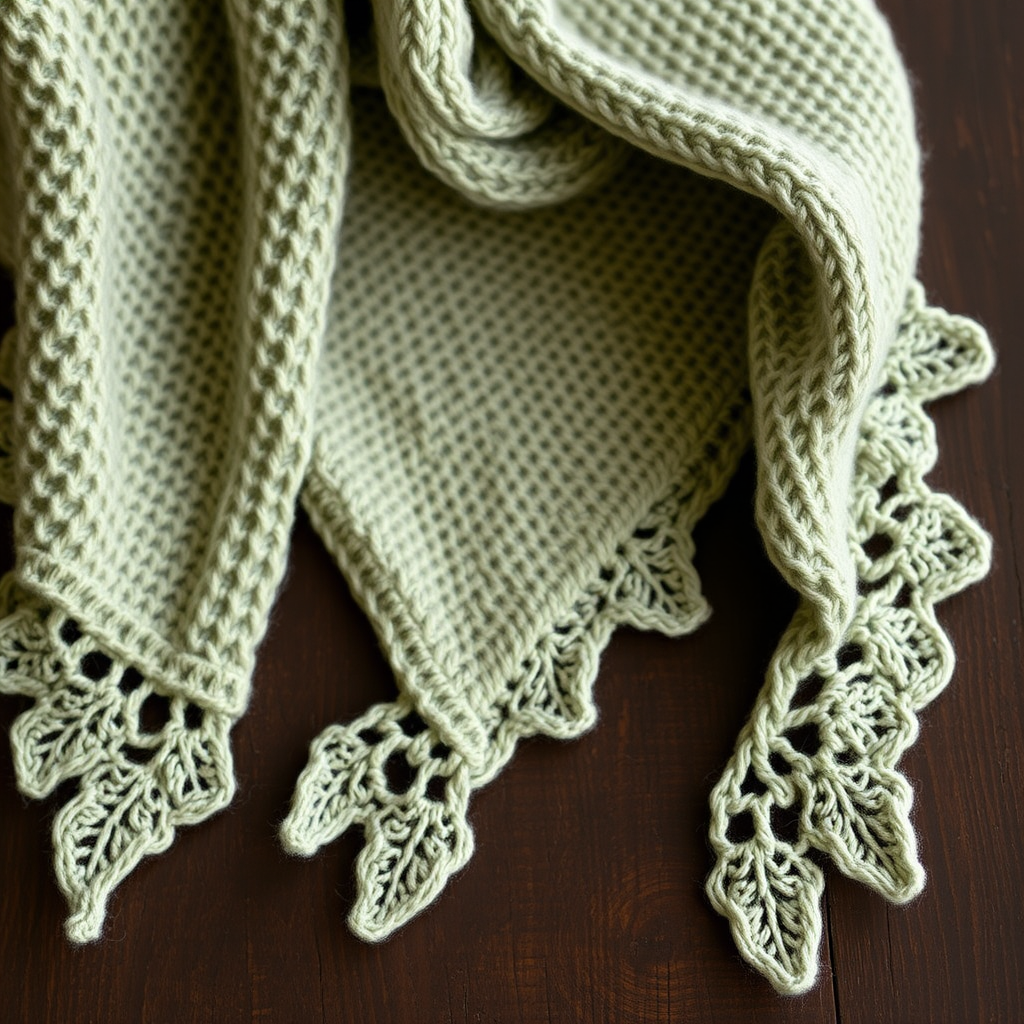
Disha Shawl 79599 Free Pattern – A Radiant Mosaic Knit Wrap
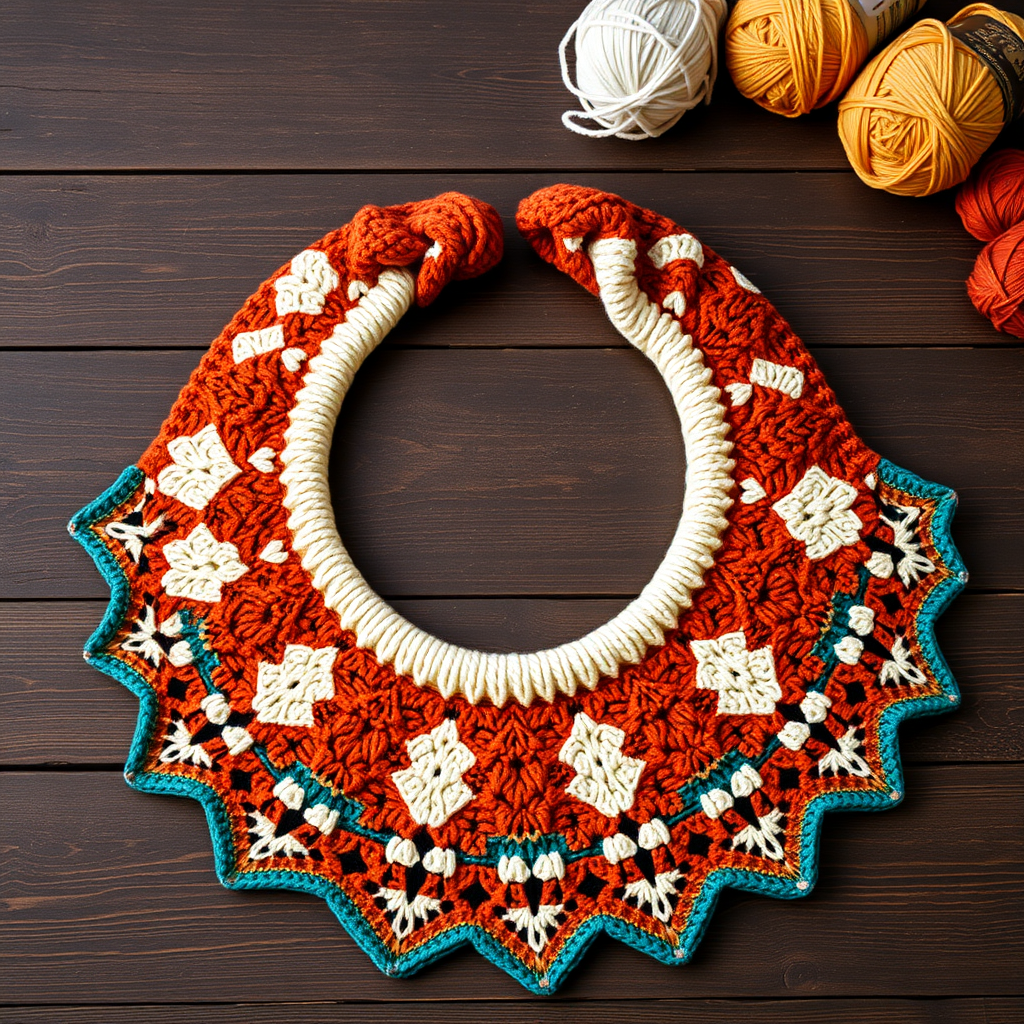
The Disha Shawl: A Radiant Mosaic Knit Wrap – Free Pattern
Wrap yourself in the warmth and artistry of the Disha Shawl, a stunning crescent-shaped knit that brings together the rich, earthy tones of terracotta, deep teal, and soft cream. This isn't just a shawl; it's a meditative journey through mosaic knitting, where slipped stitches create intricate geometric patterns without the fuss of stranding multiple yarns across rows. The result is a beautifully textured, flowing wrap that's perfect for cozy evenings or adding an elegant, handmade touch to any outfit. Whether you're a seasoned knitter looking for a new rhythmic challenge or a confident beginner ready to expand your skills, this free pattern will guide you to create a truly radiant piece.
Materials Needed
Before you begin your crafting adventure, gather these essential materials. The Disha Shawl uses worsted weight yarn, making it a quick and satisfying project.
- Yarn: Worsted weight yarn in three colors:
- Color A (Terracotta): 350g – This forms the main body and base of your mosaic pattern.
- Color B (Deep Teal): 250g – This will create the striking geometric motifs.
- Color C (Soft Cream): 200g – Used for accent stripes and the optional delicate edging.
- Needle: US 7 (4.5mm) circular knitting needle with a 32-inch cable. The long cable is crucial for holding the many stitches as the shawl grows.
- Notions: Stitch markers (at least 2), a tapestry needle for weaving in ends, and blocking pins/mat for the final finish.
Gauge & Key Techniques
Getting the right gauge ensures your shawl has the perfect drape and dimensions.
- Gauge: 18 stitches and 28 rows = 4 inches in garter stitch (after blocking). Always knit a swatch to match this gauge for best results.
This pattern uses a few key techniques. If you're new to mosaic knitting, don't worry—it's simpler than it looks! You only work with one color per row, and the pattern is created by slipping stitches.
- Mosaic Technique: You will slip stitches purlwise. On knit rows, hold the yarn in the back. On purl rows, hold the yarn in the front. This creates the geometric patterns.
- Carrying Yarn: When changing colors, do not cut the yarn. Simply carry the unused color loosely up the side of the work.
Step-by-Step Instructions
Let's dive into the pattern. The Disha Shawl is worked from the top center down, increasing at the edges and center to form its beautiful crescent shape. Follow each section carefully, and you'll see your shawl come to life.
Abbreviations
- k = knit
- p = purl
- sl = slip stitch purlwise
- yo = yarn over
- k2tog = knit two together
- kfb = knit front and back (increase)
- pm = place marker
- sm = slip marker
- RS = right side
- WS = wrong side
Setup
With Color A, cast on 5 stitches. Knit 6 rows in garter stitch (knit every row). This creates a small, sturdy base for your increases.
Increase Section (Rows 1-20)
This section establishes the shape of the shawl. You will be increasing at the edges and at the center marker.
- Row 1 (RS): kfb, k1, yo, pm, k1, pm, yo, k1, kfb – you now have 9 stitches.
- Row 2 (WS): k2, p to last 2 sts, k2. (When you come to the yo from the previous row, knit it through the back loop to avoid a hole).
- Row 3: kfb, k to marker, yo, sm, k1, sm, yo, k to last st, kfb – 13 sts.
- Row 4: k2, p to last 2 sts, k2.
- Repeat Rows 3 and 4 until you have 41 stitches total (this will be after completing Row 20).
Mosaic Pattern Section (Rows 21-80)
Now the magic begins! You'll work the mosaic chart in garter stitch with slipped stitches. The pattern repeat is 8 rows. Always maintain the first and last 2 stitches in garter stitch with Color A—these are your edge stitches.
- Row 21 (RS, Color A): k2, *k1, sl1, k3, sl1, k1* repeat from * to * until 2 sts before marker, k to marker, yo, sm, k1, sm, yo, k to last 2 sts, k2.
- Row 22 (WS, Color A): k2, p to marker, yo, sm, k1, sm, yo, p to last 2 sts, k2. (Remember to slip the same stitches as on the RS, but with yarn in front).
- Row 23 (RS, Color B): k2, *sl1, k3, sl1, k1* repeat from * to * until 2 sts before marker, k to marker, yo, sm, k1, sm, yo, k to last 2 sts, k2.
- Row 24 (WS, Color B): k2, p to marker, yo, sm, k1, sm, yo, p to last 2 sts, k2.
- Row 25 (RS, Color A): k2, *k3, sl1, k1, sl1* repeat from * to * until 2 sts before marker, k to marker, yo, sm, k1, sm, yo, k to last 2 sts, k2.
- Row 26 (WS, Color A): k2, p to marker, yo, sm, k1, sm, yo, p to last 2 sts, k2.
- Row 27 (RS, Color C): k2, *sl1, k1, sl1, k3* repeat from * to * until 2 sts before marker, k to marker, yo, sm, k1, sm, yo, k to last 2 sts, k2.
- Row 28 (WS, Color C): k2, p to marker, yo, sm, k1, sm, yo, p to last 2 sts, k2.
- Repeat Rows 21-28 ten times total. Continue to increase at the markers on every RS row. After completing Row 80, you will have 161 stitches.
Center Diamond Section (Rows 81-120)
This section creates a gorgeous central diamond motif using Color B on a Color A background. The increases continue as before.
- Row 81 (RS, Color A): k2, *k5, sl1* repeat from * to * until 2 sts before marker, k to marker, yo, sm, k1, sm, yo, k to last 2 sts, k2.
- Row 82 (WS, Color A): k2, p to marker, yo, sm, k1, sm, yo, p to last 2 sts, k2.
- Row 83 (RS, Color B): k2, *k4, sl1, k1* repeat from * to * until 2 sts before marker, k to marker, yo, sm, k1, sm, yo, k to last 2 sts, k2.
- Row 84 (WS, Color B): k2, p to marker, yo, sm, k1, sm, yo, p to last 2 sts, k2.
- Row 85 (RS, Color A): k2, *k3, sl1, k2* repeat from * to * until 2 sts before marker, k to marker, yo, sm, k1, sm, yo, k to last 2 sts, k2.
- Row 86 (WS, Color A): k2, p to marker, yo, sm, k1, sm, yo, p to last 2 sts, k2.
- Row 87 (RS, Color B): k2, *k2, sl1, k3* repeat from * to * until 2 sts before marker, k to marker, yo, sm, k1, sm, yo, k to last 2 sts, k2.
- Row 88 (WS, Color B): k2, p to marker, yo, sm, k1, sm, yo, p to last 2 sts, k2.
- Row 89 (RS, Color A): k2, *k1, sl1, k4* repeat from * to * until 2 sts before marker, k to marker, yo, sm, k1, sm, yo, k to last 2 sts, k2.
- Row 90 (WS, Color A): k2, p to marker, yo, sm, k1, sm, yo, p to last 2 sts, k2.
- Row 91 (RS, Color B): k2, *sl1, k5* repeat from * to * until 2 sts before marker, k to marker, yo, sm, k1, sm, yo, k to last 2 sts, k2.
- Row 92 (WS, Color B): k2, p to marker, yo, sm, k1, sm, yo, p to last 2 sts, k2.
- Row 93 (RS, Color A): k2, *k1, sl1, k4* repeat from * to * until 2 sts before marker, k to marker, yo, sm, k1, sm, yo, k to last 2 sts, k2.
- Row 94 (WS, Color A): k2, p to marker, yo, sm, k1, sm, yo, p to last 2 sts, k2.
- Row 95 (RS, Color B): k2, *k2, sl1, k3* repeat from * to * until 2 sts before marker, k to marker, yo, sm, k1, sm, yo, k to last 2 sts, k2.
- Row 96 (WS, Color B): k2, p to marker, yo, sm, k1, sm, yo, p to last 2 sts, k2.
- Row 97 (RS, Color A): k2, *k3, sl1, k2* repeat from * to * until 2 sts before marker, k to marker, yo, sm, k1, sm, yo, k to last 2 sts, k2.
- Row 98 (WS, Color A): k2, p to marker, yo, sm, k1, sm, yo, p to last 2 sts, k2.
- Row 99 (RS, Color B): k2, *k4, sl1, k1* repeat from * to * until 2 sts before marker, k to marker, yo, sm, k1, sm, yo, k to last 2 sts, k2.
- Row 100 (WS, Color B): k2, p to marker, yo, sm, k1, sm, yo, p to last 2 sts, k2.
- Row 101 (RS, Color A): k2, *k5, sl1* repeat from * to * until 2 sts before marker, k to marker, yo, sm, k1, sm, yo, k to last 2 sts, k2.
- Row 102 (WS, Color A): k2, p to marker, yo, sm, k1, sm, yo, p to last 2 sts, k2.
- Repeat Rows 81-102 once more. Continue increasing until you have 201 stitches (after completing Row 120).
Border Section (Rows 121-140)
This simple garter border with eyelet increases adds a delicate, scalloped edge to your shawl.
- Row 121 (RS, Color A): k2, *yo, k2tog* repeat from * to * until 2 sts before marker, k to marker, yo, sm, k1, sm, yo, k to last 2 sts, *k2tog, yo* repeat from * to * until last 2 sts, k2.
- Row 122 (WS): k2, p to last 2 sts, k2. (Knit the yo through the back loop).
- Row 123 (RS): kfb, k to marker, yo, sm, k1, sm, yo, k to last st, kfb.
- Row 124: k2, p to last 2 sts, k2.
- Repeat Rows 121-124 four times, ending with Row 140. You will now have 233 stitches.
Bind Off (Row 141)
With Color A, bind off all stitches loosely knitwise. This loose bind-off is essential for a stretchy, elegant edge. Cut the yarn and weave in all loose ends.
Blocking & Finishing
Blocking is the secret to a professional-looking shawl. It opens up the mosaic pattern and gives the shawl its beautiful drape.
- Soak: Submerge the shawl in lukewarm water with a mild wool wash for 30 minutes.
- Gently Squeeze: Carefully press out the excess water. Do not wring or twist.
- Pin to Shape: Lay the shawl flat on a blocking mat. Pin out the crescent shape, stretching the points and edges to open up the mosaic pattern. The shawl should measure approximately 60 inches across the top and 20 inches deep at the center.
- Dry: Allow it to dry completely before unpinning.
After blocking, weave in any remaining ends. For an extra touch of elegance, you can add a crochet picot edge using Color C: *sc in first st, ch 3, sc in same st, skip 1 st* repeat around the entire edge. This creates a delicate, finished look that beautifully complements the shawl's texture.
Congratulations on completing your Disha Shawl! This radiant mosaic wrap is a testament to your skill and patience. Enjoy the warmth, the texture, and the beautiful story your handmade creation tells.