Crimson Cascade Bow Beret Free Pattern – Luxurious Crochet with Woven Ribbon Motif

Crimson Cascade Bow Beret Free Pattern – Luxurious Crochet with Woven Ribbon Motif
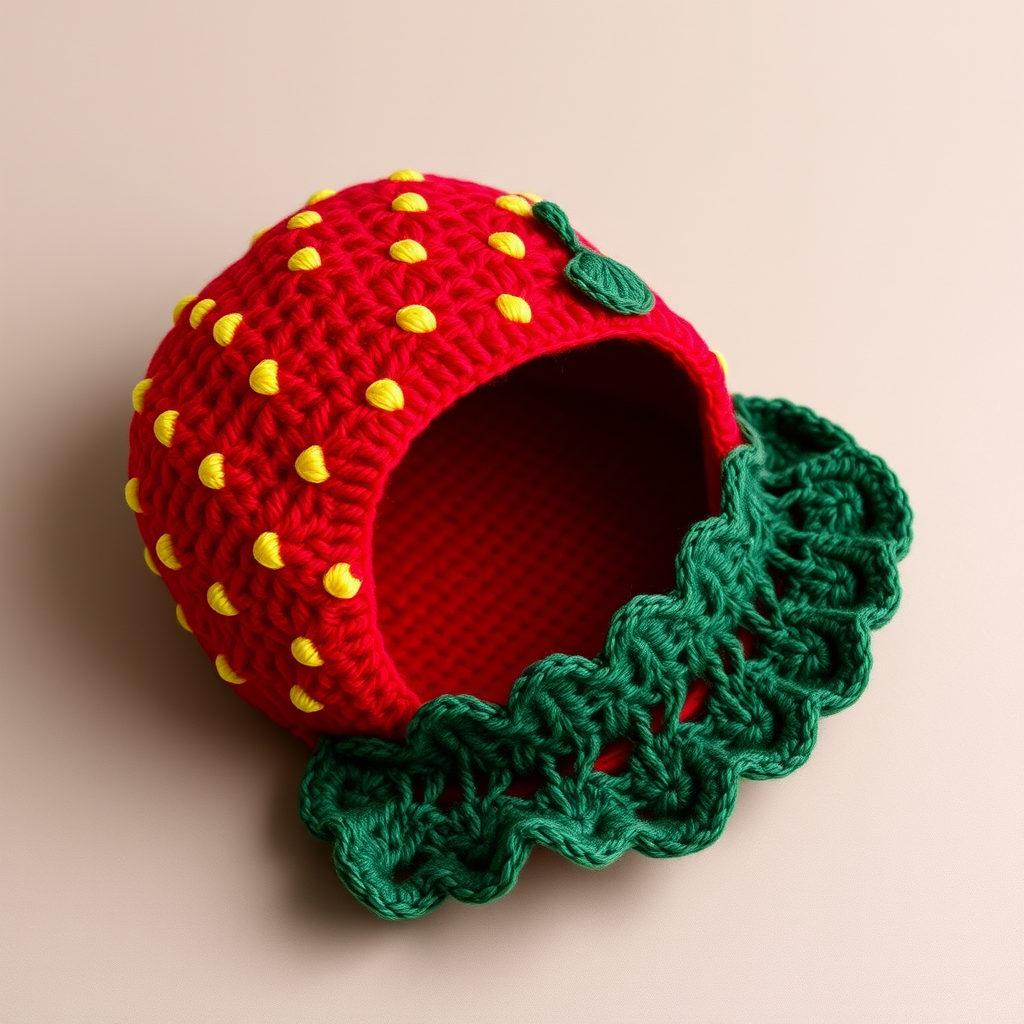
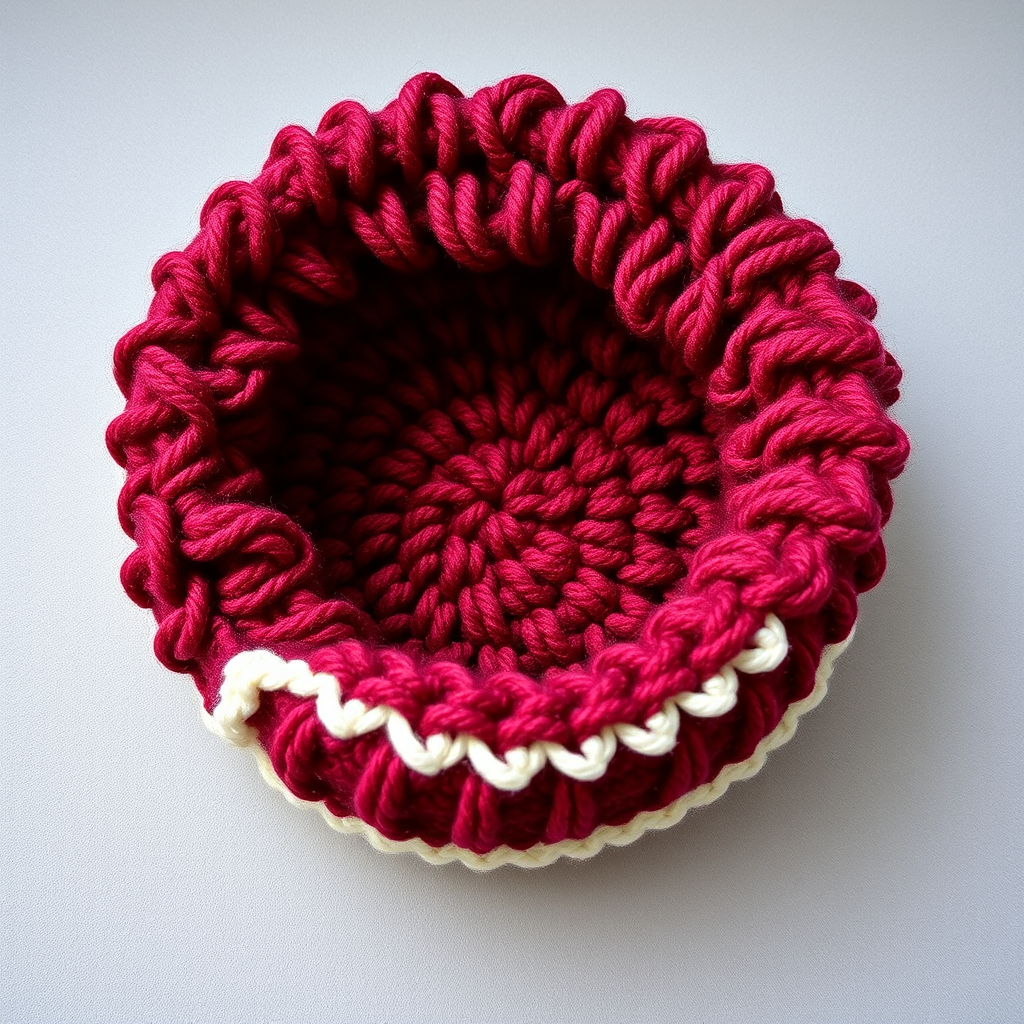
Elevate your winter wardrobe with this opulent beret, featuring a rich crimson base and a sculptural golden bow that adds a touch of regal charm. The intricate woven texture and plush yarn make it a standout accessory for any occasion. Whether you're heading to a holiday gathering or simply want to add a dash of luxury to your everyday style, this beret is the perfect handmade statement piece. Best of all, it's beginner-friendly—using only basic single crochet stitches and simple shaping—so you can create a designer-looking hat right at home.
Materials Needed
Before you begin, gather the following supplies. All items are readily available at craft stores or online.
- Yarn: Worsted weight yarn in deep red (e.g., Lion Brand Vanna's Choice in Crimson) – approximately 200 yards
- Yarn (contrast): Worsted weight yarn in gold (e.g., Lion Brand Vanna's Choice in Gold) – approximately 60 yards
- Crochet Hook: 5.5 mm (I-9) crochet hook
- Yarn needle for weaving in ends and sewing the bow
- Scissors
- Stitch marker (optional, but helpful for keeping track of rounds)
Gauge: 14 sc x 16 rows = 4 inches (10 cm) in single crochet. Always check your gauge to ensure the correct fit. If your hat is too small, try a larger hook; if too loose, use a smaller hook.
Step-by-Step Instructions
This pattern is worked in continuous rounds (no joining) for the beret body, which creates a seamless, smooth fabric. The bow is worked flat and then sewn on. Let's get started!
Beret Body (Worked in Red Yarn)
Round 1: With red yarn, make a magic ring. Work 8 sc into the ring. Pull the tail tight to close the ring. (8 sts)
Round 2: 2 sc in each st around. (16 sts)
Round 3: *Sc in next st, 2 sc in next st* repeat around. (24 sts)
Round 4: *Sc in next 2 sts, 2 sc in next st* repeat around. (32 sts)
Round 5: *Sc in next 3 sts, 2 sc in next st* repeat around. (40 sts)
Round 6: *Sc in next 4 sts, 2 sc in next st* repeat around. (48 sts)
Round 7: *Sc in next 5 sts, 2 sc in next st* repeat around. (56 sts)
Round 8: *Sc in next 6 sts, 2 sc in next st* repeat around. (64 sts)
Round 9: *Sc in next 7 sts, 2 sc in next st* repeat around. (72 sts)
Round 10: *Sc in next 8 sts, 2 sc in next st* repeat around. (80 sts)
Round 11: *Sc in next 9 sts, 2 sc in next st* repeat around. (88 sts)
Round 12: *Sc in next 10 sts, 2 sc in next st* repeat around. (96 sts)
At this point, your circle should measure approximately 8.5 inches in diameter. This is the flat top of the beret.
Rounds 13-20: Sc in each st around. (96 sts) – This creates the flat top of the beret. Do not increase or decrease; simply work one single crochet in every stitch around. Use a stitch marker to mark the beginning of each round if needed.
Round 21: *Sc in next 10 sts, sc2tog* repeat around. (88 sts) – To work a sc2tog (single crochet decrease), insert your hook into the next stitch, yarn over and pull up a loop, insert your hook into the following stitch, yarn over and pull up a loop (you now have 3 loops on your hook), yarn over and pull through all 3 loops. This combines two stitches into one.
Round 22: *Sc in next 9 sts, sc2tog* repeat around. (80 sts)
Round 23: *Sc in next 8 sts, sc2tog* repeat around. (72 sts)
Round 24: *Sc in next 7 sts, sc2tog* repeat around. (64 sts)
Round 25: *Sc in next 6 sts, sc2tog* repeat around. (56 sts)
Round 26: *Sc in next 5 sts, sc2tog* repeat around. (48 sts)
Round 27: *Sc in next 4 sts, sc2tog* repeat around. (40 sts)
Round 28: *Sc in next 3 sts, sc2tog* repeat around. (32 sts)
Round 29: *Sc in next 2 sts, sc2tog* repeat around. (24 sts)
Round 30: *Sc in next st, sc2tog* repeat around. (16 sts)
Round 31: Sc2tog around. (8 sts)
Fasten off, leaving a long tail (about 12 inches). Thread the tail through a yarn needle and weave it through the remaining 8 stitches. Pull tight to close the top of the beret completely. Weave in all ends securely.
Bow (Worked in Gold Yarn)
The bow is made of three parts: two identical loops and a small center knot. All are worked flat in rows.
Bow Loops (Make 2)
With gold yarn, chain 20.
Row 1: Sc in 2nd ch from hook and in each ch across. (19 sts)
Rows 2-6: Ch 1, turn, sc in each st across. (19 sts) – Repeat this row 5 times total. At the end of Row 6, you will have a rectangle approximately 3 inches wide and 2.5 inches tall.
Fasten off, leaving a long tail (about 12 inches) for sewing. Fold each rectangle in half widthwise (bringing the short ends together) and sew the short ends together to form a loop. Repeat for the second rectangle.
Now, take a separate piece of gold yarn (about 12 inches) and wrap it tightly around the center of each loop, gathering the fabric into a bow shape. Wrap the yarn around the middle several times and tie a secure knot on the back. This cinches the loop into the classic bow silhouette. Repeat for the second loop.
Bow Center Knot
With gold yarn, chain 6.
Row 1: Sc in 2nd ch from hook and in each ch across. (5 sts)
Rows 2-4: Ch 1, turn, sc in each st across. (5 sts) – Repeat this row 3 times total. You will have a small rectangle approximately 1 inch wide and 1 inch tall.
Fasten off, leaving a long tail (about 12 inches).
Assembling the Bow
Place the two gathered loops side by side, with the cinched centers touching. Take the small center knot rectangle and wrap it around the middle of the two loops, covering the wrapped yarn. Position the seam of the knot on the back of the bow. Sew the ends of the knot together on the back using the yarn needle and tail. This creates a neat, professional-looking center knot.
Assembly – Attaching the Bow to the Beret
Position the completed bow on the side of the beret, slightly above the brim (about 1-2 inches up from the bottom edge). The beret should be worn with the seam at the top center; the bow looks best placed on the left or right side, roughly at temple level.
Using the long tails from the bow loops and the yarn needle, sew the bow securely to the beret. Make several passes through the back of the bow and into the beret fabric to ensure it is firmly attached. Tie off the yarn on the inside of the beret and weave in all ends.
Finally, weave in any remaining loose ends from the beret body and the bow. Give your beret a gentle steam block (optional) to smooth the stitches and help the bow hold its shape.
Your Crimson Cascade Bow Beret is complete! This luxurious accessory is sure to turn heads and keep you cozy all season long. Enjoy wearing your handmade creation, and don't forget to share your finished project with fellow crafters!