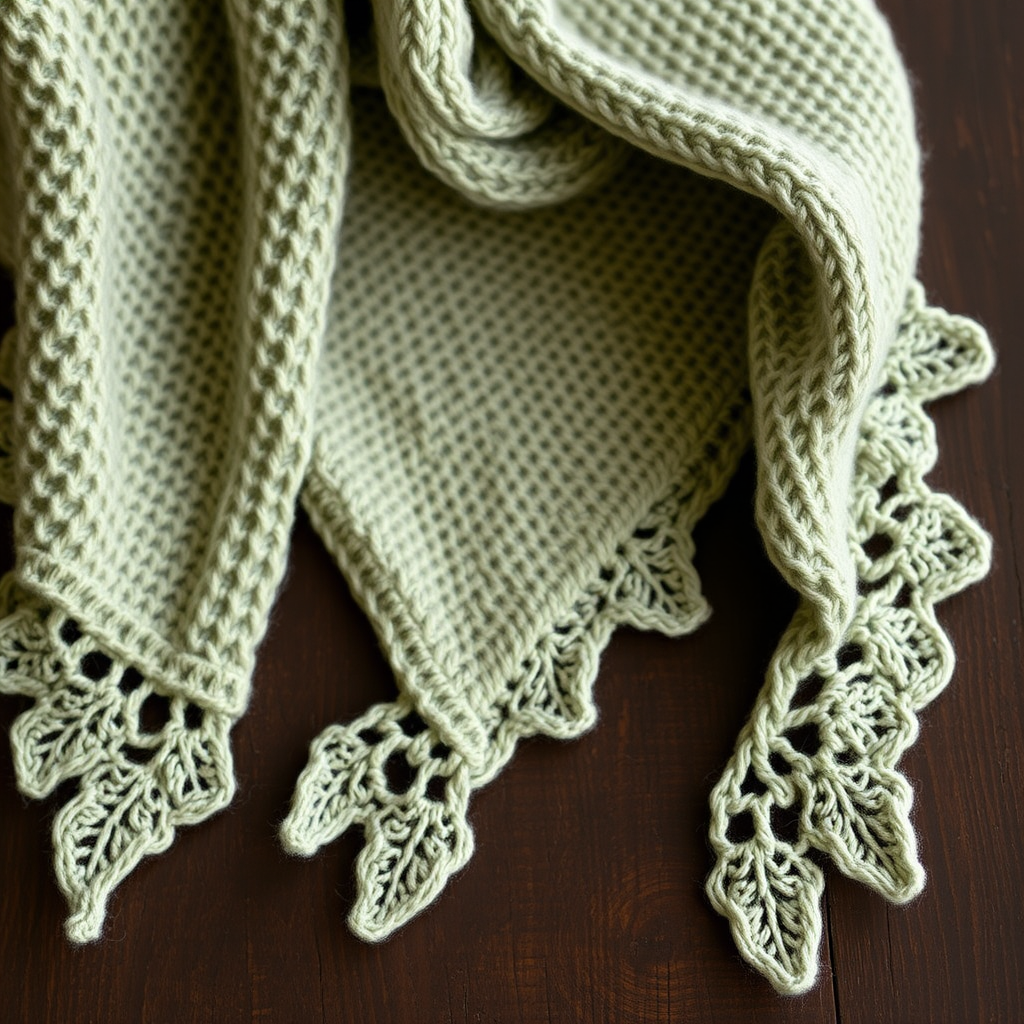
Aurora Boreal Crescent Shawl Free Pattern – Knit a Midnight Sky Wrap

Wrap Yourself in the Night Sky: The Aurora Boreal Crescent Shawl
Imagine draping the ethereal dance of the northern lights over your shoulders. The Aurora Boreal Crescent Shawl is a stunning knitting project that captures the magic of a midnight sky, complete with shimmering aurora greens and deep twilight blues. This crescent-shaped wrap is not only a beautiful accessory but also a joy to knit, combining simple garter stitch ridges with a delicate lace pattern that evokes the rippling curtains of light.
This free pattern is perfect for intermediate knitters looking to expand their skills, but with clear instructions, even a confident beginner can tackle this celestial project. The textured fabric, created with worsted weight yarn, drapes beautifully and provides cozy warmth. Let's dive into creating your own piece of the night sky.
Materials Needed: Gathering Your Celestial Palette
Before you begin your knitting journey, gather the following materials. The gradient effect is key to this shawl's beauty, so choose your colors thoughtfully to mimic the aurora borealis.
Yarn
- Worsted weight yarn in three colors:
- Color A (Midnight Navy): 200g – for the main body and base
- Color B (Aurora Teal): 150g – for the lace sections
- Color C (Pale Mint): 50g – for the border accent
- Total yarn needed: approximately 400g
Needles & Notions
- US 8 (5.0 mm) circular knitting needle with a 32-inch cable (essential for holding the increasing number of stitches)
- Stitch markers (at least 2)
- Yarn needle for weaving in ends
- Scissors
Gauge
- 18 stitches and 24 rows = 4 inches in stockinette stitch (after blocking)
- Note: Gauge is important for achieving the correct drape and size, but this pattern is forgiving. A looser gauge will create a drapier shawl.
Step-by-Step Instructions: Knitting the Aurora
This shawl is worked from the top center down, increasing on both sides to form the crescent shape. Follow these detailed instructions carefully, and you'll be amazed at how the pattern unfolds. Let's begin!
Abbreviations
- k = knit
- p = purl
- yo = yarn over (creates an increase and a hole)
- k2tog = knit two together (right-leaning decrease)
- ssk = slip, slip, knit (left-leaning decrease)
- pm = place marker
- sm = slip marker
- RS = right side (the front of the work)
- WS = wrong side (the back of the work)
Setup: Creating the Foundation
We'll start with a simple cast-on and a few increase rows to establish the center point of the shawl.
- Cast on 5 stitches with Color A (Midnight Navy).
- Row 1 (RS): k2, yo, k1, yo, k2. (You now have 7 stitches)
- Row 2 (WS): k2, p3, k2. (Knit the first and last 2 stitches to create a neat garter edge)
- Row 3 (RS): k2, yo, k3, yo, k2. (9 stitches)
- Row 4 (WS): k2, p5, k2.
- Row 5 (RS): k2, yo, k5, yo, k2. (11 stitches)
- Row 6 (WS): k2, p7, k2.
Body: The Garter Stitch Base
Now we'll work in garter stitch (knitting every row) to build the initial fabric and establish the increase rhythm.
- Continue with Color A. Work in garter stitch (knit every row) for 10 more rows.
- Increase on every RS row: k2, yo, knit to last 2 stitches, yo, k2. This adds one stitch at each edge.
- After these 10 rows, you should have 21 stitches on your needle.
Lace Pattern: The Aurora Teal Section
Switch to Color B (Aurora Teal). This is where the magic happens! The lace pattern creates the illusion of rippling light.
- Row 1 (RS): k2, yo, *k2tog, yo*; repeat from * to * until last 3 stitches, k1, yo, k2.
- Row 2 (WS): k2, purl to last 2 stitches, k2.
- Row 3 (RS): k2, yo, *ssk, yo*; repeat from * to * until last 3 stitches, k1, yo, k2.
- Row 4 (WS): k2, purl to last 2 stitches, k2.
Important: Repeat these 4 rows, continuing to increase at the edges (k2, yo at start, yo, k2 at end) on every RS row. Work until the shawl measures approximately 20 inches from the cast-on edge, ending with a WS row.
Border Accent: The Pale Mint Transition
Switch to Color C (Pale Mint) to add a crisp, fresh border that mimics the edge of the aurora.
- Work in garter stitch (knit every row) for 8 rows.
- Continue the edge increases on RS rows (k2, yo at start, yo, k2 at end).
Return to the Aurora: More Lace
Switch back to Color B (Aurora Teal) to add another band of the mesmerizing lace pattern.
- Work the lace pattern again (Rows 1-4 as above) for 10 inches, continuing the edge increases on RS rows.
Final Border: The Midnight Sky Finish
Switch back to Color A (Midnight Navy) for a grounding, elegant finish.
- Work in garter stitch for 6 rows, continuing the edge increases.
- Bind off loosely on the RS (knitwise). A loose bind-off is crucial to prevent the edge from being too tight and ruining the crescent shape.
Finishing Touches: Bringing Your Shawl to Life
The final steps are just as important as the knitting itself. Proper finishing will transform your work into a professional-looking shawl.
Weaving in Ends
Using your yarn needle, carefully weave in all loose ends on the wrong side of the shawl. Make sure to secure them well so they don't unravel with wear.
Blocking: The Secret to a Perfect Crescent
Blocking is essential for this project. It opens up the lace pattern, evens out the stitches, and shapes the crescent.
- Soak the shawl in lukewarm water with a gentle wool wash for 20-30 minutes.
- Gently squeeze out excess water (do not wring or twist).
- Lay the shawl flat on a clean towel and roll it up to remove more water.
- Place the shawl on a blocking mat or dry towel.
- Pin the edges to create a gentle curve. The straight top edge should be pinned flat, while the bottom edge is stretched into a soft arc. This creates the crescent shape.
- Let it dry completely, preferably overnight, before unpinning.
Once dry, your Aurora Boreal Crescent Shawl is ready to wear. Drape it over your shoulders and enjoy the celestial beauty you've created with your own hands. This pattern is a wonderful way to practice lace techniques while creating a truly stunning, wearable piece of art. Happy knitting!