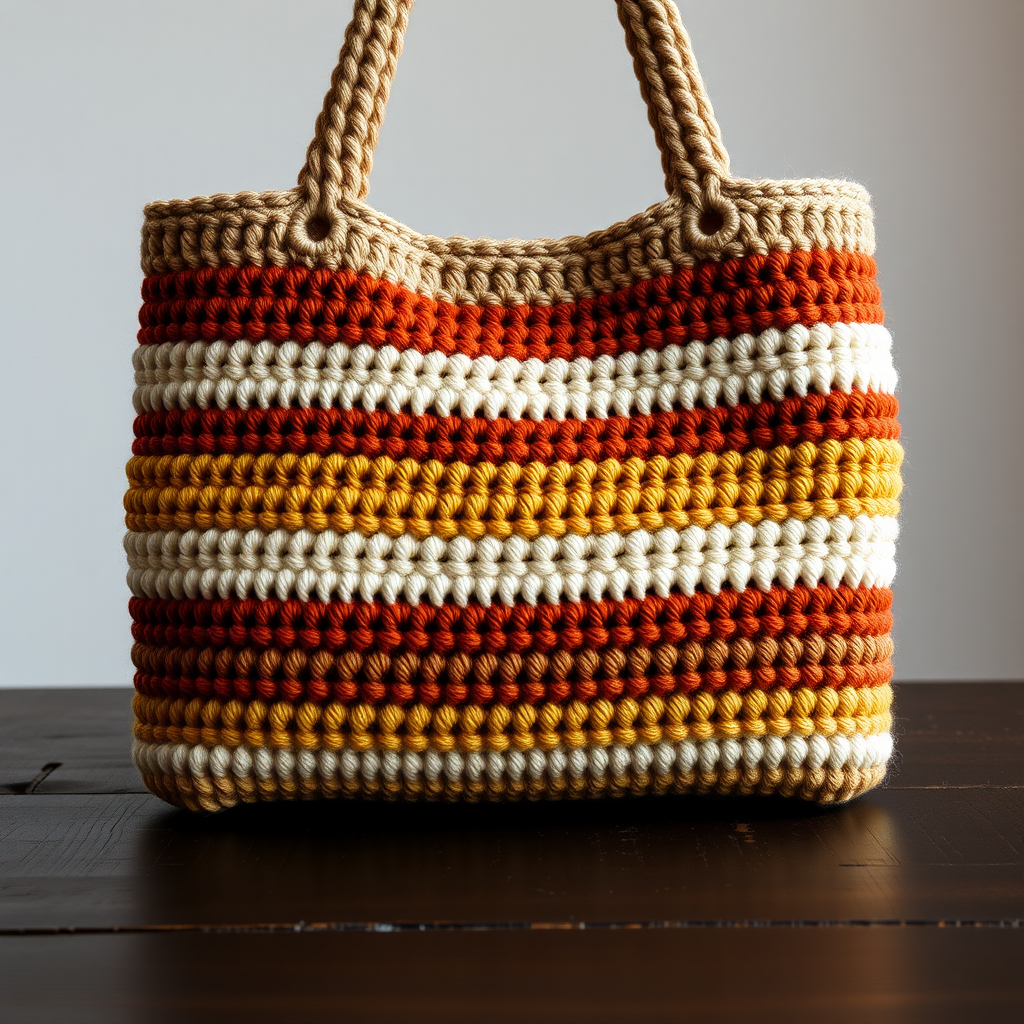
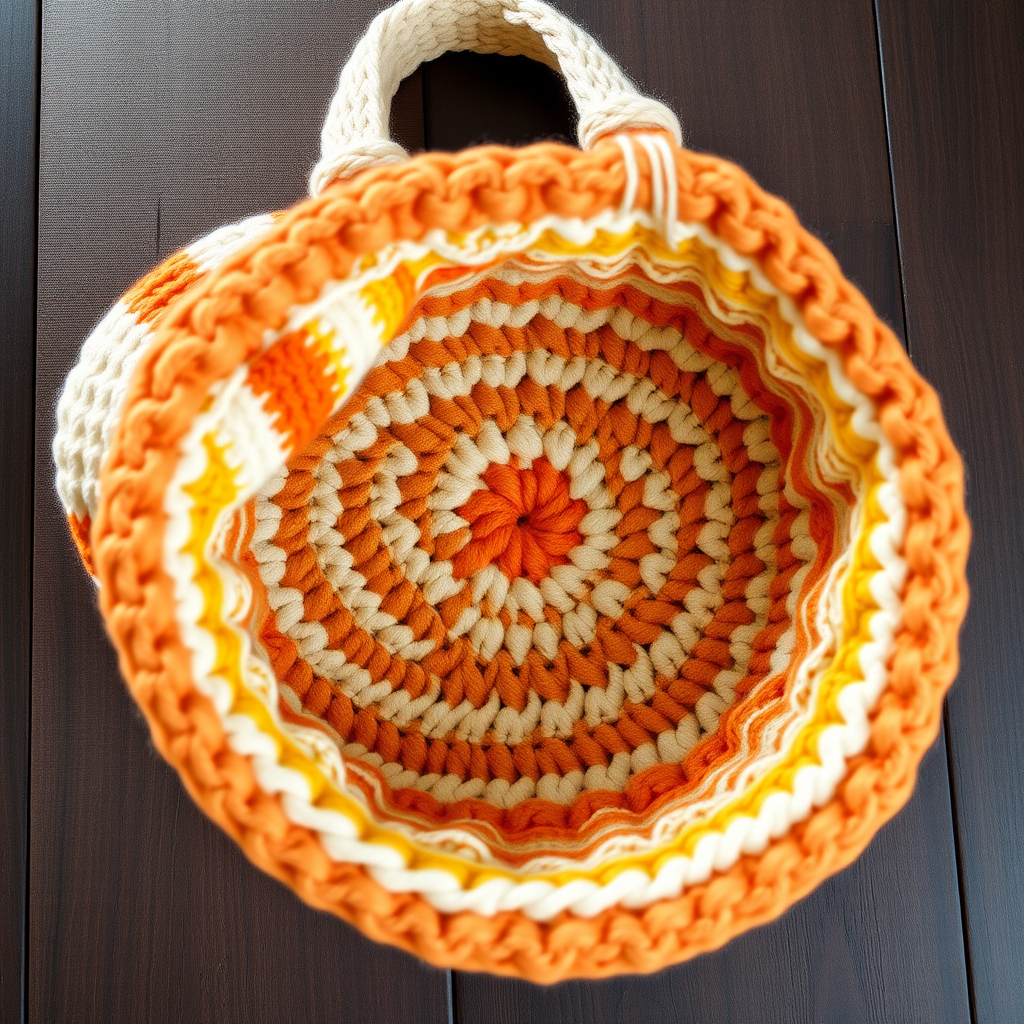
Whispering Willow Broomstick Lace Pouch Free Pattern – A Crocheted Zipper Pouch with Airy Loops

Introducing the Whispering Willow Broomstick Lace Pouch
There is something truly magical about broomstick lace. It looks intricate and complex, yet it works up surprisingly quickly once you get into the rhythm. The Whispering Willow Broomstick Lace Pouch is the perfect project to dip your toes into this vintage technique. It combines the airy, fan-like loops of broomstick lace with a modern, minimalist zipper pouch silhouette. The result is a delicate yet sturdy accessory that adds a touch of handcrafted boho elegance to your everyday carry—perfect for holding cosmetics, pens, or small treasures in your bag.
This pattern is designed with the beginner in mind. If you can single crochet, you can make this pouch. The "broomstick" part simply involves pulling up loops onto a large knitting needle or dowel, then grouping them together. It is meditative, forgiving, and deeply satisfying to watch the texture emerge. Let's gather your materials and get started on this beautiful, textured creation.
Materials Needed
Before you begin, ensure you have all the necessary supplies. The beauty of this project is that it requires very little yarn, making it a great stash-buster or a chance to use that special skein you have been saving.
- Yarn: Worsted weight cotton or cotton-blend yarn (e.g., Lion Brand 24/7 Cotton). You will need approximately 100 yards each of two colors:
- Color A: Soft Sage Green (for the front panel and assembly).
- Color B: Warm Cream (for the back panel).
- Crochet Hook: Size H/8 (5.0 mm) crochet hook.
- Broomstick Tool: A size 15 (10.0 mm) knitting needle or a large broomstick lace dowel (approximately 1 inch in diameter). A smooth, cylindrical object works best.
- Zipper: One 8-inch brushed gold or matching zipper.
- Notions: Tapestry needle, matching thread, sewing pins, scissors.
Gauge: 4 broomstick lace clusters (each cluster = 5 loops) = 4 inches across; 6 rows of broomstick lace = 4 inches tall. While gauge is important for size, this pouch is forgiving. Just ensure your stitches are consistent.
Step-by-Step Instructions
This pattern is worked flat in two separate panels, which are then crocheted together and finished with a zipper. We will break this down into manageable steps. The key to broomstick lace is keeping your tension even when pulling up loops onto the needle.
Panel 1 (Front - Color A)
Row 1: With Color A, chain 26. Single crochet (sc) in the 2nd chain from the hook and in each chain across. You should have 25 sc stitches.
Row 2: Chain 1, turn. Sc in each stitch across. (25 sc)
Row 3 (Broomstick Lace Row): Chain 1, turn. *Insert your hook into the next sc, yarn over, and pull up a loop. Carefully place that loop onto your large knitting needle (the broomstick).* Repeat from * across all 25 stitches. You will now have 25 loops resting on the needle. Tip: Keep the loops loose and even on the needle.
Row 4 (Closing Row): *Insert your hook into the first 5 loops on the needle (slip them off the needle as you do). Yarn over and pull through all 5 loops on the hook. Chain 1 to secure. Now, work 5 single crochet stitches into the center of the cluster you just created.* Repeat from * across all 25 loops, creating 5 clusters total. (5 clusters, 25 sc)
Row 5: Chain 1, turn. Sc in each of the next 5 sc (from the cluster), *skip the chain-1 space, sc in each of the next 5 sc.* Repeat from * across. (25 sc)
Rows 6-7: Repeat Rows 3 and 4 (one more broomstick lace row and its closing row).
Row 8: Chain 1, turn. Sc in each sc across. (25 sc)
Row 9: Repeat Row 3 (pull up loops).
Row 10: Repeat Row 4 (close the clusters).
Row 11: Repeat Row 5 (sc across).
Row 12: Chain 1, turn. Sc in each sc across. (25 sc)
Rows 13-18: Repeat Rows 3-8 (this adds three more broomstick lace rows, alternating with sc rows).
Row 19: Chain 1, turn. Sc in each sc across. Fasten off and weave in the ends. Your front panel is complete.
Panel 2 (Back - Two-Tone)
Work exactly as you did for Panel 1, but with a color change for a subtle ombre effect.
- Use Color B (Cream) for the first 9 rows.
- Switch to Color A (Sage) for the remaining rows (Rows 10-19).
Fasten off and weave in the ends.
Assembly and Zipper Insertion
Now that both panels are complete, it's time to join them and add the zipper. This is where the pouch comes together.
Step 1: Crochet the Panels Together. Place the two panels together with wrong sides facing (the right sides should be facing out). Using Color A, single crochet through both layers along the bottom and side edges, leaving the top open. This creates a neat, seamless edge. Turn the pouch right side out.
Step 2: Pin the Zipper. Turn the pouch inside out again. Pin the zipper along the top opening, aligning the edges of the zipper tape with the crochet fabric. Ensure the zipper pull is facing the inside of the pouch.
Step 3: Sew the Zipper. Using a tapestry needle and matching thread, whipstitch the zipper tape securely to the crochet fabric. Take your time to make small, even stitches for a strong hold. Once sewn, turn the pouch right side out and check that the zipper opens and closes smoothly.
Step 4: Finishing Touches. Weave in any remaining yarn ends. To give your pouch a professional finish and even out the loops, gently steam block the pouch. Hold a steam iron just above the surface (do not press down) and let the steam relax the fibers. Allow it to dry completely.
Your Whispering Willow Broomstick Lace Pouch is now complete! Admire the beautiful, airy texture and the satisfying zipper closure. This pattern is a wonderful way to learn broomstick lace, and the result is a stunning, functional piece you will be proud to say you made yourself.