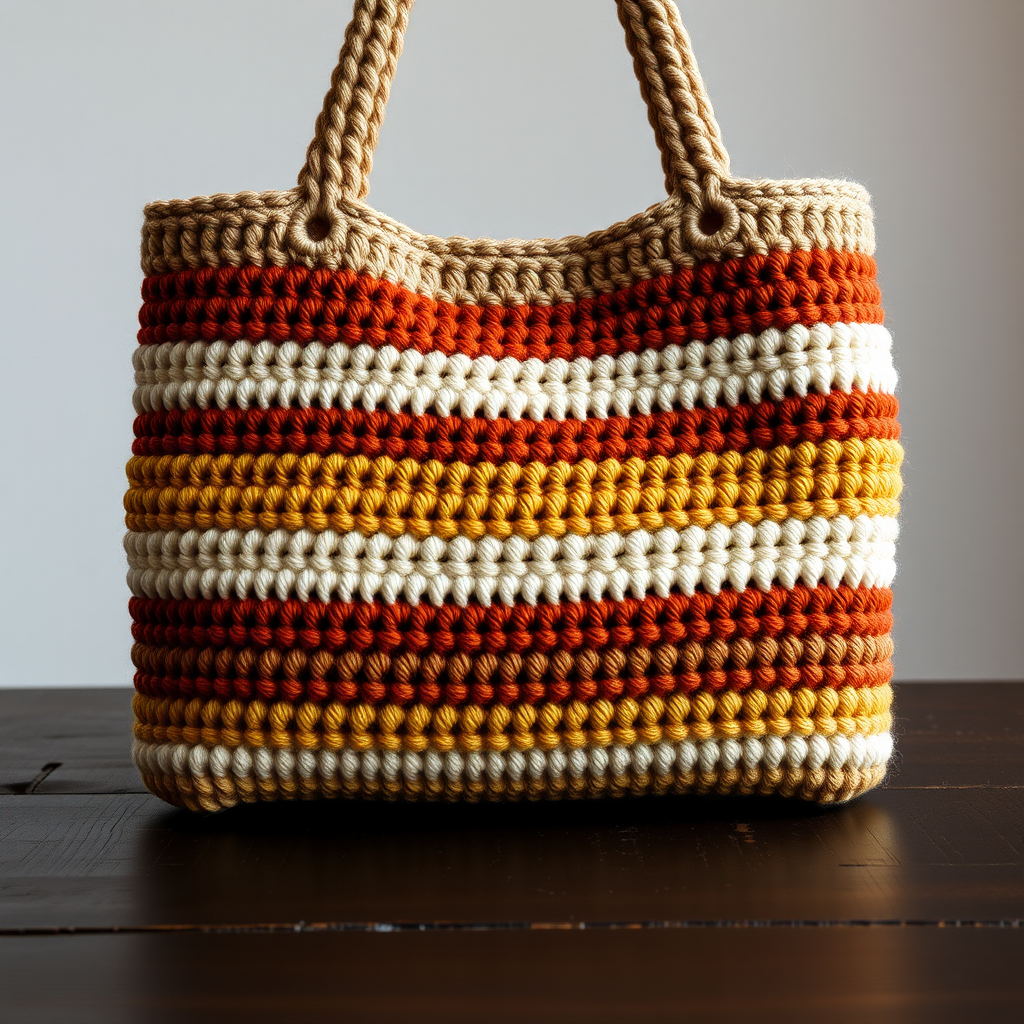
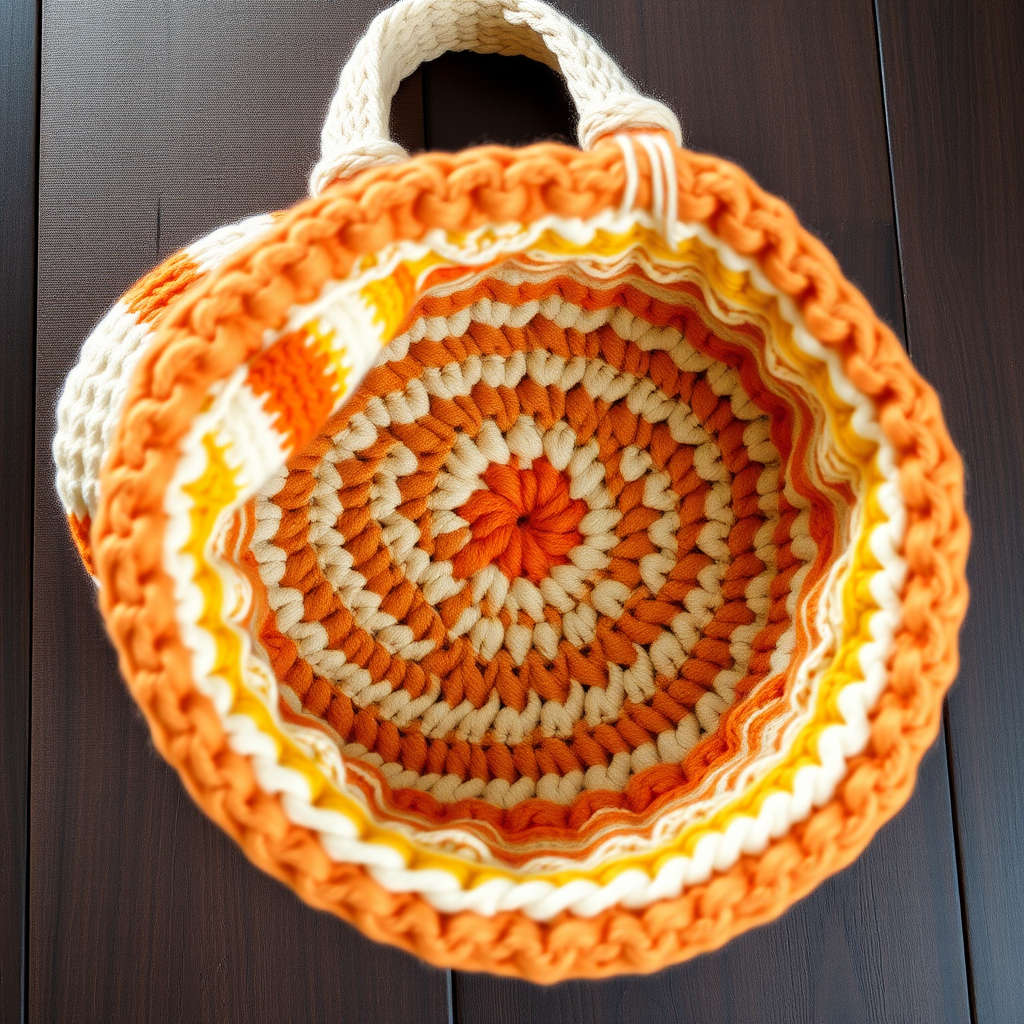
Crocodile Eye Cobalt Belt Bag Free Pattern: Beginner Crocodile Stitch Evil Eye

Crocodile Eye Cobalt Belt Bag: A Beginner-Friendly Crochet Pattern
If you have never held a crochet hook before, this is the project to start with. The Crocodile Eye Cobalt Belt Bag is a small, sturdy rectangular bag worked in simple single crochet rows, then finished with one bold orange crocodile-stitch "evil eye" on the flap. The finished bag is about 7 inches wide and 5 inches tall, with a dense, slightly ridged cotton fabric that feels firm and holds its shape beautifully. The cobalt blue is deep and wintry, and the single orange motif gives it a Nordic, folk-art feel that looks far more complicated than it is. Every stitch is explained below, so you can make this even if you have never crocheted a single loop.
Materials Needed
- Yarn: Worsted weight (CYC 4) cotton yarn, approximately 220 yd (200 m) total: 180 yd (165 m) cobalt blue and 40 yd (37 m) orange. Cotton is recommended because it is firm and does not stretch out of shape.
- Crochet hook: Size H-8 (5.0 mm), or whatever size gives you the gauge below.
- Stitch markers: At least 4, to mark corners and the buttonhole.
- Tapestry needle (yarn needle): A large blunt needle with an eye big enough for worsted yarn, for sewing the motif and button and weaving in ends.
- Scissors for cutting yarn.
- One button: 1 in (25 mm) diameter.
- Finished measurements: Bag body 7 in wide x 5 in tall (18 x 12.5 cm). Front flap 7 in wide x 2.5 in tall (18 x 6.5 cm). Crocodile eye motif approx. 2.5 in (6.5 cm) across. Strap 1 in wide x 48 in long (2.5 x 122 cm), adjustable with the button.
Abbreviations and Beginner Glossary
- ch – chain. Make a loop of yarn on the hook, wrap the yarn over the hook, and pull it through the loop. That is one chain.
- sc – single crochet. Insert the hook into the next stitch, wrap yarn over the hook, pull up a loop (2 loops on hook), wrap yarn over again, and pull through both loops. One loop remains.
- dc – double crochet. Wrap yarn over the hook, insert the hook into the next stitch, wrap yarn over and pull up a loop (3 loops on hook), wrap yarn over and pull through 2 loops, wrap yarn over and pull through the last 2 loops.
- st / sts – stitch / stitches. A stitch is one completed loop in your fabric.
- sk – skip. Do not work into that stitch; leave it empty.
- sp – space. The gap made by a chain (for example, a "ch-4 space" is the hole made by 4 chains).
- post – the vertical body of a stitch, below the top two loops. Working "around the post" means putting your hook under that vertical bar instead of into the top of the stitch.
- turn – flip your work over so you can crochet back along the row you just made.
- fasten off – cut the yarn, pull the tail all the way through the last loop, and tighten.
- weave in ends – thread a yarn tail onto the tapestry needle and sew it back and forth through the fabric so it disappears.
- right side – the side of the fabric that will face outward on the finished bag.
- gauge – how many stitches and rows fit in 4 inches. See the next section.
Gauge
16 sc x 18 rows = 4 x 4 in (10 x 10 cm) in single crochet, worked flat and unblocked.
Gauge matters because it decides the final size of your bag. If your stitches are bigger than this, the bag will come out larger than 7 x 5 inches; if smaller, it will shrink. To check, chain 22, work single crochet rows until the swatch is about 4 inches tall, then lay it flat and count how many stitches fit across 4 inches and how many rows fit in 4 inches. If you have more stitches than 16, try a larger hook; if fewer, try a smaller hook. Do not skip this step — it takes ten minutes and saves the whole project.
Beginner Tips Before You Start
- Count every row. The bag body and back are both exactly 28 stitches wide and 23 rows tall. Count at the end of each row until you trust your rhythm.
- Use stitch markers. Place one in the first and last stitch of each row so you never lose the edge stitch, and mark the buttonhole space on the flap.
- Do not pull the yarn too tight. Keep an even, relaxed tension. Tight stitches make a stiff, curling fabric and make the crocodile scales hard to work.
- Remember the turning chain. The ch 1 at the start of a single crochet row does not count as a stitch, so do not work into it. The ch 3 at the start of a double crochet row does count as the first double crochet.
- Read the scale row twice before you start it. It is only one row, and it is easier than it looks once you see the first scale form.
- Keep your tails long. Leave the tails listed in the pattern; you will need them for seaming and sewing.
Step-by-Step Instructions
Bag Body (make 1, cobalt)
Row 1: Ch 29. Sc in the 2nd ch from the hook and in each ch across. (28 sc)
Row 2: Ch 1, turn. Sc in each st across. (28 sc)
Rows 3–23: Repeat Row 2. (28 sc, approx. 5 in / 12.5 cm tall)
Fasten off, leaving a 24 in (60 cm) tail.
Bag Back (make 1, cobalt)
Work Rows 1–23 exactly as for the Bag Body. (28 sc) Do not fasten off; you will use the working yarn to seam the bag.
Seaming the Bag
Place the Bag Body and Bag Back wrong sides together, matching all edges. With the working yarn and hook, single crochet evenly around three sides — both long sides and the bottom — working through both layers at once: approx. 28 sc along each long side and 28 sc along the bottom. Fasten off and weave in ends. The top edge stays open for the flap.
Front Flap (make 1, cobalt)
With the right side facing you, join cobalt to the top right corner of the bag front.
Row 1: Ch 1, work 28 sc evenly across the top edge of the front panel. (28 sc)
Row 2: Ch 1, turn. Sc in each st across. (28 sc)
Rows 3–9: Repeat Row 2. (28 sc, approx. 2.5 in / 6.5 cm tall)
Row 10 (buttonhole row): Ch 1, turn. Sc in the first 12 sts, ch 4, skip 4 sts, sc in the last 12 sts. (24 sc, 1 ch-4 space)
Row 11: Ch 1, turn. Sc in each st and in each ch across. (28 sc)
Fasten off and weave in ends.
Crocodile Eye Motif (make 1, orange)
Foundation row: Ch 12. Dc in the 4th ch from the hook and in each ch across. (10 dc)
Scale row: Ch 1, turn. Working around the posts of the foundation dc row: *5 dc around the post of the next dc, ch 1, 5 dc around the post of the same dc, skip the next dc; repeat from * across, ending with 5 dc around the last dc post. (5 scales)
Fasten off, leaving a 12 in (30 cm) tail.
Strap (make 1, cobalt)
Row 1: Ch 5. Sc in the 2nd ch from the hook and in each ch across. (4 sc)
Row 2: Ch 1, turn. Sc in each st across. (4 sc)
Rows 3–216: Repeat Row 2 until the strap measures 48 in (122 cm). (4 sc)
Fasten off, leaving a 12 in (30 cm) tail.
Assembly and Finishing
1. Attach the eye. Center the crocodile eye motif on the flap, about 1 in (2.5 cm) below the flap's top edge, and pin it in place. Thread the orange tail onto the tapestry needle and sew the motif down with small, even stitches, catching only the bases of the scales so the scales stay raised and puffy.
2. Sew on the button. Sew the button to the bag front, centered horizontally and about 1 in (2.5 cm) below the top edge of the bag body, so it lines up with the buttonhole in the flap. Sew through the button holes several times for strength.
3. Finish the strap ends. Fold one end of the strap over a side edge of the bag and sew it securely with the tail to form a 1 in (2.5 cm) loop. Repeat at the other end, positioning the second loop so the strap can be buttoned shorter or longer through the flap buttonhole.
4. Weave in all remaining ends. Thread each tail on the needle and sew it back and forth through the inside of the fabric for about 1 inch, then trim close.
5. Block. Mist the bag lightly with water and pat it flat into shape. Do not press the crocodile scales flat — let them stay raised. Let it dry completely before using it.
Pro Tips and Variations
- Change the colors. Swap the cobalt for charcoal or forest green, or make the eye in mustard or red for a different folk-art look. Keep the contrast strong so the eye stands out.
- Adjust the size. To make the bag wider or narrower, add or remove chains in multiples of 2 at the start of the body and back, and work the same number of rows. The flap should match the new width.
- Substitute the yarn. Any worsted weight (CYC 4) yarn works, but cotton or a cotton-blend gives the firmest bag. If you use acrylic, make a gauge swatch first because it stretches more.
- Make the strap adjustable. Add a second buttonhole a few rows up the strap, or sew a second button on the strap itself, so the bag can be worn as a belt bag or a longer crossbody.