Harvest Hearth Gift Sack Free Pattern

Introducing the Harvest Hearth Gift Sack: A Cozy, Handmade Way to Gift
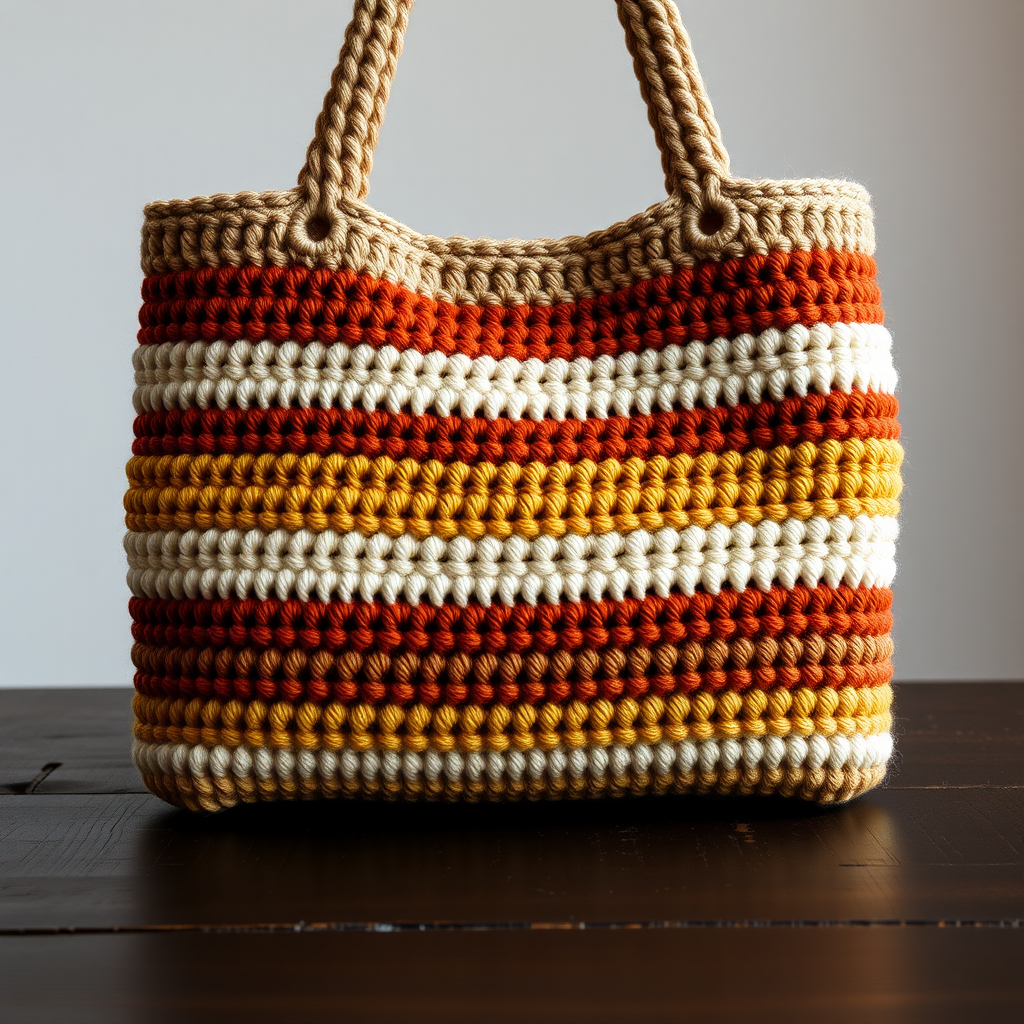
There is something deeply satisfying about presenting a homemade gift in a wrapper that was also made with love. The Harvest Hearth Gift Sack is a charming, rustic crochet bag designed to hold mason jars of preserves, freshly baked bread, or any small treasure you want to elevate beyond standard gift wrap. With its warm terracotta hue, cream accents, and a subtle basketweave texture, this sack brings a cozy, farmhouse aesthetic to any occasion—from autumn gatherings to holiday gifting.
This pattern is worked in continuous rounds from the bottom up, making it a straightforward and meditative project. Even if you are newer to crochet, the step-by-step instructions below will guide you through creating a sturdy, textured sack that stands upright and closes with a simple drawstring. Let’s gather your materials and get started on this delightful handmade alternative to paper gift bags.
Materials Needed
Before you begin, ensure you have the following supplies on hand. The exact gauge is not critical for this project, but the recommended hook and yarn weight will produce a sack that is approximately 8–9 inches tall and 6–7 inches wide—perfect for a standard pint-sized mason jar.
- Yarn: Worsted weight cotton or cotton-blend yarn in two colors:
- Main Color (MC): Terracotta (approx. 120–150 yards)
- Contrast Color (CC): Cream (approx. 40–50 yards)
- Crochet Hook: 5.5 mm (I/9) hook
- Stitch marker (to track rounds)
- Yarn needle (for weaving in ends)
- Scissors
- Optional: Two wooden beads for drawstring ends
Note on gauge: For reference, 14 single crochet (sc) stitches x 16 rows = 4 inches. However, since this is a gift sack, slight variations in tension will not affect the final result.
Step-by-Step Instructions
This pattern is worked in continuous rounds—do not join at the end of each round unless instructed. Place a stitch marker in the first stitch of each round and move it up as you work to keep your place.
Part 1: Base and Lower Body (Worked in MC)
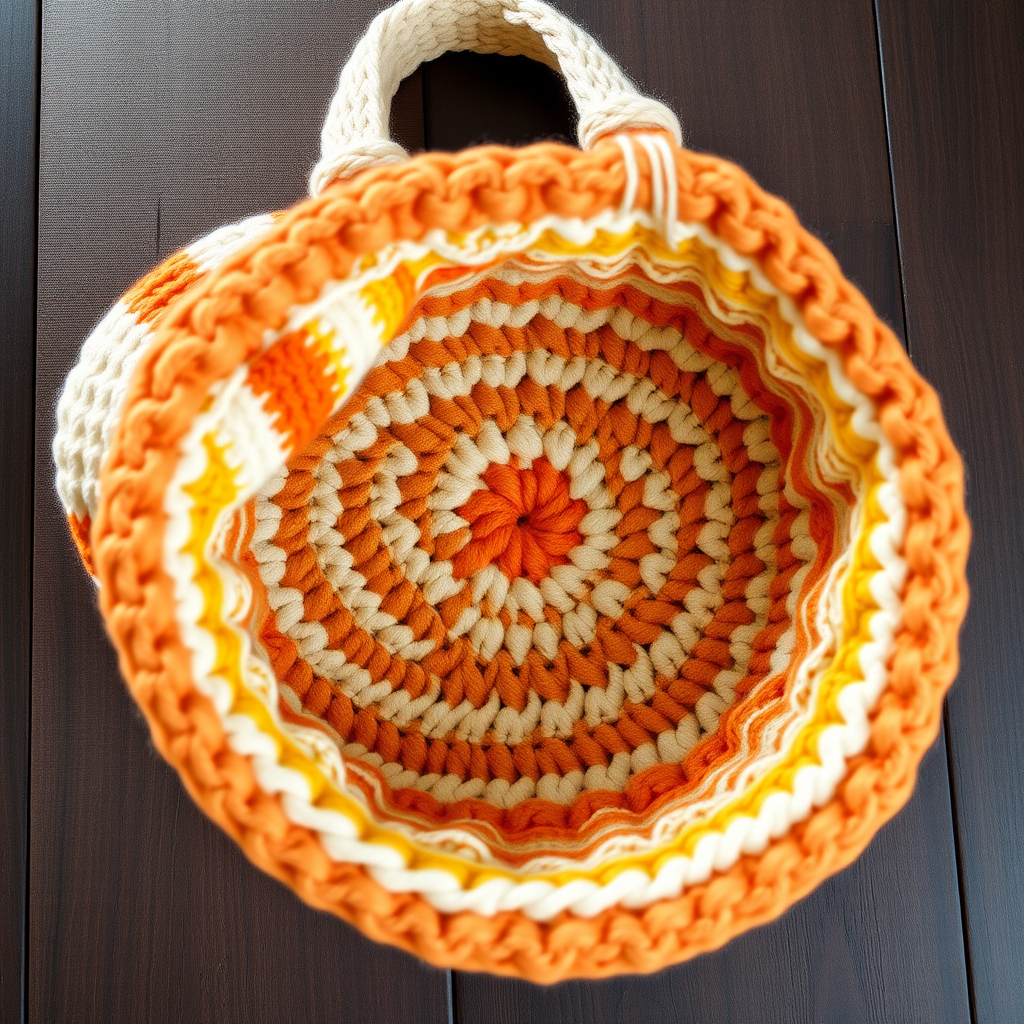
We begin with a magic ring to create a tight, seamless bottom.
- Round 1: With MC, make a magic ring, work 6 single crochet (sc) into the ring. Pull the tail to close the ring. (6 sts)
- Round 2: Work 2 sc in each stitch around. (12 sts)
- Round 3: *Sc in next stitch, 2 sc in next stitch*; repeat from * to * around. (18 sts)
- Round 4: *Sc in next 2 stitches, 2 sc in next stitch*; repeat around. (24 sts)
- Round 5: *Sc in next 3 stitches, 2 sc in next stitch*; repeat around. (30 sts)
- Round 6: *Sc in next 4 stitches, 2 sc in next stitch*; repeat around. (36 sts)
- Round 7: *Sc in next 5 stitches, 2 sc in next stitch*; repeat around. (42 sts)
- Round 8: *Sc in next 6 stitches, 2 sc in next stitch*; repeat around. (48 sts)
- Round 9: Sc in each stitch around. (48 sts)
- Round 10: *Sc in next 7 stitches, 2 sc in next stitch*; repeat around. (54 sts)
- Round 11: Sc in each stitch around. (54 sts)
- Round 12: *Sc in next 8 stitches, 2 sc in next stitch*; repeat around. (60 sts)
- Rounds 13–20: Sc in each stitch around. (60 sts) — This completes the flat base and the lower portion of the body. Your work should measure roughly 4 inches across at the bottom.
Part 2: Textured Basketweave Side Pattern
Now we introduce the cream color and the post stitches that create the beautiful woven texture.
- Round 21: Switch to CC. Sc in each stitch around. (60 sts) — Fasten off CC after this round or carry it loosely if you prefer, but for a clean edge, cut and weave in later.
- Round 22: With MC, *front post double crochet (fpdc) around the next stitch, back post double crochet (bpdc) around the next stitch*; repeat from * to * around. (60 sts)
- Round 23: With MC, *bpdc around the next stitch, fpdc around the next stitch*; repeat around. (60 sts) — This alternation creates the basketweave effect.
- Rounds 24–25: Repeat Rounds 22 and 23 once more to deepen the texture.
- Round 26: Switch to CC. Sc in each stitch around. (60 sts) — Fasten off CC.
- Rounds 27–30: With MC, sc in each stitch around. (60 sts) — This solid section gives the sack structure above the texture.
Part 3: Drawstring Holes
This round creates the openings through which the drawstrings will be woven.
- Round 31: *Sc in next 4 stitches, chain 2, skip 2 stitches*; repeat from * to * around. (You will have 60 stitches total, with 10 chain-2 spaces evenly spaced.)
- Round 32: Sc in each stitch and in each chain-2 space around. (60 sts) — Work 1 sc into each chain of the ch-2 spaces to return to 60 stitches.
- Rounds 33–34: Sc in each stitch around. (60 sts)
Part 4: Finishing the Top Edge
- Round 35: Slip stitch (sl st) in each stitch around. This creates a neat, sturdy border. Fasten off and weave in all loose ends with your yarn needle.
Part 5: Making the Drawstrings
You will need two drawstrings so the sack can be pulled closed from both sides.
- Drawstring 1: With CC, make a chain approximately 30 inches long. Fasten off, leaving a small tail to weave in or tie a knot.
- Drawstring 2: Repeat to make a second chain of the same length.
Weaving the drawstrings: Thread the first drawstring through the chain-2 spaces, starting from one side and weaving in and out all the way around until it exits where it started. Thread the second drawstring the same way, but start from the opposite side, so the two strings pull in opposite directions when tightened. Tie a small knot at each end of the drawstrings, or slide on a wooden bead and knot below it for a decorative finish.
Your Harvest Hearth Gift Sack Is Complete!
Gently shape your sack by pushing the bottom flat and flaring the top slightly. Fill it with a jar of honey, a loaf of banana bread wrapped in parchment, or a bundle of dried lavender. The recipient will surely appreciate the extra care that went into both the gift and its beautiful, reusable wrapping.
This pattern is wonderfully versatile—try it in different colorways to match any season, from sage green and ivory for spring to navy and gold for the holidays. Happy crocheting, and enjoy sharing the warmth of handmade gifts!