Whispering Pines Slouchy Beanie Free Pattern

Whispering Pines Slouchy Beanie: A Beginner-Friendly Crochet Pattern
Wrap yourself in the serene comfort of a forest-inspired slouchy beanie, featuring a rich textured stitch that mimics the quiet beauty of pine needles. This beginner-friendly crochet pattern uses soft, chunky yarn to create a cozy, stylish accessory perfect for crisp autumn days. Whether you're new to crochet or looking for a quick weekend project, this beanie works up fast and looks stunning with its deep forest green body and contrasting oatmeal band.
The Whispering Pines Slouchy Beanie is more than just a hat—it's a wearable hug of woodland warmth. The clever use of front loop only (flo) stitches creates a beautiful ribbed texture that not only looks professional but also provides excellent stretch and comfort. Let's dive into this delightful project that will have you feeling like you're wrapped in the tranquility of a quiet pine forest.
Materials Needed
Before we begin our crochet journey, let's gather all the necessary supplies. This pattern requires minimal materials, making it perfect for beginners and experienced crocheters alike.
Yarn Requirements
- Main Color (MC): Lion Brand Wool-Ease Thick & Quick (super bulky weight, 6) in 'Forest Green' - 1 skein
- Contrast Color (CC): Lion Brand Wool-Ease Thick & Quick (super bulky weight, 6) in 'Oatmeal' - 1 skein
Tools and Notions
- Crochet Hook: US Size N/P (10 mm) crochet hook
- Yarn Needle: For weaving in ends and finishing
- Scissors: For cutting yarn
- Optional: Faux fur pom-pom for decoration
Gauge Information
Gauge: 8 hdc x 6 rows = 4 inches (10 cm) in pattern stitch
Note: Always check your gauge before starting to ensure the perfect fit. If your gauge is off, adjust your hook size accordingly.
Step-by-Step Instructions
This slouchy beanie is worked in the round from the top down. The pattern uses half double crochet (hdc) and front loop only (flo) techniques to create a beautiful ribbed texture. Follow along carefully, and you'll have a gorgeous hat in no time!
Abbreviations
- ch = chain
- sl st = slip stitch
- hdc = half double crochet
- flo = front loop only
- MC = main color (Forest Green)
- CC = contrast color (Oatmeal)
Pattern Notes
- The beanie is worked in a continuous spiral, but you will join each round with a sl st to the first stitch of that round for a clean edge.
- Ch 1 at the beginning of each round does NOT count as a stitch.
- Work in a relaxed manner to maintain even tension throughout.
Getting Started: The Crown
Round 1 (MC): Make a magic ring. Work 8 hdc into the ring. Pull tight to close. Join with sl st to first hdc. (8 sts)
Round 2 (MC): Ch 1. Work 2 hdc in each st around. Join with sl st to first hdc. (16 sts)
Round 3 (MC): Ch 1. *Work 2 hdc in next st, 1 hdc in next st; repeat from * around. Join with sl st to first hdc. (24 sts)
Round 4 (MC): Ch 1. *Work 2 hdc in next st, 1 hdc in next 2 sts; repeat from * around. Join with sl st to first hdc. (32 sts)
Round 5 (MC): Ch 1. *Work 2 hdc in next st, 1 hdc in next 3 sts; repeat from * around. Join with sl st to first hdc. (40 sts)
Round 6 (MC): Ch 1. *Work 2 hdc in next st, 1 hdc in next 4 sts; repeat from * around. Join with sl st to first hdc. (48 sts)
Congratulations! You've completed the crown increases. Your work should now measure approximately 7-8 inches across, forming a flat circle that will become the top of your beanie.
Working the Body: Forest Green Section
Rounds 7-12 (MC): Ch 1. Work 1 hdc in each st around. Join with sl st to first hdc. (48 sts)
These rounds create the main body of the beanie. Work them evenly, maintaining consistent tension. The hat will begin to take shape and curve downward naturally.
Adding the Oatmeal Band
Round 13 (CC): Ch 1. Work 1 hdc in flo of each st around. Join with sl st to first hdc. (48 sts)
This is where the magic happens! Working in the front loop only creates a beautiful ridge that will serve as a natural fold line for your cuff. Take your time with this round to ensure you're consistently catching only the front loop of each stitch.
Rounds 14-18 (CC): Ch 1. Work 1 hdc in each st around. Join with sl st to first hdc. (48 sts)
Continue working in the oatmeal color for these five rounds. The contrast color creates a lovely band that will peek out when you fold up the cuff.
Returning to Forest Green
Round 19 (MC): Ch 1. Work 1 hdc in flo of each st around. Join with sl st to first hdc. (48 sts)
Another front loop only round! This creates a second ridge that mirrors the first, framing the oatmeal band beautifully.
Rounds 20-24 (MC): Ch 1. Work 1 hdc in each st around. Join with sl st to first hdc. (48 sts)
Complete the beanie with these final rounds in forest green. The hat should now measure approximately 10-11 inches from the crown to the bottom edge.
Finishing Touches
Step 1: Fasten off MC, leaving a long tail (at least 6 inches) for weaving in.
Step 2: Thread the tail through a yarn needle and weave in all ends carefully. Make sure to weave in the CC ends as well, securing them on the wrong side of the work.
Step 3: Fold the bottom edge (the last 2 inches) up to create a cuff. The flo rounds create a natural fold line, making this step effortless.
Step 4 (Optional): Add a faux fur pom-pom to the top for extra flair. Attach it securely by tying it through the center of the crown.
Tips for Success
Perfecting Your Technique
- Magic Ring Mastery: If you're new to the magic ring technique, practice it a few times before starting. It creates a seamless, adjustable center that's perfect for hats.
- Consistent Tension: Keep your tension even throughout. The chunky yarn is forgiving, but consistent tension ensures a professional finish.
- Mark Your Rounds: Use a stitch marker to keep track of your rounds, especially during the increase section.
Customization Ideas
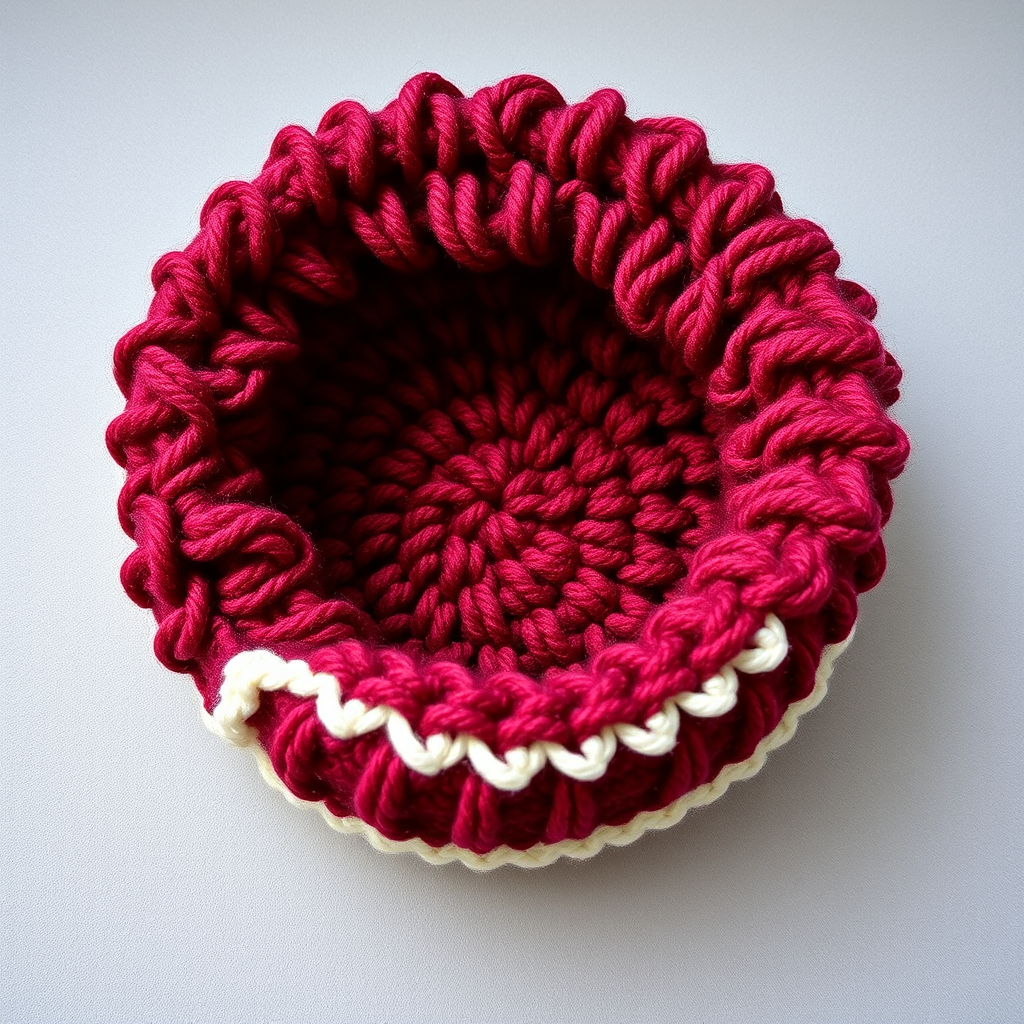
- Color Variations: Try different color combinations like burgundy and cream, or navy and mustard for a different vibe.
- Size Adjustments: For a tighter fit, work fewer increase rounds. For a slouchier look, add 2-3 more rounds to the body.
- Yarn Substitutions: Any super bulky weight yarn will work. Just remember to check your gauge!
Care Instructions
To keep your Whispering Pines Slouchy Beanie looking its best:
- Hand wash in cold water with a gentle wool wash
- Lay flat to dry, reshaping as needed
- Store folded, not hung, to maintain its shape
Your Whispering Pines Slouchy Beanie is now complete! This cozy accessory is perfect for autumn walks, chilly mornings, or simply adding a touch of woodland charm to any outfit. The rich texture and beautiful color contrast make it a standout piece that you'll reach for again and again.
We'd love to see your finished creation! Share your beanie on social media with the hashtag #WhisperingPinesBeanie and tag us. Happy crocheting, and may your days be filled with the quiet comfort of the forest!