Cranberry Cascade Slouch Hat Free Pattern
Introducing the Cranberry Cascade Slouch Hat
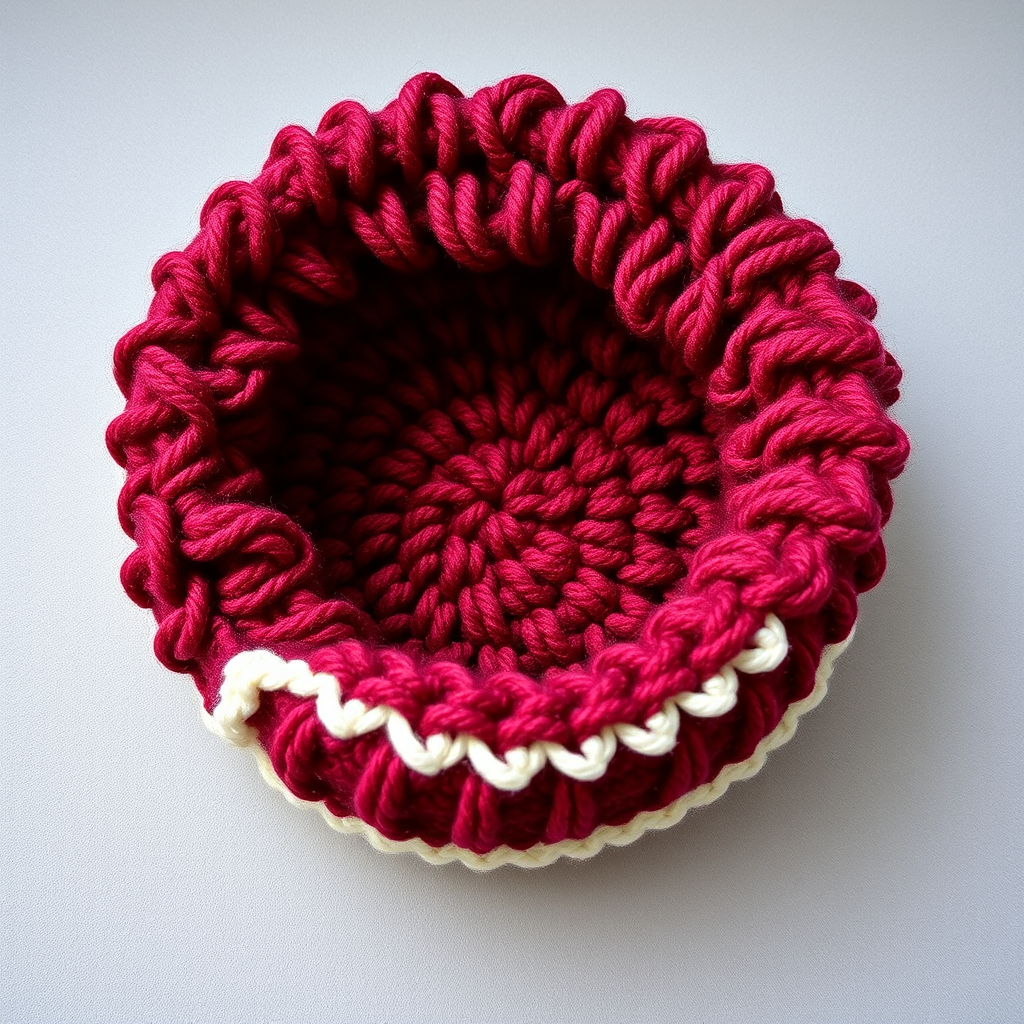
There’s something deeply satisfying about crocheting a hat that looks intricate but works up quickly. The Cranberry Cascade Slouch Hat is exactly that kind of project. This cozy slouch hat features a rich, textured berry stitch that cascades down the crown, creating a modern, handcrafted look that’s perfect for chilly days. The deep cranberry red paired with a soft cream band gives it a classic, jewel-toned elegance that pairs beautifully with winter coats and chunky scarves.
Whether you’re a seasoned crocheter looking for a quick weekend project or a confident beginner ready to try a new stitch pattern, this hat delivers. The berry stitch—a simple cluster technique—creates a dense, nubby fabric that’s both warm and visually stunning. Best of all, it’s worked from the top down in joined rounds, so there’s no seaming required. Grab your hook, and let’s make something beautiful.
Materials Needed
Before you begin, gather the following supplies. This project uses basic materials and is highly portable—perfect for crocheting on the go.
Yarn
- Worsted weight (4) yarn in two colors:
- Main Color (MC): Deep Cranberry Red (approximately 180–200 yards)
- Contrast Color (CC): Cream or Soft White (approximately 30–40 yards)
Hook & Notions
- K/10.5 (6.5 mm) crochet hook
- Yarn needle (for weaving in ends)
- Scissors
- Stitch marker (optional, but helpful for keeping track of rounds)
Gauge
14 stitches and 12 rows = 4 inches in berry stitch pattern (after blocking). Gauge is important for achieving the correct fit, so take a moment to make a small swatch before starting.
Step-by-Step Instructions
This hat is worked from the top down in joined rounds. The berry stitch creates a beautiful, bumpy texture that resembles a cascade of small berries. Don’t worry if it looks a little fiddly at first—once you get the rhythm, it’s wonderfully meditative.
Special Stitches
- Berry Stitch (BS): Work 3 double crochet (dc) together in the same stitch (cluster), then work 1 chain (ch) to close the cluster. This creates a 3-dc cluster with a ch-1 space on top.
Getting Started: The Crown Increases
We begin with a magic ring and increase evenly over the first 8 rounds to create a flat circle that will form the top of the hat.
Round 1: With MC, make a magic ring. Work 6 single crochet (sc) into the ring. Pull tight to close. Join with a slip stitch (sl st) to the first sc. (6 sc)
Round 2: Ch 1 (does not count as a stitch). Work 2 sc in each sc around. Join with sl st to the first sc. (12 sc)
Round 3: Ch 1. *Work 2 sc in the next sc, sc in the next sc.* Repeat from * to * around. Join with sl st. (18 sc)
Round 4: Ch 1. *Work 2 sc in the next sc, sc in the next 2 sc.* Repeat from * to * around. Join with sl st. (24 sc)
Round 5: Ch 1. *Work 2 sc in the next sc, sc in the next 3 sc.* Repeat from * to * around. Join with sl st. (30 sc)
Round 6: Ch 1. *Work 2 sc in the next sc, sc in the next 4 sc.* Repeat from * to * around. Join with sl st. (36 sc)
Round 7: Ch 1. *Work 2 sc in the next sc, sc in the next 5 sc.* Repeat from * to * around. Join with sl st. (42 sc)
Round 8: Ch 1. *Work 2 sc in the next sc, sc in the next 6 sc.* Repeat from * to * around. Join with sl st. (48 sc)
Forming the Brim
Now we’ll create a neat turning ridge that will define where the brim folds up.
Round 9: Ch 1. Working in the back loops only, sc in each sc around. Join with sl st to the first sc. (48 sc) – This creates a crisp ridge for the brim fold.
Round 10: Ch 1. Sc in each sc around. Join with sl st. (48 sc)
Starting the Berry Stitch Pattern
This is where the magic happens. The berry stitch pattern will be worked over the next several rounds, creating the signature textured body of the hat.
Round 11 (Start Berry Stitch Pattern): Ch 3 (counts as first dc). Work 2 more dc in the same stitch (this is the first half of a berry stitch). *Skip the next 2 sc, work BS in the next sc (3 dc cluster, ch 1).* Repeat from * to * around, but for the last repeat, skip the last 2 sc and work the BS in the same stitch as the beginning ch-3. Join with sl st to the top of the ch-3. (16 berry stitches)
Round 12: Ch 1. Work 1 sc in the ch-1 space of the first berry stitch. *Work 1 sc in the top of the next berry stitch (the ch-1 space), work 1 sc in the space between the berry stitches.* Repeat from * to * around, ending with a sc in the last ch-1 space. Join with sl st to the first sc. (48 sc)
Round 13: Ch 1. Sc in each sc around. Join with sl st. (48 sc)
Round 14: Ch 3 (counts as first dc). Work 2 more dc in the same stitch. *Skip the next 2 sc, work BS in the next sc.* Repeat from * to * around, ending with a BS in the last sc. Join with sl st to the top of the ch-3. (16 berry stitches)
Continuing the Pattern
Now we’ll repeat the last three rounds to build the full cascade effect. This will give you a total of four berry stitch rounds, creating that beautiful, cascading texture.
Rounds 15–20: Repeat Rounds 12–14 twice more. (You will have a total of 4 berry stitch rounds.)
Adding the Contrast Band
Time to switch to your cream or soft white yarn for a striking contrast band near the bottom of the hat.
Round 21: Ch 1. Sc in each sc around. Join with sl st. (48 sc)
Round 22: Change to CC. Ch 1. Sc in each sc around. Join with sl st. (48 sc)
Round 23: With CC, Ch 1. Sc in each sc around. Join with sl st. (48 sc)
Round 24: Change to MC. Ch 1. Sc in each sc around. Join with sl st. (48 sc)
Round 25: Ch 1. Sc in each sc around. Join with sl st. (48 sc)
Shaping the Slouchy Crown
Now we’ll add a few gentle increases to give the hat its slouchy silhouette. This allows the body to drape beautifully over the crown.
Round 26: Ch 1. *Work 2 sc in the next sc, sc in the next 7 sc.* Repeat from * to * around. Join with sl st. (54 sc)
Round 27: Ch 1. *Work 2 sc in the next sc, sc in the next 8 sc.* Repeat from * to * around. Join with sl st. (60 sc)
Round 28: Ch 1. Sc in each sc around. Join with sl st. (60 sc)
Round 29: Ch 1. Sc in each sc around. Join with sl st. (60 sc)
Finishing Touches
You’re almost done! Follow these final steps to complete your hat.
Finish: Fasten off and weave in all ends with your yarn needle. Fold up the brim (the first 10 rounds) to your desired height. The hat is designed to be slouchy, so the body will naturally drape and create that relaxed, stylish silhouette.
Tips for Success
- Keep your tension consistent. The berry stitch looks best when your clusters are uniform in size.
- Use a stitch marker at the beginning of each round to avoid losing your place, especially during the berry stitch rounds.
- Blocking is optional but recommended. A gentle steam block will help even out the stitches and give the hat a polished finish.
- Customize the slouch. Want a less slouchy hat? Skip Rounds 26–27 and finish after Round 25. Want more slouch? Add an extra round of sc (Round 28) before finishing.
And there you have it—a gorgeous, handcrafted Cranberry Cascade Slouch Hat that’s as warm as it is stylish. Whether you keep it for yourself or gift it to someone special, this hat is sure to become a winter favorite. Happy crocheting!