Whispering Pines C2C Moss Stitch Baby Blanket Free Pattern – A Forest Floor Dream

Whispering Pines C2C Moss Stitch Baby Blanket Free Pattern – A Forest Floor Dream
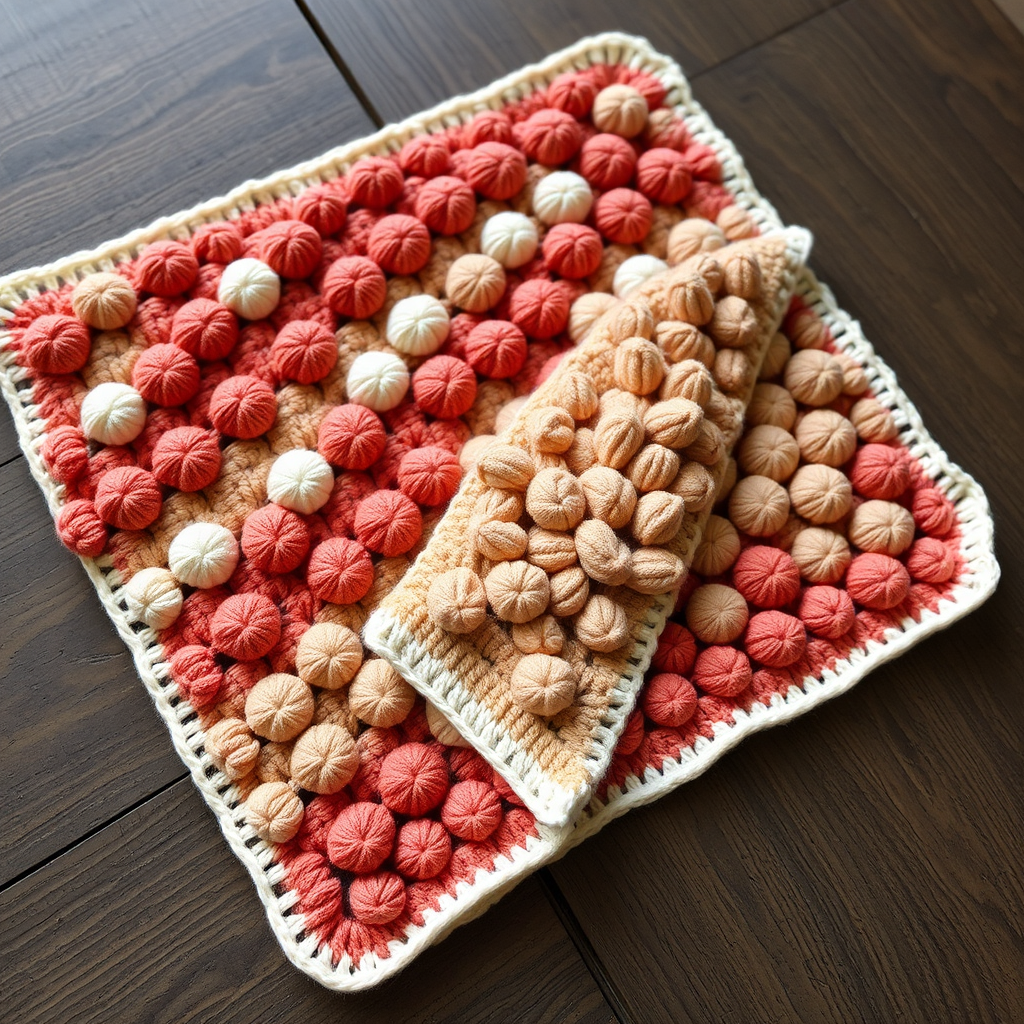
Wrap your little one in the gentle texture of a corner-to-corner moss stitch blanket, where soft sage and cream yarns mimic a sun-dappled forest floor. This heirloom-quality pattern is as soothing to crochet as it is to snuggle. The Whispering Pines blanket combines the classic Corner-to-Corner (C2C) technique with the delicate, woven look of the moss stitch, creating a fabric that is both plush and breathable—perfect for a new baby. Whether you're a seasoned crocheter looking for a meditative project or a confident beginner ready to try C2C for the first time, this pattern is designed to guide you through every step with clarity and ease.
This pattern is beginner-friendly, yet yields a sophisticated result that looks like it came from a boutique. The subtle gradient of sage green and cream creates a calming, organic aesthetic that will complement any nursery. Let’s dive into the materials you'll need and the step-by-step process to create this cherished keepsake.
Materials Needed
Before you begin, gather the following supplies. Using the recommended yarn weight and hook size is crucial to achieving the correct gauge and the soft, drapey texture of the original design.
- Yarn: Worsted weight (#4) cotton or cotton-blend yarn in two colors:
- Color A (Sage Green): Approximately 600 yards
- Color B (Cream): Approximately 600 yards
- Crochet Hook: 5.5 mm (I-9) hook. This size works perfectly with worsted weight yarn to create a dense, warm fabric without being stiff.
- Other Tools: Yarn needle for weaving in ends, scissors, and a stitch marker (optional, but helpful for keeping track of rows).
Gauge
To ensure your blanket turns out the correct size, it's important to check your gauge. The specified gauge is:
- 4 c2c blocks = 4 inches
- 8 rows of moss stitch = 4 inches
If your gauge is off, simply adjust your hook size up or down until you match these measurements. The final blanket will measure approximately 36 inches by 36 inches, making it a perfect stroller or crib blanket.
Step-by-Step Instructions
This pattern uses the Corner-to-Corner (C2C) technique, but with a twist: instead of the traditional double crochet blocks, we will be using moss stitch blocks (also known as granite stitch or linen stitch). Each "block" in this pattern consists of a single crochet, a chain, and a skipped stitch. This creates a beautifully textured, woven fabric.
Pattern Notes:
- The blanket is worked diagonally from one corner to the opposite corner.
- You will increase one block per row until you reach the widest point (30 blocks), then work even, and finally decrease one block per row until you are back to a single block.
- Color changes are made at the end of a row to create the subtle gradient effect.
Foundation & Increasing Section
We begin at the very first corner and work our way outwards, adding one block to each row.
Row 1 (Right Side): With Color A, chain 3. Work 1 single crochet (sc) in the 2nd chain from the hook. Chain 1, then work 1 sc in the next chain. You have now completed your first moss stitch block. Turn your work.
Row 2: Chain 3, work 1 sc in the 2nd chain from the hook, chain 1, work 1 sc in the next chain. This creates your first block of this row. Now, you will work into the previous row: work 1 moss stitch block (sc, ch 1, skip next st, sc) into the chain-1 space of the block from Row 1. You now have 2 blocks in this row. Turn.
Row 3: Increase as before: Chain 3, sc in 2nd ch, ch 1, sc in next ch (this is your first block). Then work 1 moss stitch block into each chain-1 space across the row (blocks 2 and 3). You should have 3 blocks. Turn.
Continue Increasing: Repeat the pattern of Row 3, adding one new block at the beginning of each row. Continue this increasing sequence until you have 30 blocks across the row. This is the widest point of your blanket.
Color Pattern & Working Even
Once you have reached 30 blocks, you will stop increasing and work even (one block in each chain-1 space across) for the next several rows. This is where the beautiful color gradient comes into play. Follow this sequence carefully:
- Rows 1-10: Color A (Sage Green)
- Rows 11-15: Color B (Cream)
- Rows 16-20: Color A
- Rows 21-25: Color B
- Rows 26-30: Color A
- Rows 31-35: Color B
- Rows 36-40: Color A
After Row 40, you will have completed the "even" section of the blanket. The square should measure roughly 36 inches on each side.
Decreasing Section
Now we will begin to decrease, working our way back down to the opposite corner. This is done by slip stitching into the first chain-1 space of the row, effectively skipping that block.
Row 41: With Color A, slip stitch into the first chain-1 space of the previous row. Then, work 1 moss stitch block into each of the remaining chain-1 spaces across the row. You should have 29 blocks. Turn.
Row 42: Repeat the decrease: slip stitch into the first chain-1 space, then work 1 block into each remaining chain-1 space. You will have 28 blocks. Turn.
Continue Decreasing: Repeat this decrease row, losing one block per row, until you have only 1 block remaining. Fasten off and weave in the yarn end.
Border
The border adds a polished, heirloom-quality finish to the blanket. It is worked in two simple rounds.
Round 1: With Color B (Cream), attach your yarn to any corner of the blanket. Work 1 round of single crochet (sc) evenly around all four edges. When you reach a corner, work 3 sc in the corner stitch to ensure the corner lies flat and turns nicely.
Round 2: For a delicate, finished edge, work 1 round of reverse single crochet (also known as crab stitch). This is worked from left to right, instead of right to left. Insert your hook into the next stitch to the right, yarn over, pull up a loop, yarn over, and pull through both loops on the hook. Repeat this around the entire perimeter of the blanket.
Once the border is complete, weave in all remaining ends with your yarn needle. Give your blanket a gentle block (if needed) and it's ready to be gifted or enjoyed!
Your Whispering Pines blanket is now complete. The combination of the textured moss stitch and the serene color palette creates a timeless piece that will be treasured for years to come. Happy crocheting!