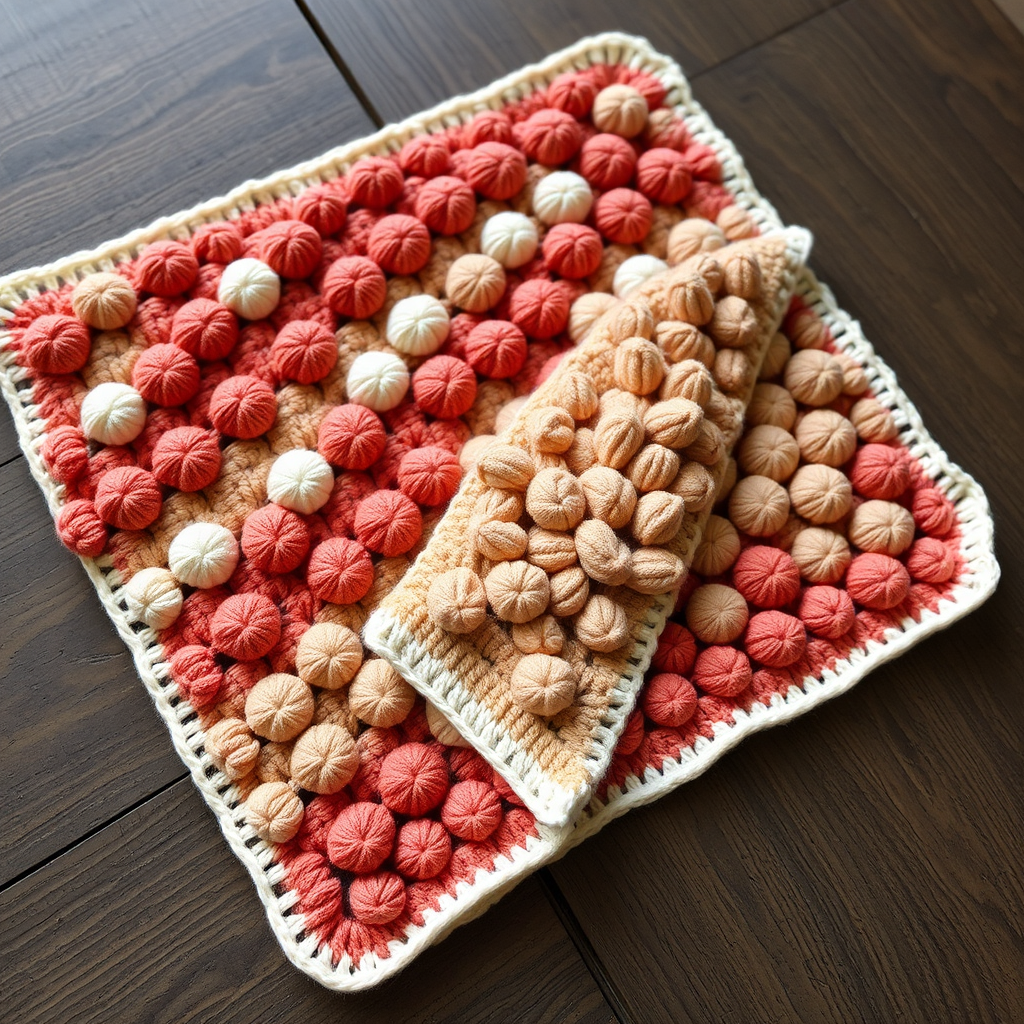
The Sunburst Meadow Granny Square Baby Blanket Free Pattern – A Radiant Crochet Heirloom
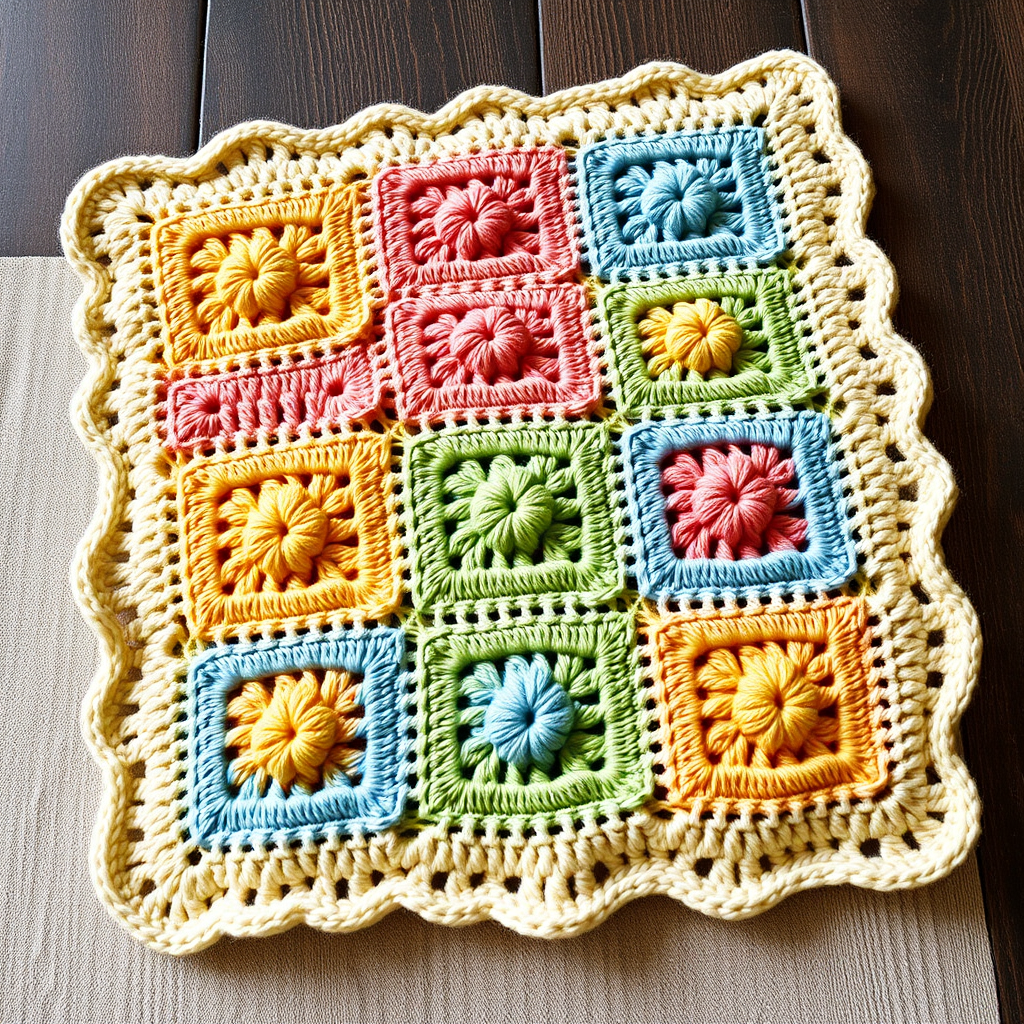
The Sunburst Meadow Granny Square Baby Blanket Free Pattern – A Radiant Crochet Heirloom
Wrap your little one in the cheerful warmth of a sun-drenched meadow with this vibrant granny square blanket. Each square bursts with sunny yellows, soft peaches, and fresh greens, creating a modern, joyful heirloom. This beginner-friendly pattern is perfect for those looking to create a handmade treasure that will be cherished for generations. The classic granny square design, reimagined in a fresh, colorful palette, makes this blanket as delightful to craft as it is to gift.
Materials Needed
Before you begin, gather the following supplies to ensure a smooth and enjoyable crochet experience:
- Yarn: Worsted weight cotton or cotton-blend yarn in 5 colors:
- Color A: Sunburst Yellow (approx. 250 yards)
- Color B: Peach Blossom (approx. 250 yards)
- Color C: Meadow Green (approx. 250 yards)
- Color D: Sky Blue (approx. 250 yards)
- Color E: Cream (approx. 200 yards for joining and border)
- Crochet Hook: 5.0 mm (H-8) crochet hook
- Other Tools: Yarn needle for weaving in ends, scissors, and stitch markers (optional but helpful).
Gauge: One granny square measures 4 inches (10 cm) across. Gauge is not critical, but consistency ensures even squares. If your squares are slightly larger or smaller, adjust your hook size accordingly to maintain uniformity.
Step-by-Step Instructions
This blanket is made of 36 individual granny squares, joined together, then finished with a border. Each square is worked in rounds from the center out. Follow these detailed instructions carefully to create your own radiant meadow.
Granny Square Pattern (Make 36)
Round 1: With color A (Sunburst Yellow), make a magic ring. Chain 3 (counts as first double crochet), 2 double crochet (dc) into ring, chain 2, *3 dc into ring, chain 2* repeat from * to * 2 more times (you now have 4 groups of 3 dc). Join with a slip stitch to the top of the beginning chain 3. Fasten off color A. (12 dc total)
Pro Tip: If you're new to magic rings, you can alternatively chain 4 and slip stitch to form a ring, then work your stitches into the center of that ring.
Round 2: Join color B (Peach Blossom) in any chain-2 corner space. Chain 3, 2 dc in same space, chain 1, *3 dc in next corner space, chain 2, 3 dc in same space, chain 1* repeat from * to * around, ending with 3 dc in the starting corner space, chain 2, slip stitch to top of beginning chain 3. Fasten off color B. (24 dc total)
Note: The chain-2 spaces in the corners are where you'll work two groups of 3 dc to create the square's corners. The chain-1 spaces along the sides are where you'll work single groups of 3 dc in subsequent rounds.
Round 3: Join color C (Meadow Green) in any chain-2 corner space. Chain 3, 2 dc in same space, chain 1, *3 dc in next chain-1 space, chain 1, 3 dc in next corner space, chain 2, 3 dc in same space, chain 1* repeat from * to * around, ending with 3 dc in starting corner space, chain 2, slip stitch to join. Fasten off color C. (36 dc total)
Tip: As you work each round, you'll notice the square growing. The chain-1 spaces from the previous round become the spots where you place your new groups of 3 dc.
Round 4: Join color D (Sky Blue) in any chain-2 corner space. Chain 3, 2 dc in same space, chain 1, *3 dc in next chain-1 space, chain 1, 3 dc in next chain-1 space, chain 1, 3 dc in next corner space, chain 2, 3 dc in same space, chain 1* repeat from * to * around, ending with 3 dc in starting corner space, chain 2, slip stitch to join. Fasten off color D. (48 dc total)
Round 5: Join color E (Cream) in any chain-2 corner space. Chain 3, 2 dc in same space, chain 1, *3 dc in each chain-1 space across to next corner, chain 1, 3 dc in corner space, chain 2, 3 dc in same space, chain 1* repeat from * to * around, ending with 3 dc in starting corner space, chain 2, slip stitch to join. Fasten off. Weave in all ends. (60 dc total)
Important: After completing Round 5, you should have 5 groups of 3 dc along each side (including the corner groups). Count your stitches to ensure accuracy before moving on.
Assembly
Arrange your 36 squares in a 6x6 grid. Alternate the starting color (A) to create a balanced, scattered meadow effect. For example, place squares with yellow centers in a random pattern rather than all in one corner.
Use a whip stitch or single crochet join with color E (Cream) to seam the squares together, working through the back loops only for a flat, invisible join. Join squares first in rows, then join the rows together.
Whip Stitch Join Method:
- Place two squares with right sides together.
- Thread your yarn needle with a length of color E yarn.
- Insert the needle through the back loop of the first stitch on the bottom square and the back loop of the corresponding stitch on the top square.
- Pull the yarn through, then insert the needle through the next pair of back loops.
- Continue this process across the entire edge, keeping your tension even.
Single Crochet Join Method:
- Place two squares with right sides facing you, edges together.
- Join color E yarn with a slip stitch in the corner stitch of both squares.
- Chain 1, then work a single crochet through the back loops of both squares across the edge.
- At the end, fasten off and weave in ends.
Border
Once all squares are joined, it's time to add the finishing border that will frame your beautiful blanket.
Round 1: With color E (Cream), join yarn in any corner of the assembled blanket. Chain 3, 2 dc in same space, chain 1, *3 dc in each space across to next corner, chain 1, 3 dc in corner space, chain 2, 3 dc in same space, chain 1* repeat from * to * around all four sides, ending with slip stitch to join.
Note: When working along the edges, you'll place 3 dc in each of the chain-1 spaces from the squares, and 3 dc in the seams between squares to keep the border flat.
Round 2: Chain 3, 2 dc in same space, chain 1, *3 dc in each chain-1 space across to next corner, chain 1, 3 dc in corner space, chain 2, 3 dc in same space, chain 1* repeat from * to * around, slip stitch to join.
Round 3: Repeat Round 2, but in each corner space, work 3 dc, chain 3, 3 dc to create a more pronounced corner. Fasten off and weave in all ends.
Pro Tip: The chain-3 corners in the final round create a lovely scalloped effect that adds a delicate, finished look to your blanket.
Finishing
Gently block the blanket to even out the squares and enhance the stitch definition. To block, lay the blanket flat on a clean surface, pin the edges to your desired dimensions, and lightly mist with water. Allow to dry completely before unpinning.
Your Sunburst Meadow Granny Square Baby Blanket is now complete! This radiant, heirloom-quality piece is ready to be gifted or treasured. The cheerful colors and classic design make it a timeless addition to any nursery.
Happy crocheting! Remember, each stitch is a little bit of love woven into a keepsake that will be cherished for years to come.