The Hatchling's Haven C2C Baby Blanket Free Pattern – A Crocheted Nest of Diamond Textures and Sunrise Shades

The Hatchling's Haven C2C Baby Blanket Free Pattern – A Crocheted Nest of Diamond Textures and Sunrise Shades
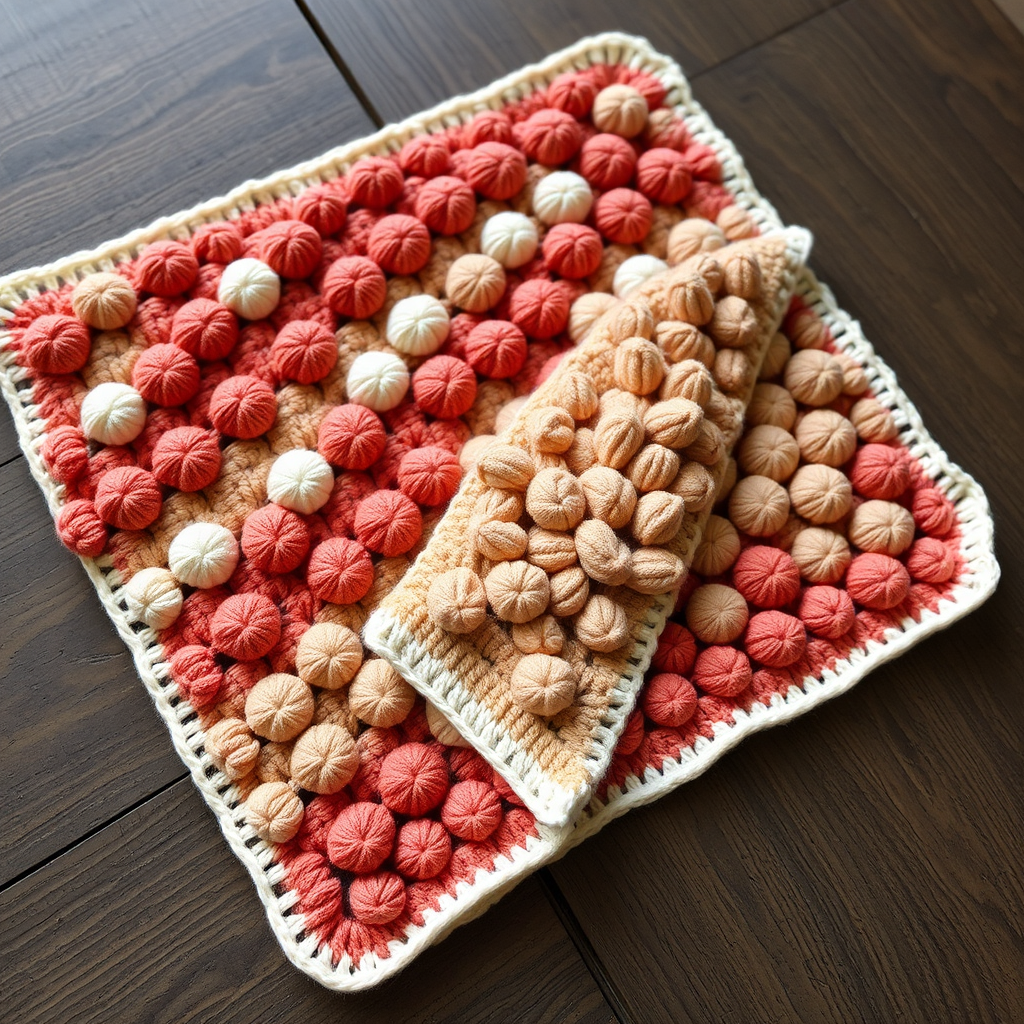
Welcome to a world of softness and serenity! If you're searching for a baby blanket pattern that feels like a warm sunrise and looks like a modern work of art, you've found it. The Hatchling's Haven is a corner-to-corner (C2C) crochet blanket that mimics the delicate, geometric beauty of a newly hatched egg. With its unique diamond mosaic texture and a gentle gradient of buttery yellows, peachy corals, and creamy whites, this blanket is more than just a covering—it's a cozy nest for your little one and a stunning centerpiece for any modern nursery.
This pattern is designed with beginners in mind. The C2C technique is surprisingly simple to master, and the repetitive nature of the stitches makes it a wonderfully relaxing project. By the end, you'll have a plush, dense, and beautifully textured heirloom-quality blanket that will be cherished for years. Let's get started on creating this handmade hug!
Materials Needed
Before you begin your crochet journey, gather these simple supplies. The beauty of this pattern lies in its straightforward material list, allowing you to focus on the joy of creating.
- Yarn: Worsted weight (#4) cotton or acrylic blend in 5 colors. You will need approximately 1800 yards total. Here’s the color breakdown:
- Color A (Cream): For the foundation, borders, and a section of the gradient.
- Color B (Butter Yellow): A soft, sunny hue.
- Color C (Peach): A gentle, warm mid-tone.
- Color D (Soft Coral): A vibrant yet muted accent.
- Color E (Blush Pink): A delicate, rosy finish.
- Crochet Hook: 5.5 mm (I-9) crochet hook. This size is perfect for worsted weight yarn, creating a dense but soft fabric.
- Other Tools: A yarn needle for weaving in ends, and a pair of scissors.
Gauge: 4 c2c blocks = 4 inches (10 cm) in c2c pattern. While gauge is important for size, this blanket is forgiving. As long as you use the recommended yarn and hook, you'll get a beautiful result.
Step-by-Step Instructions
This blanket is worked diagonally from corner to corner (c2c) using the double crochet block method. Each block consists of a chain-3 space and 3 double crochets. The pattern is divided into three main sections: Increase, Straight, and Decrease. Let's break it down.
Understanding the C2C Block
Before we start, let's understand the basic building block. A "block" in C2C is a small square made of 3 double crochets. You'll see this referred to as "3 dc". The "ch-3 space" is the gap created by the chain stitches at the start of each block, which you'll use to attach the next row.
Foundation (Row 1)
Row 1: Ch 6. Work 1 dc in the 4th ch from hook, 1 dc in each of the next 2 ch. You have now created your first block. (1 block)
Increase Section (Rows 2-30)
In this section, we'll be adding one block to the end of each row, making the blanket grow diagonally.
Row 2: Ch 6, turn. Work 1 dc in the 4th ch from hook, 1 dc in each of the next 2 ch (this forms the first block of the row). Sl st into the ch-3 space of the previous row's first block, ch 3, work 3 dc in that same ch-3 space. (2 blocks)
Row 3: Ch 6, turn. Work first block as before. *Sl st into next ch-3 space, ch 3, 3 dc in same space.* Repeat from * across. (3 blocks)
Continue Increasing: Continue increasing in this manner, adding one block per row, until Row 30. At Row 30, you will have 30 blocks along the diagonal.
Color Sequence for Increase Section
To achieve the beautiful ombre effect, follow this color sequence for the increase section:
- Rows 1-5: Color A (Cream)
- Rows 6-10: Color B (Butter Yellow)
- Rows 11-15: Color C (Peach)
- Rows 16-20: Color D (Soft Coral)
- Rows 21-25: Color E (Blush Pink)
- Rows 26-30: Color A (Cream)
Straight Section (Rows 31-45)
Now we'll keep the width consistent. This section creates the main body of the blanket. We'll be working a decrease at the start and end of each row, but the total number of blocks stays the same.
Row 31: Ch 3, turn. Work 3 dc in the first ch-3 space (this is a decrease at the start). *Sl st into next ch-3 space, ch 3, 3 dc in same space.* Repeat from * across until the last block. In the last block, work a sl st into the ch-3 space, then ch 3, 2 dc in the same space (this is a decrease at the end). (30 blocks)
Row 32: Repeat Row 31, but now you will have 29 blocks. Wait, let's clarify: In the straight section, you are decreasing at both ends, but the row count stays the same. Let's re-read the pattern.
Correction for Clarity: The pattern states: "Row 31: Ch 3, turn. Work 3 dc in the first ch-3 space (this is a decrease at the start). *Sl st into next ch-3 space, ch 3, 3 dc in same space.* Repeat from * across until the last block. In the last block, work a sl st into the ch-3 space, then ch 3, 2 dc in the same space (this is a decrease at the end). (30 blocks)"
This means you are working a decrease at the beginning (ch 3, 3 dc) and a decrease at the end (ch 3, 2 dc), but you are still working 30 blocks total. The decrease at the start and end "eats" one block from the previous row, but you are adding one block at the start and one at the end, keeping the count at 30. Let's proceed with this understanding.
Row 32: Repeat Row 31, maintaining 30 blocks per row.
Continue Straight Section: Work Rows 31-45 in the following color sequence:
- Rows 31-35: Color B (Butter Yellow)
- Rows 36-40: Color C (Peach)
- Rows 41-45: Color D (Soft Coral)
Decrease Section (Rows 46-60)
Now we'll start decreasing the number of blocks each row to bring the blanket to a point.
Row 46: Ch 3, turn. Work 3 dc in the first ch-3 space (decrease at start). *Sl st into next ch-3 space, ch 3, 3 dc in same space.* Repeat from * across until the last block. In the last block, work a sl st into the ch-3 space, then ch 3, 2 dc in the same space (decrease at end). (29 blocks)
Row 47: Repeat Row 46, but now you will have 28 blocks.
Continue Decreasing: Continue decreasing in this manner, one block fewer each row, until you have 1 block remaining. Fasten off.
Border
A clean, simple border finishes the blanket beautifully and helps it lay flat.
Round 1: With Color A (Cream), join yarn in any corner. Work sc evenly around the entire blanket, working 3 sc in each corner. Join with sl st.
Round 2: Ch 1, sc in each sc around, working 3 sc in each corner. Join with sl st. Fasten off.
Finishing Touches
Weave in all ends. Use your yarn needle to carefully weave in any loose yarn tails from color changes and the foundation. This step is crucial for a professional, durable finish. Once all ends are secured, give your blanket a gentle block if desired to even out the stitches.
Congratulations! You've just completed the Hatchling's Haven C2C Baby Blanket. The combination of the diamond texture and the sunrise color palette creates a truly special piece. This blanket is not just a project; it's a labor of love that will provide warmth and comfort. Enjoy watching your little one snuggle into their new haven!