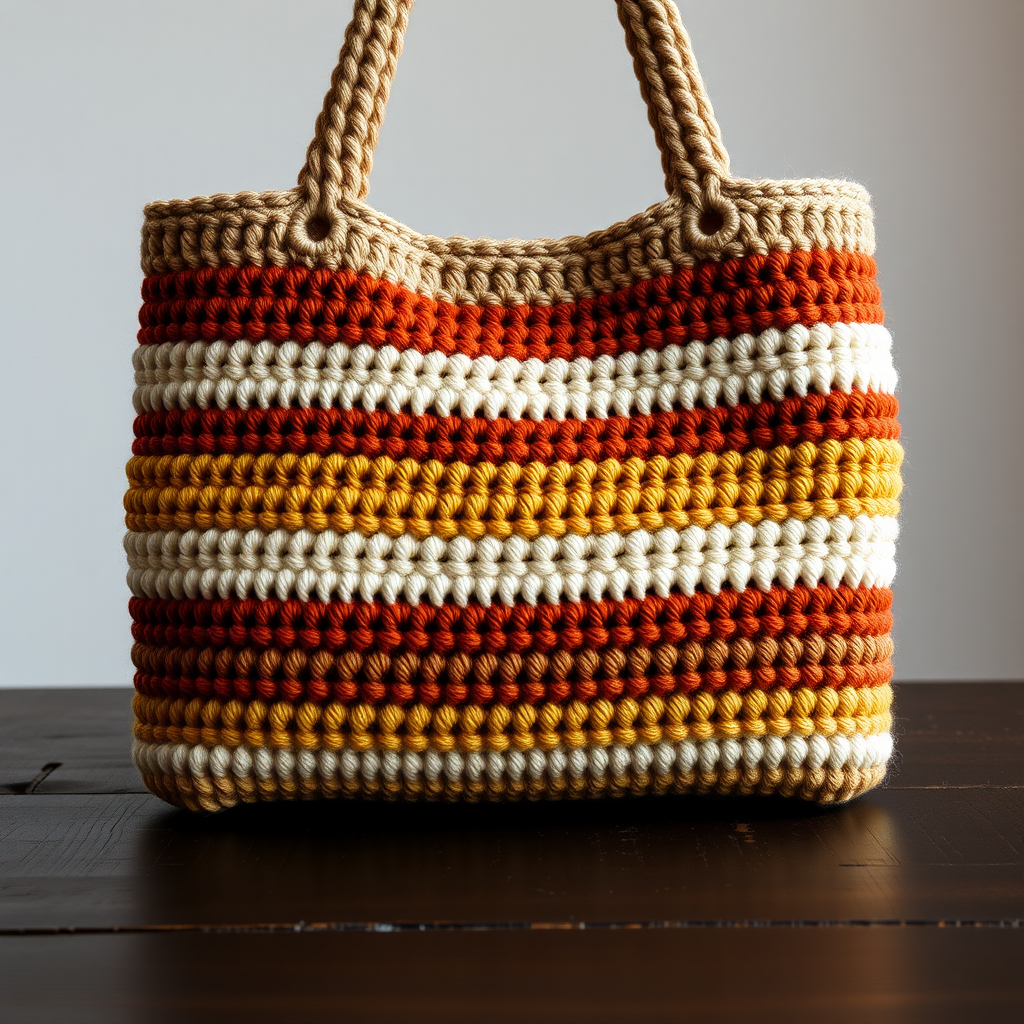
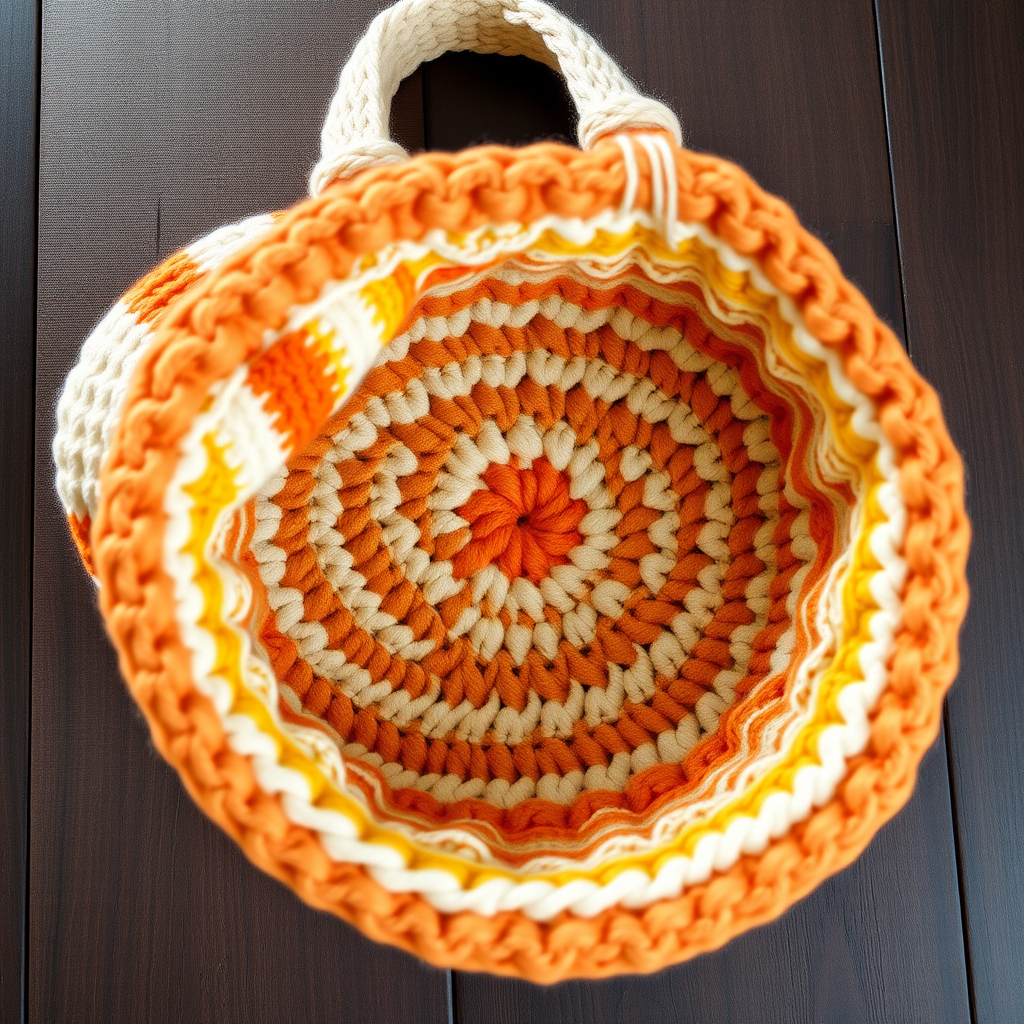
Whispering Meadow Tote Free Pattern – Crochet a Blooming Garden Bag

Whispering Meadow Tote Free Pattern – Crochet a Blooming Garden Bag
Carry a piece of a wildflower meadow with this textured crochet tote, featuring dimensional flower granny squares and a soft, earthy palette. This bag is a celebration of handmade charm, perfect for market days or stowing your latest yarn project. The Whispering Meadow Tote is a stunning patchwork of 12 flower granny squares, each one a miniature garden of dusty rose petals, mustard yellow centers, and sage green leaves, all set against a warm cream background. Whether you're a seasoned crocheter or a confident beginner looking for a rewarding project, this free pattern will guide you through every step to create a beautiful, functional, and utterly unique bag.
Materials Needed
Before you begin, gather the following materials. The gauge is not critical for this project, but consistency will ensure your squares are uniform and your bag comes together neatly.
- Yarn: Worsted weight cotton yarn in five colors:
- Cream (MC) – for the background and straps
- Sage Green (A) – for the leaves
- Dusty Rose (B) – for the flower centers
- Mustard Yellow (C) – for the ring of chain loops
- Terracotta (D) – optional, for added color accents
- Hook: 5.0 mm crochet hook (US H-8)
- Notions: Yarn needle, stitch markers
- Gauge: One flower granny square measures 4 inches (10 cm) across. Gauge is not critical, but consistency ensures uniform squares.
Step-by-Step Instructions
This bag is constructed from 12 flower granny squares (6 for each side), joined together, then finished with a sturdy border and straps. Each square is worked in the round. Take your time with the first square, and the rest will fly by!
Flower Granny Square (Make 12)
Round 1: With color B (Dusty Rose), make a magic ring. Work 12 dc into the ring. Join with a sl st to the first dc. Fasten off B. (12 dc)
Round 2: Join color C (Mustard Yellow) in any dc. *Ch 3, skip next dc, sl st in next dc.* Repeat from * around. You will have 6 ch-3 loops. Fasten off C. (6 loops)
Round 3: Join color A (Sage Green) in any ch-3 loop. *In the ch-3 loop work (sc, hdc, 3 dc, hdc, sc) to form a petal. Sl st in the next sl st between petals.* Repeat from * around. Fasten off A. (6 petals)
Round 4: Join MC (Cream) in the top of any petal (the middle dc of the 3 dc group). *Ch 5, skip to the next petal, sc in the top of that petal.* Repeat from * around. Join with a sl st to the first sc. (6 ch-5 loops)
Round 5: Sl st into the first ch-5 loop. *In the ch-5 loop work (3 sc, ch 2, 3 sc) for a corner. Ch 1, sc in the next sc between loops. Ch 1.* Repeat from * around, but in the last repeat, omit the final ch 1 and join with a sl st to the first sc. Fasten off MC. (6 corners)
Round 6: Join MC again in any ch-2 corner space. *In the ch-2 corner space work (3 dc, ch 2, 3 dc). Dc in each of the next 3 sc, dc in the ch-1 space, dc in the next sc, dc in the ch-1 space, dc in the next 3 sc.* Repeat from * around. Join with a sl st to the first dc. Fasten off. (Each side has 11 dc, corners have 3 dc + ch2 + 3 dc)
Joining the Squares
Arrange 6 squares in a rectangle (2 squares wide, 3 squares tall) for each side of the bag. With right sides facing up, use MC and a whip stitch or single crochet join to connect the squares together. First, join squares horizontally to form 3 rows of 2 squares. Then join the rows vertically. Repeat for the second panel. Ensure your joins are neat and secure, as this forms the structure of your bag.
Assembling the Bag
Place the two panels together with wrong sides facing. Using MC, single crochet through both layers along the bottom and up the sides, leaving the top open. Work 3 sc in each corner to turn. Do not fasten off.
Top Border
Continue working in the round around the top opening. *Sc in each stitch around, working 2 sc in each corner stitch.* Work 2 rounds of sc. Then work 1 round of reverse sc (crab stitch) for a neat edge. Fasten off and weave in all ends. The crab stitch gives a beautiful, twisted rope-like finish that adds durability to the top edge.
Straps (Make 2)
With MC, ch 120. Row 1: Sc in the 2nd ch from the hook and in each ch across. Ch 1, turn. Row 2: Sc in each sc across. Fasten off. Attach each strap to the inside of the bag, about 3 inches from the side seams, using a yarn needle and whip stitch. Reinforce with an extra square of fabric or a few extra stitches for strength. To ensure your straps are securely attached, sew them in a square or X pattern, and consider adding a second layer of stitching for extra durability.
Your Whispering Meadow Tote is now complete! Fill it with your latest yarn project, fresh market finds, or a good book, and enjoy the handmade charm of your blooming garden bag. Happy crocheting!