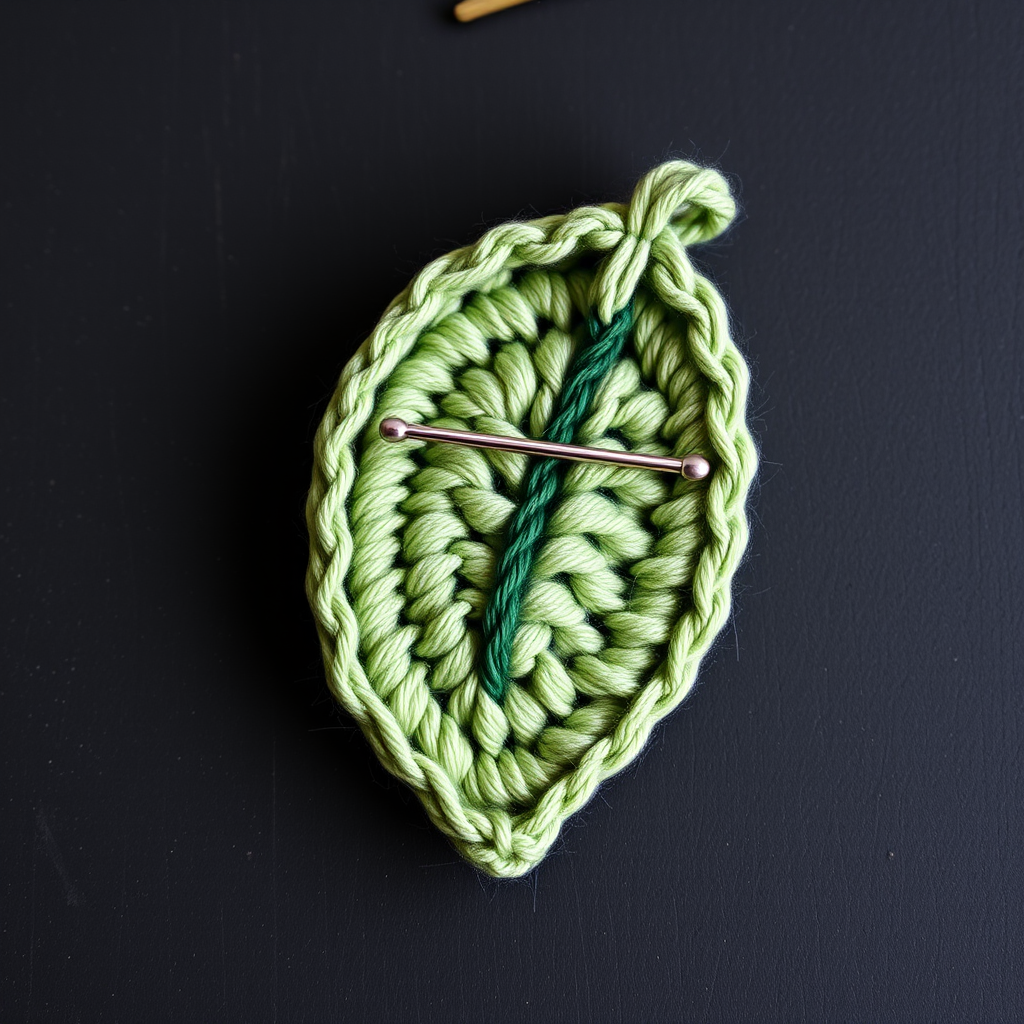
Whimsical Woodland Key Fob Free Pattern

Whimsical Woodland Key Fob: A Free Crochet Pattern for Beginners
Bring a touch of forest magic to your everyday carry with this charming acorn-shaped key fob! This quick and satisfying project is perfect for beginners and experienced crocheters alike. Using simple single crochet stitches and basic shaping, you'll create a textured, cozy accessory that makes a wonderful handmade gift or a delightful treat for yourself. Whether you're looking for a fun weekend project or a thoughtful present for a nature lover, this little acorn is sure to bring a smile. Let's dive in and craft some woodland whimsy!
Materials Needed
Before we begin, gather your supplies. This project is wonderfully portable and requires minimal materials:
- Yarn: Worsted weight yarn in three colors:
- Warm brown (for the acorn body)
- Cream (for the acorn cap)
- A small amount of dark brown (for the stem)
- Hook: 4.5 mm crochet hook (or size needed to achieve a tight stitch)
- Other: Yarn needle for weaving in ends, polyester fiberfill stuffing, and a key ring or lobster clasp
Note on Gauge: Gauge is not critical for this project. However, aim for a tight, firm stitch to prevent the stuffing from showing through. If your stitches are loose, consider using a smaller hook.
Step-by-Step Instructions
This pattern is worked in continuous spirals unless otherwise noted. Do not join rounds unless specified. Use a stitch marker to keep track of your rounds.
Acorn Body (Make 2 Pieces, Then Join)
We'll create two identical halves and then seam them together for a plump, rounded shape.
Round 1: With warm brown yarn, make a magic ring. Work 6 single crochet (sc) into the ring. Pull the tail to close the ring tightly. (6 stitches)
Round 2: Increase (inc) in each stitch around. To increase, work 2 sc into the same stitch. (12 stitches)
Round 3: *Sc in the next 3 stitches, inc in the next stitch* — repeat from * to * around. (15 stitches)
Round 4-5: Sc in each stitch around for two rounds. (15 stitches)
Round 6: *Sc in the next 3 stitches, decrease (dec) in the next stitch* — repeat from * to * around. To decrease, work 2 sc together (sc2tog). (12 stitches)
Round 7: *Sc in the next 2 stitches, dec in the next stitch* — repeat from * to * around. (9 stitches)
Fasten off, leaving a long tail (about 12 inches) for seaming. Stuff the acorn body firmly with fiberfill. Set aside. Repeat these steps to create a second identical piece.
Joining the Acorn Body
Now we'll seam the two halves together to create the full, rounded acorn body.
- Place the two stuffed pieces together with the right sides facing out. The decreases should be at the bottom (the point of the acorn) and the starting rounds at the top.
- Thread the long tail from one piece onto your yarn needle.
- Using a whip stitch or mattress stitch, sew the two pieces together along the edges, working from the top (wide end) down to the point. Make sure your stitches are tight and even so the stuffing doesn't peek through.
- When you reach the point, secure the yarn with a knot and weave in the end. Your acorn body is complete!
Acorn Cap
This textured cap is worked flat from the top down, then given a distinct ridged edge.
Round 1: With cream yarn, make a magic ring. Work 6 sc into the ring. (6 stitches)
Round 2: Inc in each stitch around. (12 stitches)
Round 3: *Sc in the next 2 stitches, inc in the next stitch* — repeat from * to * around. (16 stitches)
Round 4: Working in the back loops only, sc in each stitch around. This creates the beautiful ridged edge. (16 stitches)
Round 5: Sc in each stitch around, working through both loops as normal. (16 stitches)
Fasten off, leaving a long tail (about 12 inches) for sewing the cap to the body.
Stem
This tiny stem adds the perfect finishing touch.
With dark brown yarn, chain (ch) 4. Slip stitch (sl st) into the first chain to form a ring. Work 4 sc into the ring. Continue working 4 sc in each stitch around in a spiral for about 1 inch (or until the stem looks proportionate to your acorn). Fasten off, leaving a tail for sewing.
Assembly
Now for the fun part — bringing it all together!
- Attach the Cap: Place the acorn cap over the top of the stuffed acorn body. The cap should fit snugly. Using the long tail from the cap, thread it onto your yarn needle. Sew the cap to the body by stitching through the back loops of the cap's last round and the front loops of the body's top round. Work your way around, leaving a small opening at the very top.
- Insert the Stem: Take the crocheted stem and insert it into the opening at the top of the cap. Using the tail from the stem, sew it securely in place, stitching through the stem and the cap/body layers. Make a few extra passes to ensure it's firmly attached.
- Attach the Key Ring: Attach a key ring or lobster clasp to the stem. You can do this by threading a small piece of yarn through the top of the stem and the ring, then tying a secure knot. Alternatively, use a small metal jump ring to connect them.
- Weave in Ends: Use your yarn needle to carefully weave in all remaining loose ends inside the acorn body or cap. Trim any excess yarn.
Congratulations! You've just created your very own Whimsical Woodland Key Fob. This delightful little acorn is perfect for keys, bags, or as a cute zipper pull. Make a few in different colors to give as thoughtful, handmade gifts. Happy crocheting!