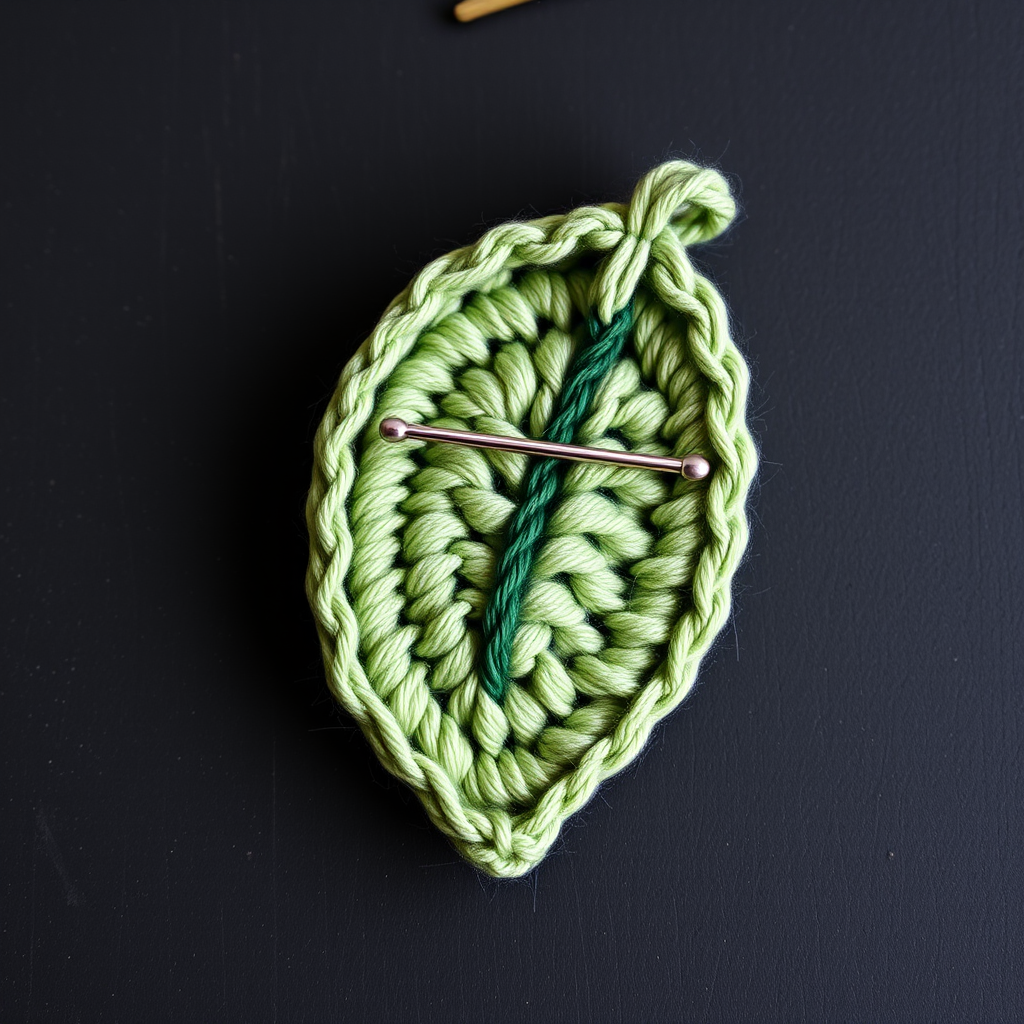
Lavender Haze Tablet Sleeve Free Pattern – Textured Crochet Cover with Floral Motif

Lavender Haze Tablet Sleeve Free Pattern – Textured Crochet Cover with Floral Motif
Wrap your tablet in a cloud of soft lavender and cream with this beautifully textured crochet sleeve, featuring a delicate 3D flower accent and a cozy, padded feel. This pattern is perfect for adding a handmade touch to your daily tech carry. Whether you're a seasoned crocheter or just starting your journey, this beginner-friendly project is a delightful way to create a protective, stylish home for your device. The combination of post stitches creates a lovely ribbed texture that's both visually appealing and wonderfully squishy, while the cream floral motif adds a touch of elegance.
Materials Needed
Before you begin, gather the following supplies to ensure a smooth and enjoyable crocheting experience:
- Yarn: Worsted weight cotton or acrylic blend (approx. 200g in lavender, 50g in cream). A cotton blend is recommended for durability and stitch definition, but a soft acrylic will also work beautifully.
- Hook: 5.0 mm (H-8) crochet hook
- Notions: Tapestry needle for weaving in ends and sewing pieces together, scissors, and optionally a button for the closure.
- Gauge: 16 sc x 18 rows = 4 x 4 inches (10 x 10 cm). While gauge is important for sizing, this pattern is quite forgiving. If your tablet is slightly larger or smaller, you can adjust the starting chain in multiples of 2 to change the width.
Step-by-Step Instructions
This pattern is worked in two main panels, a floral motif, and then assembled. Let's get started!
Finished Size & Abbreviations
Finished Size: Fits most 10-11 inch tablets (approx. 8 x 10.5 inches).
Abbreviations (US terms): ch = chain, sc = single crochet, dc = double crochet, sl st = slip stitch, st(s) = stitch(es), sk = skip, fpdc = front post double crochet, bpdc = back post double crochet, tr = treble crochet, puff st = puff stitch (see special stitch).
Special Stitch – Puff Stitch (puff st)
This stitch creates the lovely dimensional texture on the flower. Follow these steps carefully:
- Yarn over, insert hook into indicated st, yarn over and pull up a loop (3 loops on hook).
- Yarn over and pull through 2 loops (2 loops on hook).
- Yarn over, insert hook into same st, yarn over and pull up a loop (4 loops on hook).
- Yarn over and pull through 2 loops (3 loops on hook).
- Yarn over, insert hook into same st, yarn over and pull up a loop (5 loops on hook).
- Yarn over and pull through all 5 loops on hook, ch 1 to close.
Main Panel (Make 2)
These panels form the front and back of your sleeve. The alternating post stitches create a beautiful, sturdy ribbed texture.
Row 1: With lavender, ch 34. Sc in 2nd ch from hook and in each ch across. Turn. (33 sc)
Row 2: Ch 1, sc in first st, *fpdc around next st, sc in next st; repeat from * across. Turn. (33 sts)
Row 3: Ch 1, sc in each st across. Turn.
Row 4: Ch 1, sc in first st, *bpdc around next st, sc in next st; repeat from * across. Turn.
Row 5: Ch 1, sc in each st across. Turn.
Rows 6-45: Repeat Rows 2-5 sequentially (i.e., Rows 6-9, 10-13, etc.) until piece measures approx. 10.5 inches from start. End with a Row 5 repeat (sc row). Fasten off and weave in ends.
Pro Tip: The fpdc and bpdc stitches are worked around the post of the stitch from the previous row, not into the top loops. This creates the raised ribbed effect. When you work a sc row between the post stitch rows, it helps define the texture and keeps the fabric from curling.
Floral Motif (Make 1)
This beautiful 3D flower adds the perfect finishing touch. The puff stitches in the center give it wonderful dimension.
Round 1: With cream, make a magic ring. Ch 3 (counts as first dc), 11 dc into ring. Sl st to top of ch-3 to join. (12 dc)
Round 2: Ch 1, *sc in next st, ch 3, sk 1 st; repeat from * around, ending with sl st to first sc. (6 ch-3 spaces)
Round 3: In each ch-3 space: (sc, hdc, 3 dc, hdc, sc). Sl st to first sc. (6 petals)
Round 4: Ch 1, *sc in the sc between petals, ch 4; repeat from * around, sl st to first sc. (6 ch-4 spaces)
Round 5: In each ch-4 space: (sc, hdc, 5 dc, hdc, sc). Sl st to first sc. (6 larger petals)
Round 6: Ch 1, *sc in the sc between petals, ch 5; repeat from * around, sl st to first sc. (6 ch-5 spaces)
Round 7: In each ch-5 space: (sc, hdc, 7 dc, hdc, sc). Sl st to first sc. Fasten off, leaving a long tail for sewing. (6 full petals)
Pro Tip: The magic ring is essential for a tight, closed center. If you're not familiar with it, you can ch 4 and sl st to form a ring, then work Round 1 into the ring. Just pull the tail tight to close the center as much as possible.
Assembly
Now it's time to bring all the pieces together to create your beautiful tablet sleeve.
- Seaming: Place the two main panels with right sides facing out (the right side is the side where the post stitches are most prominent). Using lavender yarn and a tapestry needle, whip stitch around three sides (bottom and both side edges), leaving the top open. Turn sleeve right side out.
- Closure (Optional): If you'd like a closure, ch a 6-stitch loop at the center top of the back panel. To do this, attach your yarn at the center top edge, ch 6, and sl st back into the same spot. Sew a button on the front panel to match the loop position.
- Attaching the Flower: Sew the floral motif onto the front panel, centered about 2 inches from the top edge, using the long tail you left when fastening off. Make sure to sew through the back loops of the flower's base to keep the petals looking dimensional.
- Finishing: Weave in all ends carefully. Block gently if desired to even out the stitches and give your sleeve a professional finish.
And there you have it – a gorgeous, handmade Lavender Haze Tablet Sleeve that's as practical as it is beautiful. The textured stitch pattern provides excellent protection for your device, while the floral motif adds a personal, artisanal touch. This pattern makes a wonderful gift for friends, family, or even yourself! Enjoy your new, cozy tech accessory.