Amigurumi Patterns
Whimsical Mushroom Amigurumi Free Pattern
Anonymous
•
July 03, 2026
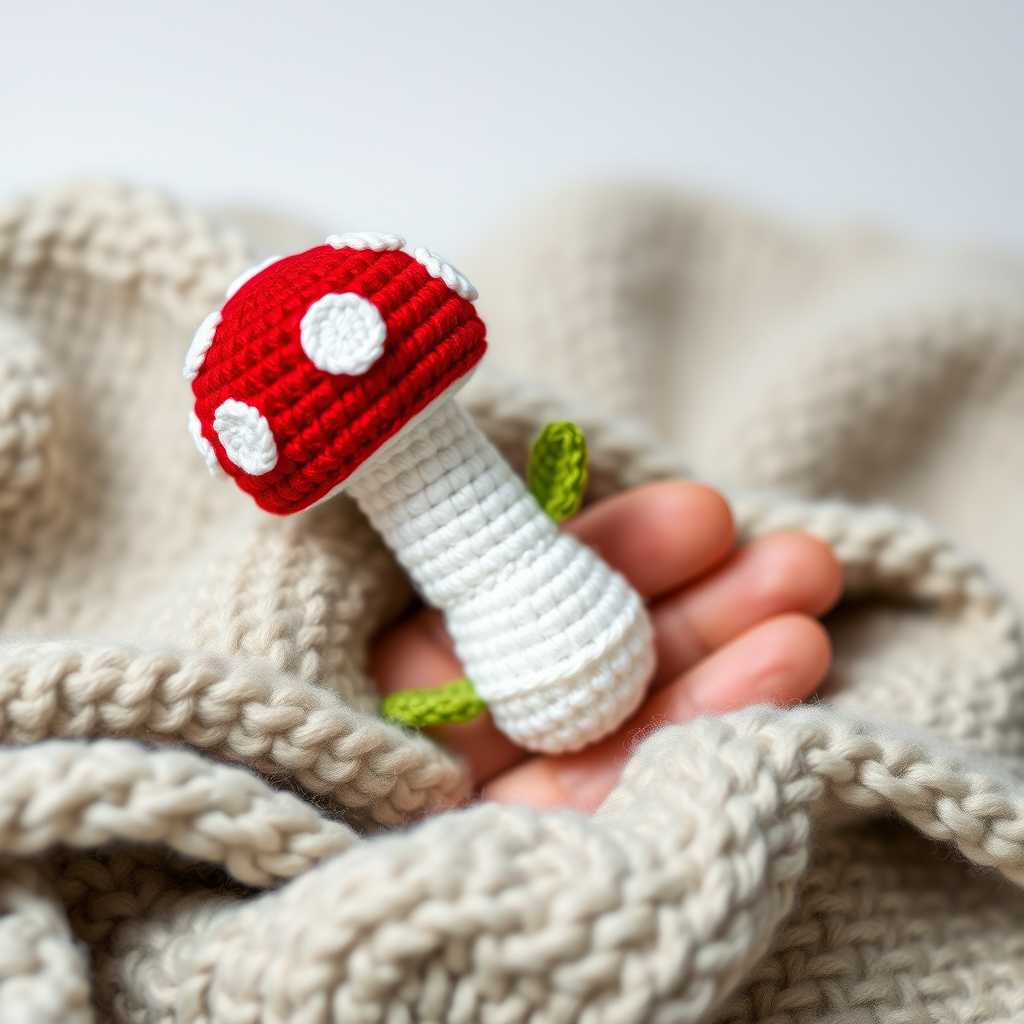
Whimsical Mushroom Amigurumi Free Pattern
Introduction
Welcome to our delightful crochet project! In this tutorial, you will learn how to create a charming mushroom amigurumi that adds a pop of color and whimsy to any decor. This project is perfect for beginners and will help you practice your crochet skills while crafting a fun and decorative piece. Let’s get started!
Materials Needed
- Yarn: Worsted weight yarn in red, white, and green
- Hook: 3.5mm crochet hook
- Stuffing: Fiberfill or any soft stuffing material
- Needle: Tapestry needle for weaving in ends and sewing pieces together
Step-by-Step Instructions
1. Crochet the Mushroom Cap
- Using the red yarn, create a magic ring.
- Inside the magic ring, crochet 6 single crochets (sc). You should have 6 stitches in total.
- For Round 2, increase in each stitch around: 2 sc in each of the 6 stitches. (12 sts)
- For Round 3, crochet *1 sc in the next stitch, then 1 increase in the next stitch*. Repeat this pattern around. (18 sts)
- For Round 4, crochet *1 sc in the next 2 stitches, then 1 increase in the next stitch*. Repeat this pattern around. (24 sts)
- For Round 5, crochet *1 sc in the next 3 stitches, then 1 increase in the next stitch*. Repeat this pattern around. (30 sts)
- For Round 6, crochet *1 sc in the next 4 stitches, then 1 increase in the next stitch*. Repeat this pattern around. (36 sts)
- For Rounds 7 to 10, simply crochet 1 sc in each stitch around. (36 sts)
- Once completed, fasten off the yarn and weave in the ends using a tapestry needle.
2. Crochet the Mushroom Stem
- Using the white yarn, create a magic ring.
- Inside the magic ring, crochet 6 single crochets (sc). You should have 6 stitches in total.
- For Round 2, increase in each stitch around: 2 sc in each of the 6 stitches. (12 sts)
- For Rounds 3 to 8, crochet 1 sc in each stitch around. (12 sts)
- Once completed, fasten off the yarn, leaving a long tail for sewing later.
3. Assembly
- Lightly stuff both the mushroom cap and the stem with fiberfill.
- Using the long tail from the stem, sew the stem to the center of the mushroom cap securely.
- With the white yarn, embroider small spots on the mushroom cap to mimic the classic toadstool look. You can create these by making small stitches in random places on the cap.
- Optionally, crochet small leaves using green yarn. To do this, create a small chain and work single crochets back along the chain to form a leaf shape. Attach these leaves to the base of the stem for added detail.
Conclusion
Congratulations! You have successfully crafted your very own whimsical mushroom amigurumi. This charming piece can be used as a decorative item or a delightful gift. Enjoy your new creation and happy crocheting!



