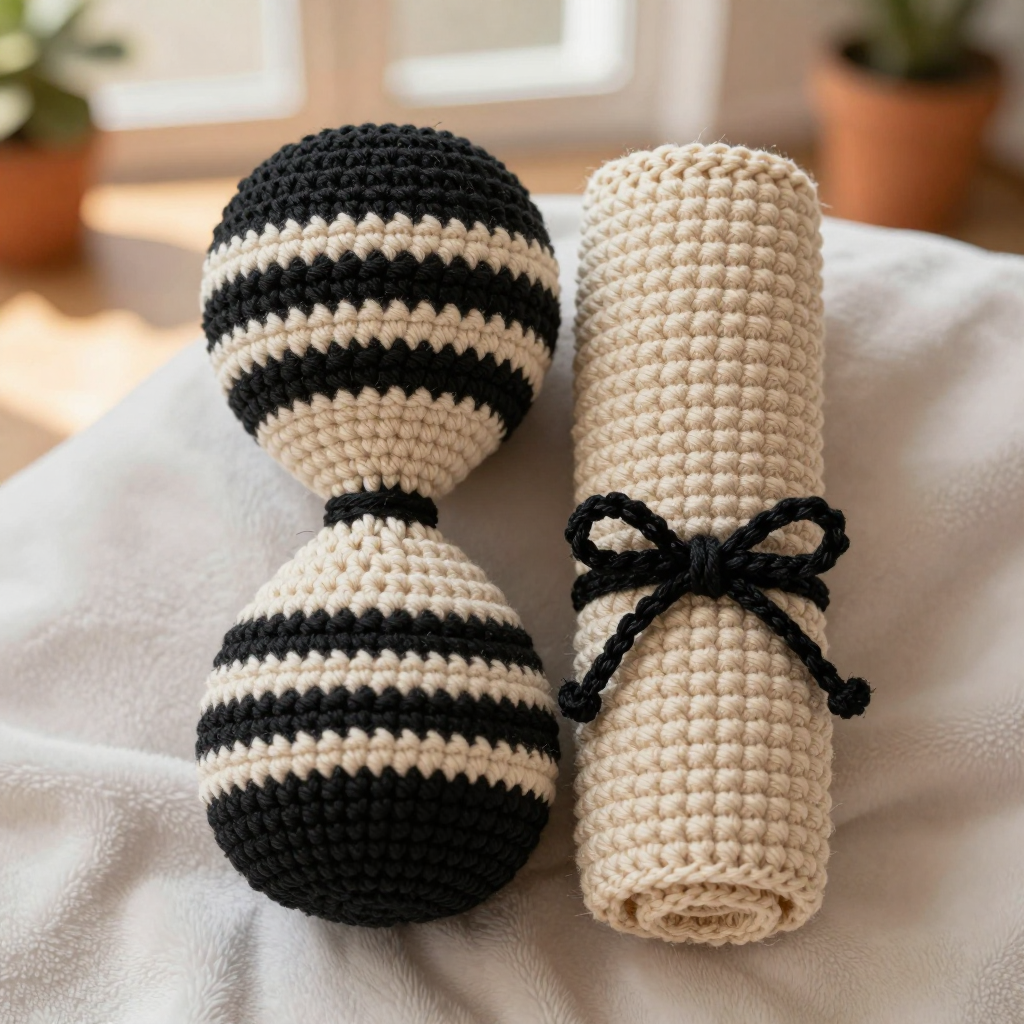
Free Pattern: Ribbed Belly Squirrel Backpack Clip Crochet Charm

Ribbed Belly Squirrel Backpack Clip: A Free Beginner Crochet Charm
If you have ever wanted to make something adorable but felt intimidated by complicated patterns, this little squirrel is for you. This project is perfect for complete beginners because it is built from simple shapes: one flat ribbed rectangle that becomes the body, one round belly panel, one round head, and two tiny ears. The finished charm is about 4 inches tall, made from thick t-shirt yarn in warm saffron and clove stripes, and it has a wonderfully rustic, ridged texture that looks far more advanced than the stitches actually are. It feels soft but sturdy in your hand, light enough to clip onto a backpack, and it makes a charming little companion or a handmade gift. Best of all, every single stitch is explained below, so you can pick up a hook today and finish this in an afternoon.
Materials Needed
- Yarn: T-shirt yarn (ribbon yarn approximately 5–7 mm wide, super bulky / weight category 6), about 55 g total: 30 g saffron (warm golden-orange) and 25 g clove (deep reddish-brown).
- Crochet hook: 6.0 mm (US size J-10), or the size you need to match gauge.
- Stitch marker: 1, to mark the beginning of your rounds.
- Yarn needle (tapestry needle): A large-eye blunt needle that fits t-shirt yarn, for seaming and weaving in ends.
- Scissors: Any sharp craft scissors.
- Stuffing: A small amount of polyester fiberfill.
- Hardware: One 25 mm split ring or swivel clip for hanging.
- Finished size: Approximately 4 in (10 cm) tall from base to top of head, 2.75 in (7 cm) wide at the body, plus a 1.5 in (4 cm) hanging loop.
Abbreviations and Beginner Glossary
- ch – chain: wrap the yarn over your hook and pull it through the loop on your hook. This makes a small link.
- sc – single crochet: insert your hook into the stitch, pull up a loop (2 loops on hook), yarn over, pull through both loops. One loop remains.
- hdc – half double crochet: yarn over first, insert hook into the stitch, pull up a loop (3 loops on hook), yarn over, pull through all 3 loops at once.
- dc – double crochet: yarn over, insert hook, pull up a loop (3 loops), yarn over and pull through 2 loops, yarn over and pull through the last 2 loops.
- FPdc – front post double crochet: work a double crochet around the vertical body (the "post") of the stitch below, inserting your hook from the front to the back and out the front again. This pushes the stitch forward and creates a raised rib.
- BPdc – back post double crochet: work a double crochet around the post of the stitch below, inserting your hook from the back to the front and out the back again. This pushes the stitch backward and creates a recessed rib.
- sl st – slip stitch: insert hook into the stitch, yarn over, and pull through both the stitch and the loop on your hook at once. It joins without adding height.
- sc2tog – single crochet 2 together (a decrease): insert hook into the first stitch, pull up a loop, insert hook into the next stitch, pull up a loop (3 loops on hook), yarn over and pull through all 3 loops. Two stitches become one.
- st(s) – stitch(es).
- rnd – round: one complete circle of stitches worked in the round.
- RS – right side: the front, outward-facing side of your work.
- WS – wrong side: the back, inward-facing side of your work.
- magic ring – an adjustable loop of yarn you crochet into, then pull tight to close the center hole.
- post – the vertical body of a stitch, which you wrap around when making post stitches.
Gauge
Ribbing gauge: 9 stitches x 8 rows = 4 in (10 cm) in front/back post half double crochet ribbing.
Round gauge: 8 sc x 9 rounds = 4 in (10 cm) in single crochet worked in the round.
Why gauge matters: Gauge is how many stitches and rows fit into a set measurement. If your stitches are bigger than the pattern expects, your squirrel will come out larger; if smaller, it will shrink. Because this charm is small, even a small difference changes the look.
How to make a gauge swatch: With your 6.0 mm hook and saffron yarn, chain 20. Work 12 rows in the post-rib pattern (Rows 1–3 of the body, repeating Rows 2–3). Lay the swatch flat without stretching and measure 4 in (10 cm) across the middle. Count the stitches and rows inside that 4 in. If you have more stitches than 9, try a larger hook; if fewer, try a smaller hook. For the round gauge, work a small flat circle of sc and measure 4 in across the middle.
Beginner Tips Before You Start
- Use a stitch marker. When working in continuous rounds (the belly and head), place a marker in the first stitch of each round so you never lose your place.
- Do not pull the yarn too tight. T-shirt yarn is thick and has little stretch. Keep your tension relaxed so the hook slides easily and your stitches stay even.
- Carry the unused color loosely. When you change stripes on the flat body, leave the other color hanging at the side without cutting it. Keep that carried strand a little loose so the edge does not pucker.
- Count your stitches at the end of every round. The numbers in parentheses tell you exactly how many stitches you should have. If you are off, fix it before moving on.
- Work post stitches slowly. FPdc and BPdc feel awkward at first. Insert your hook around the whole post, not into the top of the stitch, and the rib will appear.
- Stuff lightly. Overstuffing stretches the ribbing and makes the charm lumpy. A light, even fill keeps the shape neat.
Step-by-Step Instructions
Body Ribbed Rectangle (worked flat, saffron and clove stripes)
With saffron, ch 19.
Row 1 (RS): hdc in the 2nd ch from hook and in each ch across. (18 hdc) Turn.
Row 2: ch 2 (does not count as a st), FPdc around the post of the first hdc of the previous row, *BPdc around the next post, FPdc around the next post; repeat from * to the last st, hdc in the top of the last st. (18 sts) Turn.
Row 3: ch 2, BPdc around the first post, *FPdc around the next post, BPdc around the next post; repeat from * to the last st, hdc in the top of the last st. (18 sts) Turn.
Rows 4–6: Repeat Rows 2–3, ending with a Row 2 repeat. (18 sts; 6 rows total in saffron)
Change to clove.
Rows 7–10: Continue the post-rib pattern as established, keeping the ribs aligned (FPdc over FPdc, BPdc over BPdc). (18 sts; 4 rows clove)
Change to saffron.
Rows 11–14: Continue the rib pattern as established. (18 sts; 4 rows saffron)
Change to clove.
Rows 15–18: Continue the rib pattern as established. (18 sts; 4 rows clove) Fasten off, leaving a 12 in (30 cm) tail.
The rectangle measures approximately 8 in (20 cm) wide x 4 in (10 cm) tall, unstretched.
Seaming the Tube Body
Fold the rectangle in half with RS together so the two 4 in (10 cm) short ends meet. Using the long tail and working through both thicknesses, slip stitch or whipstitch the short ends together to form a tube approximately 2.5 in (6.5 cm) across. Turn RS out. The ribs now run vertically. Thread the yarn needle through the cast-on edge of the tube, pull tight to close the bottom, and secure. Stuff lightly with fiberfill, leaving the top open for now.
Belly Panel (worked in rounds, saffron)
Make a magic ring.
Rnd 1: 6 sc in ring. (6 sc)
Rnd 2: 2 sc in each sc around. (12 sc)
Rnd 3: *sc in next sc, 2 sc in next sc; repeat from * around. (18 sc)
Rnd 4: *sc in next 2 sc, 2 sc in next sc; repeat from * around. (24 sc)
Rnd 5: *sc in next 3 sc, 2 sc in next sc; repeat from * around. (30 sc)
Rnd 6: *sc in next 4 sc, 2 sc in next sc; repeat from * around. (36 sc)
Rnd 7 (post-rib round): ch 2, FPdc around the post of the first sc of Rnd 6, BPdc around the next post, *FPdc around the next post, BPdc around the next post; repeat from * around, join with sl st to the first FPdc. (36 post sts) Fasten off, leaving a 10 in (25 cm) tail. The panel measures approximately 2.5 in (6.5 cm) across.
Pin the belly panel centered on the front of the tube body, about 0.5 in (1.25 cm) up from the closed base, and whipstitch it in place with the tail.
Head (worked in rounds, clove)
Make a magic ring.
Rnd 1: 6 sc in ring. (6 sc)
Rnd 2: 2 sc in each sc around. (12 sc)
Rnd 3: *sc in next sc, 2 sc in next sc; repeat from * around. (18 sc)
Rnd 4: *sc in next 2 sc, 2 sc in next sc; repeat from * around. (24 sc)
Rnd 5: *sc in next 3 sc, 2 sc in next sc; repeat from * around. (30 sc)
Rnds 6–10: sc in each sc around. (30 sc)
Rnd 11: *sc in next 3 sc, sc2tog; repeat from * around. (24 sc)
Rnd 12: *sc in next 2 sc, sc2tog; repeat from * around. (18 sc)
Stuff the head firmly.
Rnd 13: *sc in next sc, sc2tog; repeat from * around. (12 sc)
Rnd 14: sc2tog around. (6 sc) Fasten off, close the remaining 6 sts with the yarn needle. The head measures approximately 2.25 in (5.5 cm) across.
Ears (make 2, saffron)
Ch 3.
Row 1: sc in the 2nd ch from hook and in the last ch. (2 sc)
Row 2: ch 1, sc2tog. (1 sc) Fasten off, leaving a 6 in (15 cm) tail. Sew one ear to each side of the top of the head, tips pointing slightly outward.
Hanging Loop and Clip
With clove, ch 12, join with sl st to form a ring. Work 18 sc around the ring (3 sc in each ch), join with sl st to the first sc. (18 sc) Fasten off, leaving a 6 in (15 cm) tail. Fold the loop in half and sew the joined edge firmly to the top back of the head. Slip a 25 mm split ring or swivel clip through the loop.
Assembly and Finishing
Sewing the head: Thread the head's yarn tail onto the yarn needle. Hold the head against the top opening of the stuffed tube body, centering it above the belly panel. Working around the opening, stitch the head to the body edge with small, even whipstitches, going through one loop of the body and one loop of the head each time. Pull gently but firmly so the seam disappears into the ribbing.
Weaving in ends: Thread each loose tail onto the yarn needle and run it through the inside of the work for about 1 in (2.5 cm), changing direction once so it cannot pull out. Trim the yarn close to the surface.
Blocking: Gently steam the ribbed body and belly panel from a few inches away with an iron on the steam setting (do not press the iron onto the yarn). Let it dry completely. This settles the stitches and makes the ribs stand up neatly. Trim any t-shirt yarn fuzz with scissors.
Your squirrel charm is ready to clip onto a backpack, tote, or key ring.
Pro Tips and Variations
- Change the colors: Swap saffron and clove for any two super bulky ribbon yarns you love. Try a cream and charcoal pair for a modern look, or two shades of the same color for a subtle tonal charm.
- Adjust the size: To make a larger squirrel, use a thicker t-shirt yarn and a 7.0–8.0 mm hook, or add extra stripe rows to the body rectangle before seaming. To make a smaller one, use a thinner ribbon yarn and a 5.0 mm hook.
- Substitute the yarn: If t-shirt yarn is hard to find, two strands of worsted-weight cotton held together will give a similar chunky, rustic texture. Always check your gauge first.
- Personalize the clip: Add a tiny felt leaf or a small bell to the hanging loop, or use a colored split ring to match your yarn for a coordinated finish.