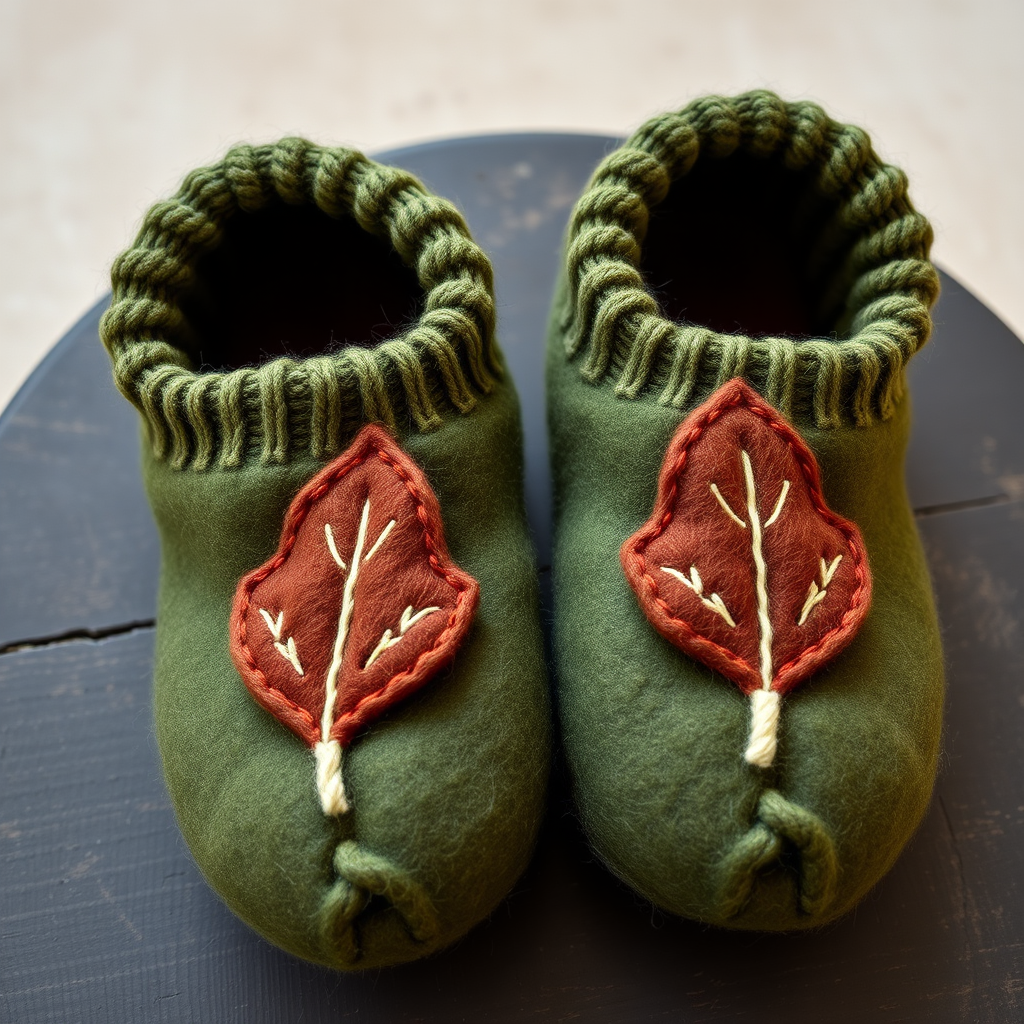
Watermelon Slice Chunky Slippers Free Pattern – A Knitted Fruity Comfort

Watermelon Slice Chunky Slippers Free Pattern – A Knitted Fruity Comfort
Step into summer with these adorable watermelon slice slippers, knitted in chunky yarn for ultimate coziness. The vibrant pink, green, and black seed details create a juicy, playful look that's perfect for lounging. Whether you're curling up with a book or padding around the kitchen on a lazy Sunday morning, these slippers bring a slice of sunshine to your feet. This free knitting pattern is designed with beginners in mind, using simple knit and decrease stitches to create a plush, fruity footwear that's as fun to make as it is to wear.
Materials Needed
Before you begin, gather the following supplies to ensure a smooth knitting experience. All materials are readily available at craft stores or online.
- Yarn: Chunky weight yarn (approx. 200g pink, 100g green, small amount black for seeds)
- Knitting Needles: US 10.5 (6.5 mm) knitting needles
- Tapestry Needle: For embroidering seeds and weaving in ends
- Scissors: For cutting yarn
- Optional: Crochet hook (same size or slightly smaller) for edging
Gauge: 14 stitches and 20 rows = 4 inches in stockinette stitch. Always knit a gauge swatch to ensure your slippers fit perfectly. If your gauge is off, adjust your needle size accordingly.
Step-by-Step Instructions
Follow these detailed instructions carefully to create your watermelon slippers. The pattern is divided into three main parts: the sole, the upper, and the assembly. Take your time and enjoy the process!
Part 1: Slipper Sole (Make 2)
The sole is knitted flat in garter stitch (knit every row) to create a dense, sturdy base. The decreases shape the toe and heel curve.
- Cast On: With green yarn, cast on 30 stitches.
- Row 1: Knit all stitches. (30 sts)
- Row 2 (Decrease Row): K1, k2tog (knit two together), knit to the last 3 stitches, k2tog, k1. (28 sts)
- Rows 3-10: Knit all stitches. (28 sts)
- Row 11 (Decrease Row): Repeat Row 2. (26 sts)
- Rows 12-18: Knit all stitches. (26 sts)
- Row 19 (Decrease Row): Repeat Row 2. (24 sts)
- Rows 20-26: Knit all stitches. (24 sts)
- Row 27 (Decrease Row): Repeat Row 2. (22 sts)
- Rows 28-34: Knit all stitches. (22 sts)
- Row 35 (Decrease Row): Repeat Row 2. (20 sts)
- Rows 36-40: Knit all stitches. (20 sts)
- Bind Off: Bind off all stitches loosely. This forms the sole with a slight curve, wider at the toe and narrower at the heel.
Part 2: Slipper Upper (Make 2)
The upper piece is knitted in stockinette stitch (knit one row, purl one row) with pink yarn. This creates the smooth, plush top of the slipper that covers the foot.
- Cast On: With pink yarn, cast on 20 stitches.
- Row 1: Knit all stitches. (20 sts)
- Row 2 (Decrease Row): K1, k2tog, knit to the last 3 stitches, k2tog, k1. (18 sts)
- Rows 3-10: Knit all stitches. (18 sts)
- Row 11 (Decrease Row): Repeat Row 2. (16 sts)
- Rows 12-20: Knit all stitches. (16 sts)
- Row 21 (Decrease Row): Repeat Row 2. (14 sts)
- Rows 22-30: Knit all stitches. (14 sts)
- Bind Off: Bind off all stitches. This piece will be the top of the slipper, shaped to fit over the instep.
Part 3: Seed Details
Now it's time to add the signature watermelon seeds! This step brings the slipper to life.
- Thread a tapestry needle with a small length of black yarn.
- On the pink upper piece, embroider small seed stitches. You can use French knots or simple straight stitches (about 1/4 inch long) to mimic seeds.
- Place the seeds randomly across the pink surface, leaving a border of about 1 inch from the edges. Aim for 6-8 seeds per slipper for a natural look.
- Weave in the black yarn ends securely on the wrong side of the fabric.
Part 4: Assembly
This is where the slipper comes together. Take your time to align the pieces correctly for a comfortable fit.
- Position Pieces: Place the upper piece on top of the sole, aligning the bind-off edges at the toe. The sole's curved edge should be at the heel. The pink upper should sit centered on the green sole.
- Whip Stitch: Using green yarn and a tapestry needle, whip stitch the upper to the sole around the entire perimeter. Start at the toe, work around one side, and continue to the heel. Leave the heel open for the foot to slide in. The heel opening should be about 4-5 inches wide.
- Shape the Slipper: Fold the upper over the sole to create the slipper shape. The pink part forms the top of the foot, and the green sole wraps around the bottom. Adjust the fabric so it sits smoothly.
- Weave in Ends: Weave in all loose yarn ends using the tapestry needle to ensure a clean finish.
Part 5: Finishing Touches (Optional)
For a polished, professional look, add a crochet edge around the opening. This also helps the slipper keep its shape.
- Using a crochet hook and green yarn, insert the hook into the top edge of the upper piece, near the heel opening.
- Single crochet evenly around the entire top edge of the upper. Work about 1 single crochet stitch per knit stitch or row.
- When you reach the starting point, slip stitch to join and fasten off.
- Weave in the yarn end. This neat edging frames the slipper beautifully.
Repeat all steps for the second slipper. Once both are complete, try them on and enjoy your handcrafted, watermelon-inspired comfort. These make wonderful gifts for fruit lovers and knitting enthusiasts alike. Happy knitting!