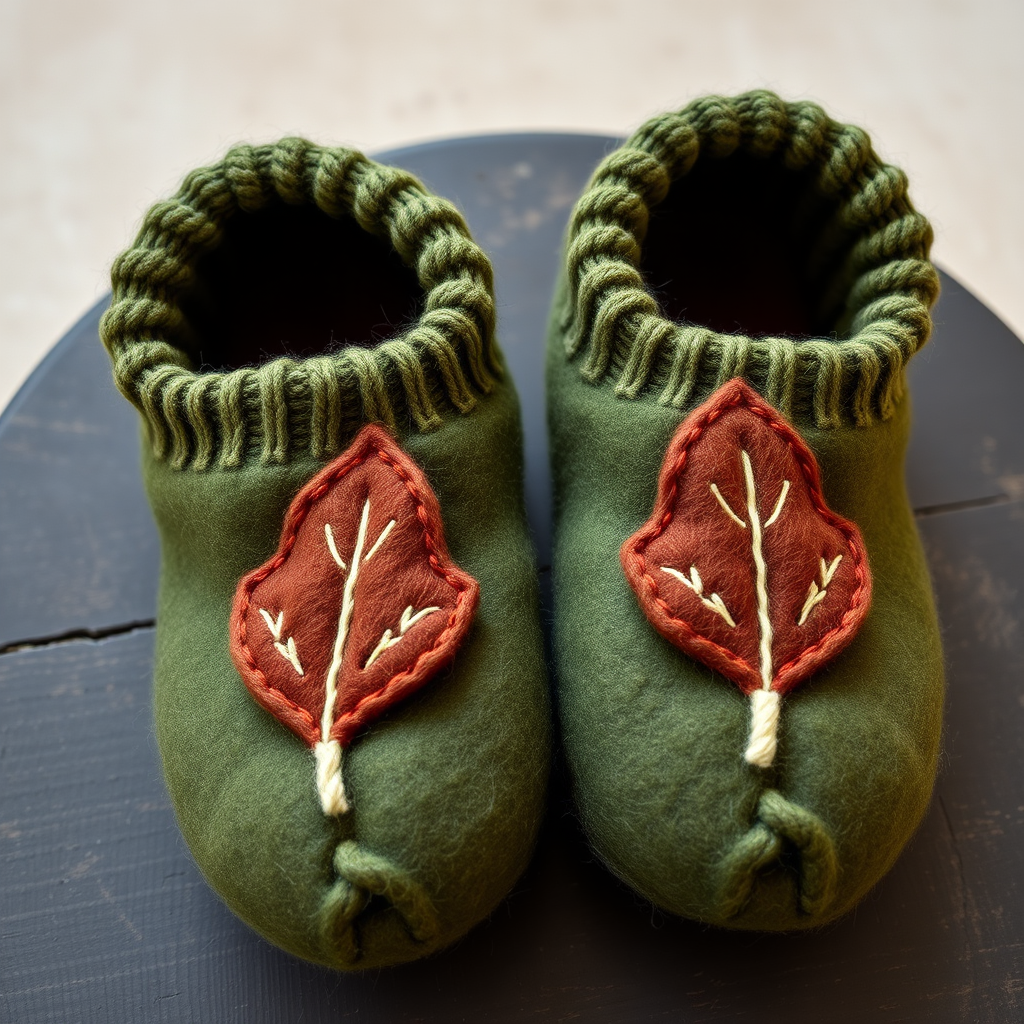
Ashvini Tunisian Slippers Free Pattern – Knit Cozy Mosaic Slippers

Wrap Your Feet in Handmade Warmth: The Ashvini Tunisian Mosaic Slippers
There is something deeply satisfying about slipping your feet into a pair of hand-knitted slippers. The Ashvini Tunisian Slippers offer the perfect blend of comfort and modern style, featuring a striking geometric mosaic pattern that elevates them from simple footwear to a true handmade statement piece. Using the beautiful Tunisian simple stitch, these slippers are not only plush and cozy but also boast a unique, textured fabric that molds perfectly to your feet. Whether you are a seasoned crafter or a curious beginner, this free pattern is your gateway to creating a pair of luxurious, custom-fit slippers that are as beautiful as they are warm.
This pattern is designed to be accessible and rewarding. The magic of Tunisian crochet lies in its simplicity—you use a single hook with a cord, working stitches onto the hook in one direction and then closing them in the return pass. The result is a dense, woven-like fabric that is perfect for slippers. Let's gather our materials and begin this cozy project.
Materials Needed
Before you begin, ensure you have all the necessary supplies. The beauty of this pattern is its minimalism—you only need a few key items to create a stunning result.
- Yarn: Worsted weight yarn in two contrasting colors. The pattern uses Color A: Deep Teal for the sole and mosaic accents, and Color B: Cream for the upper base and edging. You will need approximately 200 yards of each color for a pair.
- Hook: A US Size J/10 (6.0 mm) Tunisian crochet hook with a 10-inch cord. If you don't have a Tunisian hook, a regular crochet hook of the same size can work for the flat pieces, but the cord is essential for managing the stitches comfortably. You will also need a regular crochet hook (same size) for the final edging.
- Gauge: 14 stitches and 12 rows in Tunisian simple stitch = 4 inches. Always check your gauge to ensure the correct fit.
- Other Tools: A yarn needle for weaving in ends and sewing pieces together, and a pair of scissors.
Step-by-Step Instructions
This pattern is broken down into three main parts: the sole, the upper, and the assembly. We will work each piece flat using the Tunisian Simple Stitch (Tss). If you are new to this stitch, here is a quick refresher: To work a Tss, insert your hook from front to back under the vertical bar of the stitch from the previous row, yarn over, and pull up a loop. Keep all loops on your hook until the end of the row, then work them off in the return pass (yarn over, pull through one loop, then yarn over, pull through two loops until one loop remains).
Part 1: The Slipper Sole (Make 2)
The sole is worked flat and is shaped with simple increases and decreases to fit the contour of your foot.
Row 1: With Color A, chain 8. Work 1 Tunisian simple stitch (Tss) in each chain across (8 stitches).
Row 2: Work Tss in each stitch across (8 stitches).
Row 3 (Increase): Tss in first stitch, 2 Tss in next stitch, Tss in next 4 stitches, 2 Tss in next stitch, Tss in last stitch (10 stitches).
Row 4: Tss in each stitch across (10 stitches).
Row 5 (Increase): Tss in first stitch, 2 Tss in next stitch, Tss in next 6 stitches, 2 Tss in next stitch, Tss in last stitch (12 stitches).
Rows 6-12: Tss in each stitch across (12 stitches). This section forms the main body of the sole.
Row 13 (Decrease): Tss in first stitch, skip next stitch, Tss in next 8 stitches, skip next stitch, Tss in last stitch (10 stitches).
Row 14: Tss in each stitch across (10 stitches).
Row 15 (Decrease): Tss in first stitch, skip next stitch, Tss in next 6 stitches, skip next stitch, Tss in last stitch (8 stitches).
Row 16: Tss in each stitch across (8 stitches). Bind off and fasten off. Weave in the ends.
Part 2: The Slipper Upper (Make 2)
The upper is also worked flat and will later be attached to the sole. This piece creates the main body of the slipper that covers the top of your foot.
Row 1: With Color B, chain 10. Work Tss in each chain across (10 stitches).
Row 2: Tss in each stitch across (10 stitches).
Row 3 (Increase): Tss in first stitch, 2 Tss in next stitch, Tss in next 6 stitches, 2 Tss in next stitch, Tss in last stitch (12 stitches).
Row 4: Tss in each stitch across (12 stitches).
Row 5 (Increase): Tss in first stitch, 2 Tss in next stitch, Tss in next 8 stitches, 2 Tss in next stitch, Tss in last stitch (14 stitches).
Rows 6-10: Tss in each stitch across (14 stitches). This is the widest part of the upper.
Row 11 (Decrease): Tss in first stitch, skip next stitch, Tss in next 10 stitches, skip next stitch, Tss in last stitch (12 stitches).
Row 12: Tss in each stitch across (12 stitches).
Row 13 (Decrease): Tss in first stitch, skip next stitch, Tss in next 8 stitches, skip next stitch, Tss in last stitch (10 stitches).
Row 14: Tss in each stitch across (10 stitches). Bind off and fasten off. Weave in the ends.
Part 3: Adding the Mosaic Pattern
Now for the fun part—the mosaic design! This is worked directly onto the top edge of the upper piece, adding a beautiful geometric detail. The "skipped stitches" create the diamond-like pattern.
Row 1: With Color A, pick up stitches along the top edge of the upper (the bind-off edge). Work Tss in each stitch across (10 stitches).
Row 2: With Color A, Tss in each stitch across.
Row 3: With Color B, Tss in first stitch, *skip next stitch, Tss in next stitch*, repeat from * to * across, Tss in last stitch.
Row 4: With Color B, Tss in each stitch across.
Row 5: With Color A, Tss in first stitch, *Tss in next stitch, skip next stitch*, repeat from * to * across, Tss in last stitch.
Row 6: With Color A, Tss in each stitch across.
Row 7: With Color B, repeat Row 3.
Row 8: With Color B, Tss in each stitch across.
Row 9: With Color A, Tss in each stitch across. Bind off and fasten off.
Part 4: Assembly and Finishing
This is where your slipper comes together. Take your time with the sewing to ensure a clean, professional finish.
Step 1: Place the upper on top of the sole, aligning the edges carefully. The right side of both pieces should be facing out.
Step 2: Using your yarn needle and Color A, whip stitch the upper to the sole around the entire perimeter. Leave the back (heel) edge open for now.
Step 3: Fold the back edges of the upper together so they meet. Whip stitch them closed to form the heel of the slipper.
Step 4: Repeat the entire process for the second slipper.
Step 5 (Edging): With Color B and your regular crochet hook, work a round of single crochet (sc) around the top opening of each slipper. This will give a neat, polished finish and help the slipper hold its shape. Slip stitch to join, fasten off, and weave in all remaining ends.
Your Ashvini Tunisian Slippers are now complete! The combination of the deep teal and cream creates a striking, modern look, while the thick worsted weight yarn ensures your feet stay toasty and comfortable. These slippers make a wonderful gift for a loved one or a well-deserved treat for yourself. Enjoy the cozy, handmade warmth!