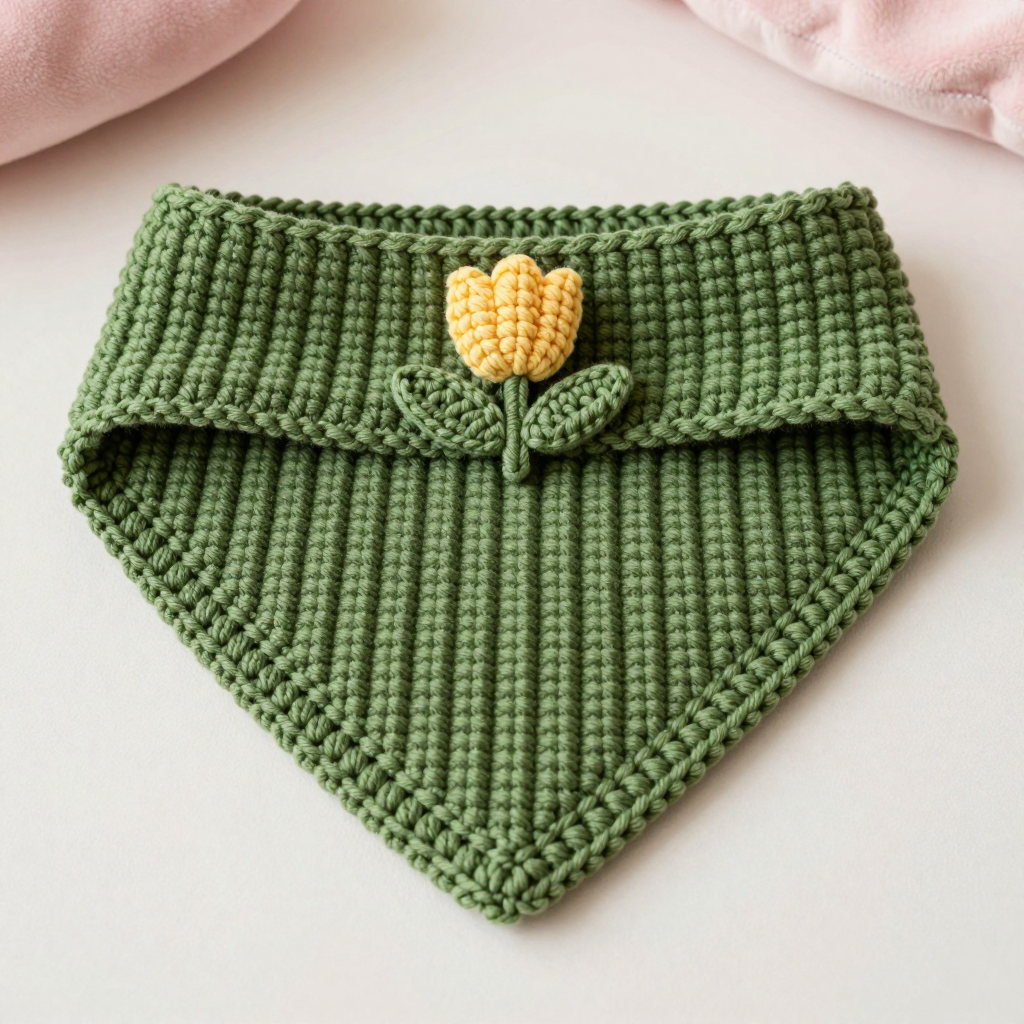
Toasty Chestnut Bobble Bib: Free Crochet Pattern for Small Dogs

Toasty Chestnut Bobble Bib: Free Crochet Pattern for Small Dogs
Introduction
If you have never held a crochet hook before, this is the perfect first project for you. The Toasty Chestnut Bobble Bib is a cozy little triangle bandana for small dogs, worked in soft, fuzzy olive chenille yarn with three raised chestnut-brown bobbles nestled down the center like fallen nuts on an autumn path. It is made entirely of single crochet stitches, so you only need to learn one basic stitch to finish the whole thing. The finished bib is about 7.5 inches wide across the top and 5.5 inches deep to the point, sized for small dogs with a neck of 10 to 13 inches. It feels velvety and plush in your hands and looks warm, earthy, and handmade around your pup's neck.
Materials Needed
- Yarn: Chenille plush yarn, super bulky (weight 6). Approximately 45 yards of olive and 8 yards of chestnut brown.
- Crochet hook: 6.5 mm (US K-10.5).
- Stitch marker (one is enough, but a few are handy).
- Tapestry needle (a large-eyed, blunt-tipped needle for weaving in ends).
- Scissors.
- Finished size: Approximately 7.5 inches (19 cm) wide across the top edge and 5.5 inches (14 cm) deep from the top edge to the point. Fits small dogs with a neck circumference of 10–13 inches (25–33 cm).
Abbreviations and Beginner Glossary
Every abbreviation used in this pattern is listed below and explained in plain English. You do not need any prior knowledge.
- ch – chain. Make a loop with the yarn on your hook, then wrap the yarn over the hook and pull it through the loop. That is one chain. A row of chains is the foundation you build on.
- sc – single crochet. Insert your hook into the next stitch, wrap the yarn over the hook, pull up a loop (2 loops on hook), wrap the yarn over again, and pull through both loops. One single crochet made.
- sc2tog – single crochet 2 stitches together (a decrease). Insert your hook into the first stitch, wrap yarn over, pull up a loop (2 loops on hook). Insert your hook into the next stitch, wrap yarn over, pull up a loop (3 loops on hook). Wrap yarn over and pull through all 3 loops. Two stitches become one.
- bobble – a puffy raised stitch. Yarn over, insert hook in the indicated stitch, yarn over, pull up a loop, yarn over, pull through 2 loops. Repeat this 3 more times in the same stitch (you will have 5 loops on your hook). Yarn over and pull through all 5 loops, then ch 1 to close the bobble.
- st(s) – stitch(es). One completed loop or stitch in your fabric.
- sl st – slip stitch. Insert your hook into the stitch, wrap yarn over, and pull it through both the stitch and the loop on your hook in one motion. It makes a flat, joining stitch.
- turn – flip your work over so you can work back across the row you just finished.
- fasten off – cut the yarn a few inches from your work, then pull the tail through the last loop to lock it.
Gauge
Gauge: 8 single crochet stitches x 9 rows = 4 inches (10 cm) in single crochet.
Gauge means how many stitches and rows fit into a square of fabric. It matters because it controls the finished size: if your stitches are bigger than the gauge, the bib will come out too large for a small dog, and if they are smaller, it will be too tight. To check your gauge, crochet a small practice square about 5 inches wide in single crochet, then lay a ruler across the middle and count how many stitches fit in 4 inches and how many rows fit in 4 inches. If you have more stitches than 8, try a larger hook; if you have fewer, try a smaller hook. Chenille is stretchy, so measure gently without pulling.
Beginner Tips Before You Start
- Keep your tension relaxed. Chenille yarn is fluffy and can crush if you pull it tight. Loose, even stitches keep the bib soft and flat.
- Use your stitch marker. Place it in the first stitch of each row so you always know where the row begins and ends. This prevents accidentally adding or losing stitches.
- Count every row. The stitch counts in parentheses tell you exactly how many stitches you should have. Count before you turn to the next row.
- Carry the brown yarn loosely. When you switch to chestnut for a bobble, leave the brown strand relaxed along the edge, then switch back to olive. Do not pull it tight or the bib will pucker.
- Work the closing chain of each bobble as a stitch. On the row after a bobble, the little chain that closed the bobble counts as one stitch, so you keep the correct count.
- Practice the bobble once on scrap yarn before you begin. It is easier than it looks, and one practice bobble builds your confidence.
Step-by-Step Instructions
Notes: The bib is worked flat in rows, beginning at the top edge and decreasing to a point. The chain 1 at the beginning of each row does not count as a stitch. Bobbles are worked in chestnut brown; change colors only for the bobble stitch, then change back to olive.
Body (Triangle)
Set-up: With olive, ch 16.
Row 1: Sc in 2nd ch from hook and in each ch across. (15 sc)
Row 2: Ch 1, turn. Sc in each st across. (15 sc)
Row 3: Ch 1, turn. Sc in first 6 sts, change to chestnut brown and work 1 bobble in next st, change back to olive, sc in remaining 8 sts. (15 sts, 1 bobble)
Row 4: Ch 1, turn. Sc in each st across, working the closing ch of the bobble as a stitch. (15 sc)
Row 5: Ch 1, turn. Sc2tog over first 2 sts, sc in each st across to last 2 sts, sc2tog. (13 sc)
Row 6: Ch 1, turn. Sc in each st across. (13 sc)
Row 7: Ch 1, turn. Sc in first 5 sts, change to chestnut brown and work 1 bobble in next st, change back to olive, sc in remaining 7 sts. (13 sts, 1 bobble)
Row 8: Ch 1, turn. Sc in each st across. (13 sc)
Row 9: Ch 1, turn. Sc2tog over first 2 sts, sc in each st across to last 2 sts, sc2tog. (11 sc)
Row 10: Ch 1, turn. Sc in each st across. (11 sc)
Row 11: Ch 1, turn. Sc in first 4 sts, change to chestnut brown and work 1 bobble in next st, change back to olive, sc in remaining 6 sts. (11 sts, 1 bobble)
Row 12: Ch 1, turn. Sc in each st across. (11 sc)
Row 13: Ch 1, turn. Sc2tog over first 2 sts, sc in each st across to last 2 sts, sc2tog. (9 sc)
Row 14: Ch 1, turn. Sc2tog over first 2 sts, sc in each st across to last 2 sts, sc2tog. (7 sc)
Row 15: Ch 1, turn. Sc2tog over first 2 sts, sc in each st across to last 2 sts, sc2tog. (5 sc)
Row 16: Ch 1, turn. Sc2tog over first 2 sts, sc in next st, sc2tog over last 2 sts. (3 sc)
Row 17: Ch 1, turn. Sc2tog over first 2 sts, sc in last st. (2 sc)
Row 18: Ch 1, turn. Sc2tog over both sts. (1 sc) Fasten off and weave in ends.
Edging
With olive, join yarn with a sl st at the top right corner of the bib. Work 1 round of sc evenly around the entire outer edge, working 2 sc in each corner and along the point to keep the edge smooth. Join with a sl st to the first sc. Fasten off and weave in ends.
Ties
With olive, join yarn at the top right corner. Ch 25, then sl st back along the chain to the corner. Fasten off. Repeat on the top left corner for the second tie. Weave in all ends.
Assembly and Finishing
There are no seams to sew on this project, so finishing is quick and gentle. First, weave in every loose end using your tapestry needle: thread the tail onto the needle and pass it back and forth through the back of several stitches, then trim close to the fabric. Next, block the bib by misting it lightly with water or holding it over a steaming kettle for a few seconds, then pat it flat on a towel and let it dry completely. Do not press it heavily with an iron, because chenille can crush and lose its fluff. Finally, trim any loose fuzz with scissors and check that the three chestnut bobbles sit evenly spaced along the center line of the triangle.
Pro Tips and Variations
- Change the colors. Swap the olive for mustard, rust, or deep teal to match your dog's coat, and use a cream or charcoal brown for the bobbles.
- Adjust the size. For a larger dog, add 3 or 4 chains to the starting chain and work one extra plain row between each decrease row. For a tiny dog, start with 12 chains instead of 16.
- Substitute the yarn. Any super bulky (weight 6) yarn works, but choose a soft, non-scratchy fiber for comfort around the neck. Always check your gauge with the new yarn.
- Add more bobbles. Work a bobble every other row instead of every fourth row for a denser, nuttier look, keeping the same decrease shaping.