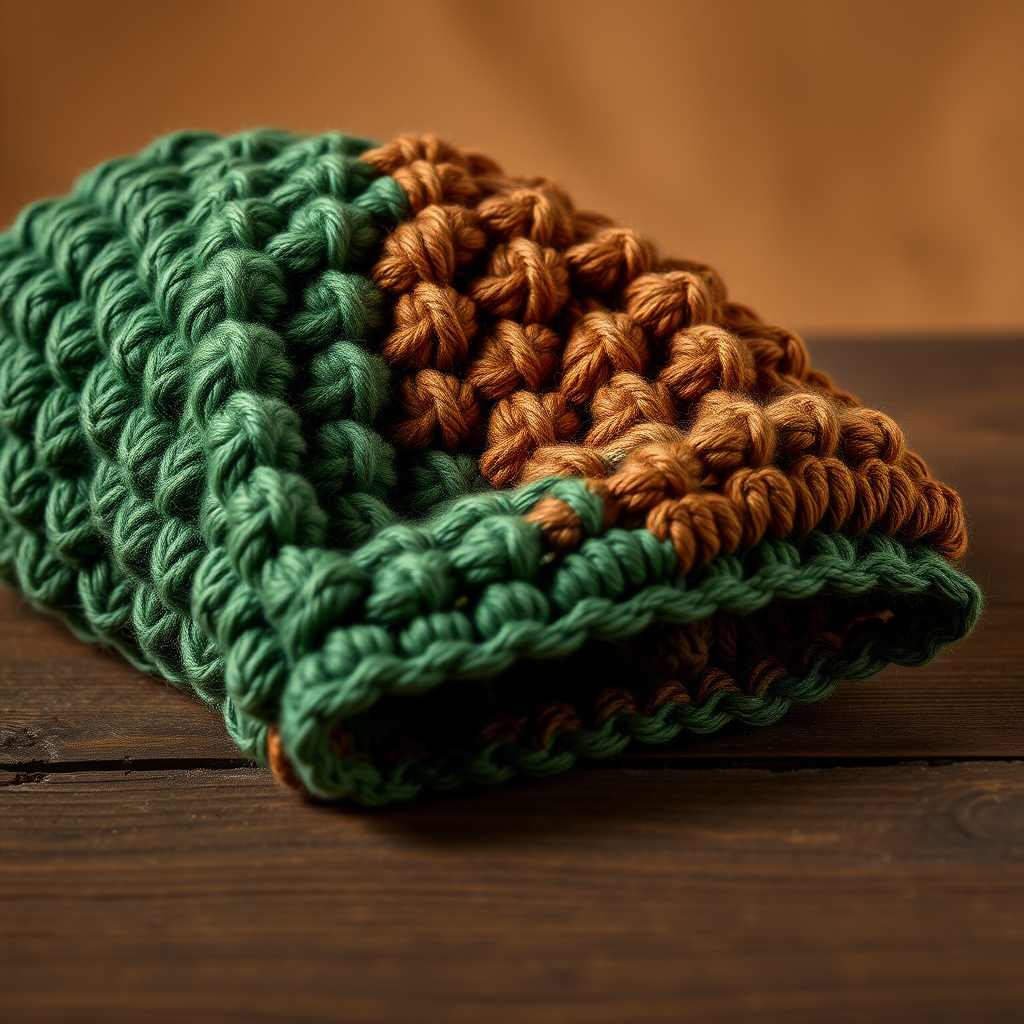
The Whispering Willow Wrap Free Pattern – A Crocheted Picot Trellis Shawl with Leafy Edges

The Whispering Willow Wrap Free Pattern – A Crocheted Picot Trellis Shawl with Leafy Edges
Wrap yourself in the delicate elegance of the Whispering Willow, a crocheted shawl that marries the airy picot trellis stitch with a cascading leaf border. This pattern offers a meditative rhythm and a stunning, heirloom-quality finish that drapes beautifully over any outfit. Whether you're a seasoned crocheter or a confident beginner looking for a rewarding project, this wrap is the perfect blend of simplicity and sophistication. The open, diamond-lattice fabric is surprisingly quick to work up, and the botanical leaf edging adds a whimsical, handcrafted touch that will make this shawl a treasured wardrobe staple for years to come.
Materials Needed
Before you begin, gather the following supplies to ensure a smooth and enjoyable crocheting experience:
- Yarn: Worsted weight cotton or cotton-blend yarn (approx. 600-700 yards) in a soft sage green or dusty rose. The cotton fiber gives the shawl a crisp stitch definition and a subtle, natural sheen.
- Crochet Hook: 5.5 mm (I-9) crochet hook. This size creates the perfect balance between drape and structure for the trellis stitch.
- Other Tools: Yarn needle for weaving in ends, scissors, and blocking pins (for the final finishing step).
Gauge: 4 picot trellis repeats (12 stitches) x 8 rows = 4 inches in pattern stitch (after blocking). Gauge is important for achieving the correct size and drape, so take a moment to check your tension with a small swatch.
Step-by-Step Instructions
This shawl is worked from the top down, starting with a simple chain and increasing at the edges to form a triangle. The picot trellis stitch creates an open, airy fabric with a beautiful scalloped edge. Follow these detailed instructions carefully, and you'll have a gorgeous wrap in no time.
Special Stitches
Before you start, familiarize yourself with these two key stitches:
- Picot (pc): Ch 3, slip stitch into the third chain from hook. This creates a small, decorative loop.
- Trellis Stitch (TS): Skip 2 stitches, work 3 double crochet (dc) into next stitch, ch 2, skip 2 stitches, work 3 dc into next stitch. This forms the signature open lattice pattern.
Foundation
Ch 4, join with a slip stitch to form a ring. This small ring will be the center point of your shawl's top edge.
Row 1
Ch 5 (counts as dc + ch 2), work 3 dc into ring, ch 2, work 3 dc into ring, ch 2, work 1 dc into ring. Turn. (You have 2 trellis groups). This establishes the base of your triangle.
Row 2
Ch 5, work 3 dc into the first ch-2 space, ch 2, work 3 dc into the next ch-2 space, ch 2, work 3 dc into the last ch-2 space, ch 2, work 1 dc into the top of the turning chain. Turn. (3 trellis groups). Notice how you're working into the chain spaces from the previous row, not the stitches themselves—this is what creates the airy lattice.
Row 3
Ch 5, *work 3 dc into the next ch-2 space, ch 2; repeat from * across until you reach the last ch-2 space, work 3 dc into that space, ch 2, work 1 dc into the top of the turning chain. Turn. (4 trellis groups).
Rows 4-40
Continue in this manner, increasing by one trellis group each row. Always work the first and last trellis group into the ch-2 spaces at the edges to maintain the triangular shape. The rhythm is simple: ch 5 at the start of each row, then work a trellis group into each ch-2 space across, finishing with a dc into the turning chain. If you prefer a more rectangular wrap, work even (without increases) for 10 rows after reaching your desired width. For a larger triangle, simply continue increasing.
Picot Trellis Border
Once you reach your desired size, do not turn. You'll now work the border along the bottom edge and up the sides to give your shawl a polished finish.
Round 1: Ch 1, work 1 single crochet (sc) into each dc and ch-2 space across the bottom edge. At the corner, work 3 sc into the corner stitch. Continue up the side edge, working 1 sc into each row end. At the top corner, work 3 sc into the corner. Continue down the other side edge, working 1 sc into each row end. Join with a slip stitch to the first sc. This round creates a clean, even base for the decorative edging.
Round 2: Ch 1, *work 1 sc into the next 3 stitches, work a picot (ch 3, sl st into 3rd ch from hook), repeat from * around the entire shawl. Join with a slip stitch to the first sc. Fasten off and weave in all ends. The picots create a delicate, scalloped edge that beautifully complements the open trellis work.
Leaf Edging (Optional but Recommended)
For an extra touch of botanical charm, work a second round of picots, but this time, add a small leaf motif at each corner:
- Corner Leaf: Ch 6, work 1 dc into the 4th ch from hook, 1 dc into the next ch, 1 dc into the last ch, ch 3, slip stitch into the same corner stitch. This creates a small leaf shape that echoes the willow theme and adds a whimsical, handcrafted detail to your wrap.
Blocking
Pin the shawl to the desired dimensions on a blocking mat. Spray with water and allow to dry completely. This crucial step opens up the picot trellis stitch and gives the shawl its beautiful drape. Blocking also evens out the stitches and enhances the lace pattern, transforming your work from a crumpled fabric into a stunning, heirloom-quality piece.
Once dry, gently remove the pins and your Whispering Willow Wrap is ready to wear. Drape it over your shoulders for a cozy evening, or style it as a chic accessory over a simple dress. The soft sage green or dusty rose cotton will complement any wardrobe, and the intricate stitch work is sure to draw compliments. Happy crocheting!