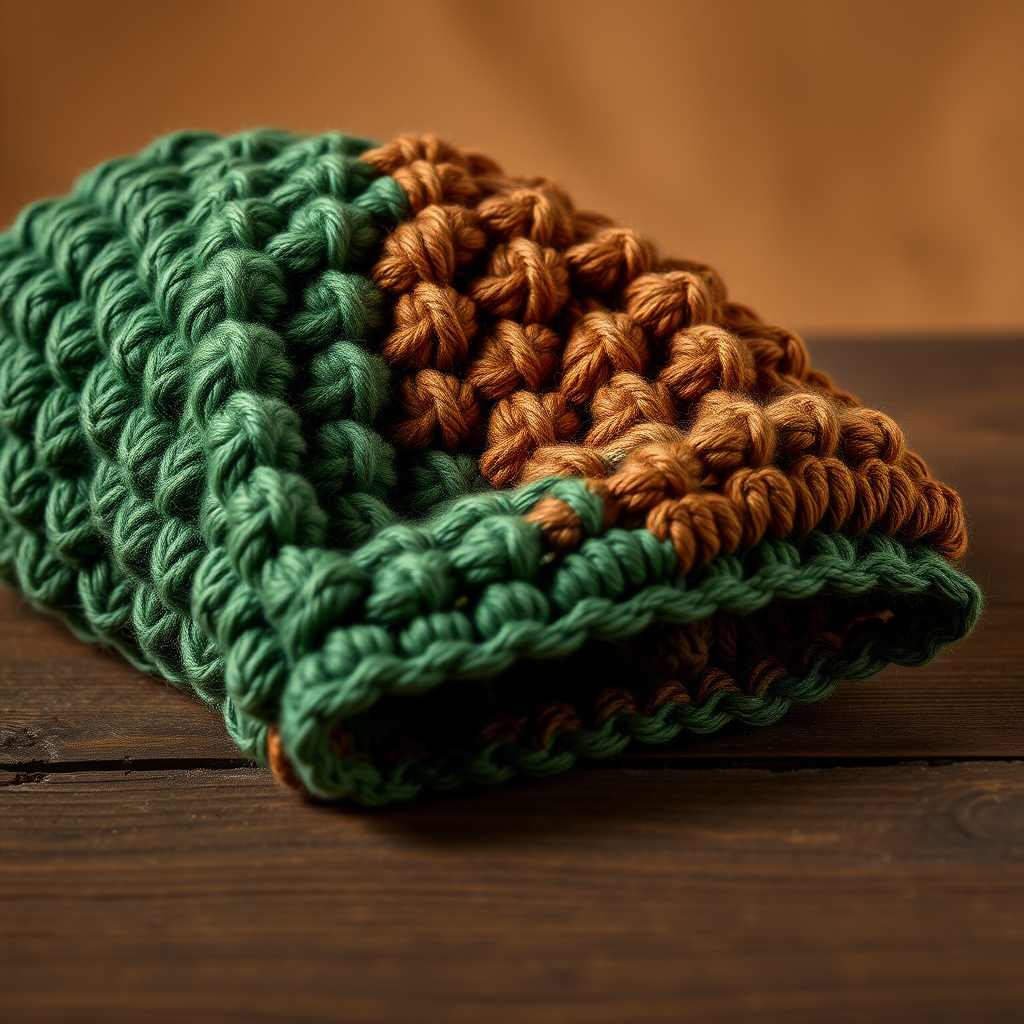
Drifting Dunes Slanted Puff Stitch Blanket Free Pattern

Introducing the Drifting Dunes Slanted Puff Stitch Blanket
Imagine wrapping yourself in a blanket that captures the serene, flowing movement of desert sands. The Drifting Dunes Slanted Puff Stitch Blanket is a mesmerizing, textured crochet project that reimagines the classic puff shell with a dynamic diagonal twist. This free pattern guides you through a rhythmic, relaxing crochet journey, resulting in a stunning, modern heirloom piece perfect for cozy contemporary homes. The unique slanted shells lean consistently across the fabric, creating a wave-like motion that is both visually captivating and deeply satisfying to create. Whether you are a seasoned crocheter looking for a new challenge or a confident beginner ready to expand your skills, this pattern offers a rewarding experience with a breathtaking finished product.
Materials Needed
Before you begin your crafting adventure, gather the following materials to ensure a smooth and enjoyable crochet session. The quality of your materials will directly impact the final look and feel of your blanket, so choose wisely.
- Yarn: Worsted weight (Category 4) yarn in three complementary colors. The pattern suggests a palette inspired by coastal dunes:
- Color A (Sand): A light, warm beige
- Color B (Dune): A soft, golden tan
- Color C (Ocean Mist): A muted, calming blue-grey
- Crochet Hook: 6.5 mm (K-10.5) crochet hook. This larger hook size helps create a soft, drapey fabric that showcases the puff stitches beautifully.
- Other Tools: A yarn needle for weaving in ends, and a pair of sharp scissors.
Gauge Information
Gauge: 4 slanted puff shells and 8 rows = 4 inches (10 cm) in pattern stitch. While gauge is not critical for this project as it is a blanket, maintaining a consistent tension will ensure your shells are uniform and your edges are straight. If you crochet very tightly or loosely, you may want to adjust your hook size to achieve a fabric you love.
Step-by-Step Instructions
Follow these detailed instructions carefully to create your own Drifting Dunes masterpiece. The pattern is built on a simple repeat that becomes intuitive as you go. Take your time, enjoy the rhythm, and watch your blanket come to life.
Getting Started: The Foundation Chain
To begin, you will create a foundation chain that is a multiple of 6 + 2 chains. For a throw blanket that measures approximately 60 inches wide, you will chain 122 stitches. Be sure to keep your foundation chain loose and even, as this will form the bottom edge of your blanket.
Row 1: Establishing the Shell Pattern
This first row sets the stage for the entire pattern. You will be creating your first set of shells.
- Single Crochet (sc): Work 1 sc into the 2nd chain from your hook.
- First Shell: *Skip the next 2 chains. Into the following chain, work 5 double crochets (dc). This cluster of 5 dc is your first "shell."
- Separator: Skip the next 2 chains, then work 1 sc into the next chain. This sc acts as a separator and anchor between shells.
- Repeat: Repeat from * across the entire row. You will end your row with a sc in the very last chain. Turn your work.
Row 2: Building Upward
Now you will begin working into the shells you just created, building the vertical structure of the pattern.
- Chain Up: Chain 3. This counts as your first double crochet (dc) for this row.
- Work into the Separator: *Skip the next 2 dc (the first two of the shell below). Into the next sc (the separator stitch between shells), work 5 dc to create a new shell.
- Anchor Stitch: Skip the next 2 dc (the last two of the shell below). Work 1 dc into the next sc (the separator stitch at the end of the shell). This dc acts as your new anchor.
- Repeat: Repeat from * across the row. You will finish by working your final dc into the top of the turning chain from the previous row. Turn your work.
Row 3: Creating the Offset
This row begins the "slanted" effect by changing where you place your shells.
- Chain Up: Chain 1, then work 1 sc into the first dc of the row below.
- Work into the Center: *Skip the next 2 dc. Into the very next dc (which is the center dc of the shell from the row below), work 5 dc to create a new shell.
- Anchor Stitch: Skip the next 2 dc. Work 1 sc into the next dc (the anchor dc that sits between the shells).
- Repeat: Repeat from * across the row, ending with a sc into the top of the turning chain from the previous row. Turn your work.
Rows 4-6: Mastering the Slanted Effect
This is the heart of the Drifting Dunes pattern. To make the shells lean diagonally, you will continue to offset your shell placement by one stitch each row.
- Row 4: Repeat the structure of Row 2, but with a crucial change. Instead of working your first shell into the center dc of the shell below, you will work it into the 2nd dc of the shell below. This shifts the entire shell one stitch to the right, starting the diagonal lean.
- Row 5: Continue the offset. Work your shells into the 3rd dc of the shell below (which is now the center). This continues the diagonal movement.
- Row 6: For the final row of this sequence, work your shells into the 4th dc of the shell below. After this row, the shells have completed a full "step" to the right, creating a pronounced slant.
Pro Tip: To keep track of your offset, place a stitch marker in the first stitch of each shell. This will help you visually see the diagonal line you are creating.
Color Changes and Stripe Sequence
The beautiful striping effect is achieved by a simple, repeating color sequence. This creates a cohesive, modern look that mimics the layers of a dune.
- Work 2 rows with Color A (Sand).
- Work 2 rows with Color B (Dune).
- Work 2 rows with Color C (Ocean Mist).
- Repeat this 6-row sequence until your blanket reaches your desired length (e.g., 60 inches).
Seamless Color Changing Technique: To avoid an ugly "jog" or step in your stripes, you must change colors at the end of a row. When you are about to make the final stitch of a row, work the stitch as normal, but stop before the last yarn over. Instead, yarn over with the new color and pull through to complete the stitch. This seamlessly joins the new color and ensures your stripes are perfectly straight.
Finishing Touches: The Border
Once your blanket has reached its desired length, you will add a delicate, polished border to frame your work.
- Do Not Fasten Off: Keep your working yarn attached and do not cut it.
- Round 1 - Single Crochet: Work a round of single crochet (sc) evenly around the entire perimeter of the blanket. When you reach each corner, work 3 sc into the corner stitch to allow the border to turn smoothly without puckering.
- Round 2 - Picot Edging: For a beautiful, finished edge, work a picot edging. *Sc in the next 3 sc stitches. Then, chain 3, and work a slip stitch (sl st) into the 3rd chain from your hook (this creates a small loop or "picot"). Repeat from * around the entire blanket.
- Fasten Off: When you have completed the border, fasten off your yarn and weave in all loose ends with your yarn needle. Give your blanket a gentle block if desired to even out the stitches and showcase the beautiful texture.
Congratulations! You have created a stunning Drifting Dunes Slanted Puff Stitch Blanket. This piece is more than just a cozy accessory; it is a work of art that brings a sense of calm and modern elegance to any space. Enjoy the fruits of your labor, and don't be surprised if this becomes your new favorite go-to gift for loved ones.