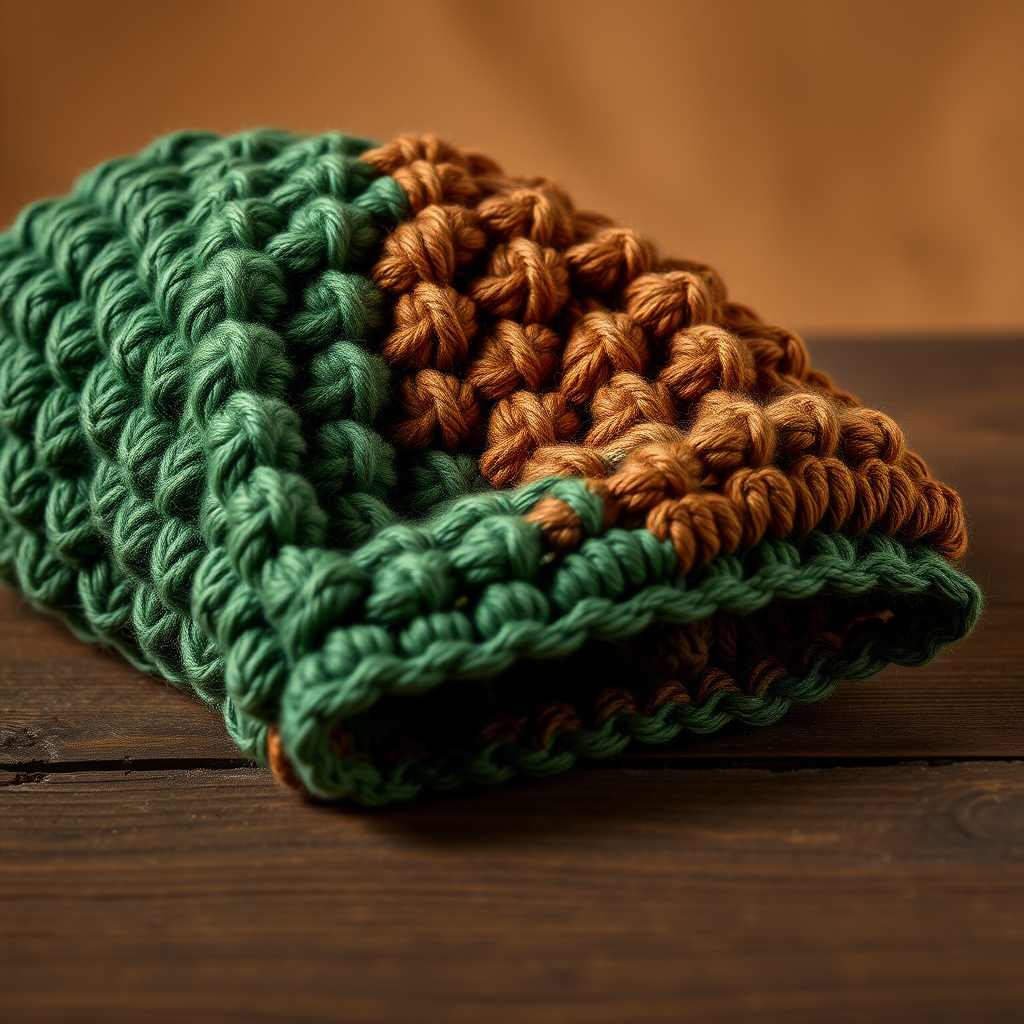
Heirloom Honeycomb Stitch Crochet Cowl Free Pattern

Heirloom Honeycomb Stitch Crochet Cowl: A Free Beginner-Friendly Pattern
Wrap yourself in the plush, textured warmth of this honeycomb-inspired cowl—a modern twist on classic crochet knit stitches. This cozy accessory is perfect for adding a handmade touch to any winter wardrobe, and the dense, waffle-like fabric is surprisingly simple to create once you master the signature stitch. Whether you're a seasoned crocheter looking for a quick weekend project or a confident beginner ready to try something new, this seamless, stretchy cowl is a rewarding make that looks far more complex than it is. Let's dive into creating this heirloom-quality piece you'll reach for all season long.
Materials Needed
Before you begin, gather the following supplies. Using the correct materials ensures your gauge matches and your finished cowl has the perfect drape and warmth.
- Yarn: Bulky weight yarn (Category 5) in a soft cream or oatmeal color, approximately 250 yards. A smooth or lightly twisted yarn will best showcase the stitch definition.
- Crochet Hook: US Size K/10.5 (6.5 mm) crochet hook. Adjust hook size if necessary to meet gauge.
- Other Tools: Yarn needle for weaving in ends, scissors, and a stitch marker (optional, but helpful for keeping track of rounds).
Gauge & Finished Measurements
- Gauge: 14 stitches and 12 rows in honeycomb stitch pattern = 4 inches (10 cm). Always check your gauge to ensure the correct size.
- Finished Size: The cowl forms a seamless tube, approximately 10 inches tall and 24 inches in circumference, with a slight stretch.
Step-by-Step Instructions
This cowl is worked in the round from the bottom up, creating a seamless, stretchy fabric. The honeycomb stitch is a variation of the waistcoat stitch, worked in back loops only to create a dense, knit-like texture. Don't be intimidated by the "two rows below" concept—once you do it a few times, it becomes intuitive and rhythmic.
Special Stitches
- Honeycomb Stitch (HC): Insert hook into the front loop of the stitch two rows below (not the current row), yarn over, pull up a loop (you will have 2 loops on hook), yarn over, pull through both loops on hook. This is essentially a single crochet worked into the row below, creating the honeycomb effect.
Pattern Instructions
Round 1 (Foundation): Chain 80. Being extremely careful not to twist the chain, join with a slip stitch to the first chain to form a ring. Chain 1. (80 chains)
Round 2: Work 1 single crochet (sc) in each chain around. Join with a slip stitch to the first sc. (80 sc)
Round 3: Chain 1. Work 1 sc in the back loop only (BLO) of each stitch around. Join with a slip stitch to the first sc. (80 sc)
Round 4 (First Honeycomb Round): Chain 1. *Work 1 HC stitch in the next stitch: Insert hook into the front loop of the stitch two rows below (which is the sc from Round 2), yarn over, pull up a loop, yarn over, pull through two loops on hook. Skip the stitch directly behind it (the one from Round 3 that you just worked into from below). Repeat from * around. Join with a slip stitch to the first HC. (80 HC)
Pro Tip: The "skip the stitch behind it" instruction is crucial. Because you are working into a stitch from two rounds below, you must skip the current round's stitch that sits directly above it. This is what creates the offset, honeycomb grid.
Round 5: Chain 1. Work 1 sc in the BLO of each stitch around. Join with a slip stitch to the first sc. (80 sc)
Round 6 (Second Honeycomb Round): Chain 1. *Work 1 HC stitch in the next stitch: Insert hook into the front loop of the stitch two rows below (which is the sc from Round 4), yarn over, pull up a loop, yarn over, pull through two loops on hook. Skip the stitch behind it (the one from Round 5). Repeat from * around. Join with a slip stitch to the first HC. (80 HC)
Rounds 7-18: Repeat Rounds 5 and 6 alternately. This means you will work a BLO sc round, then a honeycomb round, then a BLO sc round, then a honeycomb round, and so on. This alternating pattern creates the beautiful, dimensional honeycomb texture. Continue until you have completed Round 18.
Finishing Round: Chain 1. Work 1 sc in the BLO of each stitch around. Join with a slip stitch to the first sc. Fasten off and weave in all ends securely with your yarn needle.
Optional Finishing Touches
While this cowl is beautiful as a classic infinity loop, you can customize it:
- Button Closure: Add a simple button closure by crocheting a small chain loop at one end and sewing a decorative button on the other. This allows you to wear it draped or wrapped snugly.
- Wear It Your Way: Simply wear it as an infinity cowl, doubled over for extra warmth, or let it hang long for a relaxed look.
Once you've woven in your ends, give your cowl a gentle block (if needed) and enjoy your new handmade accessory. The dense, knit-like fabric is not only stylish but also incredibly warm and wind-resistant. Happy crocheting!