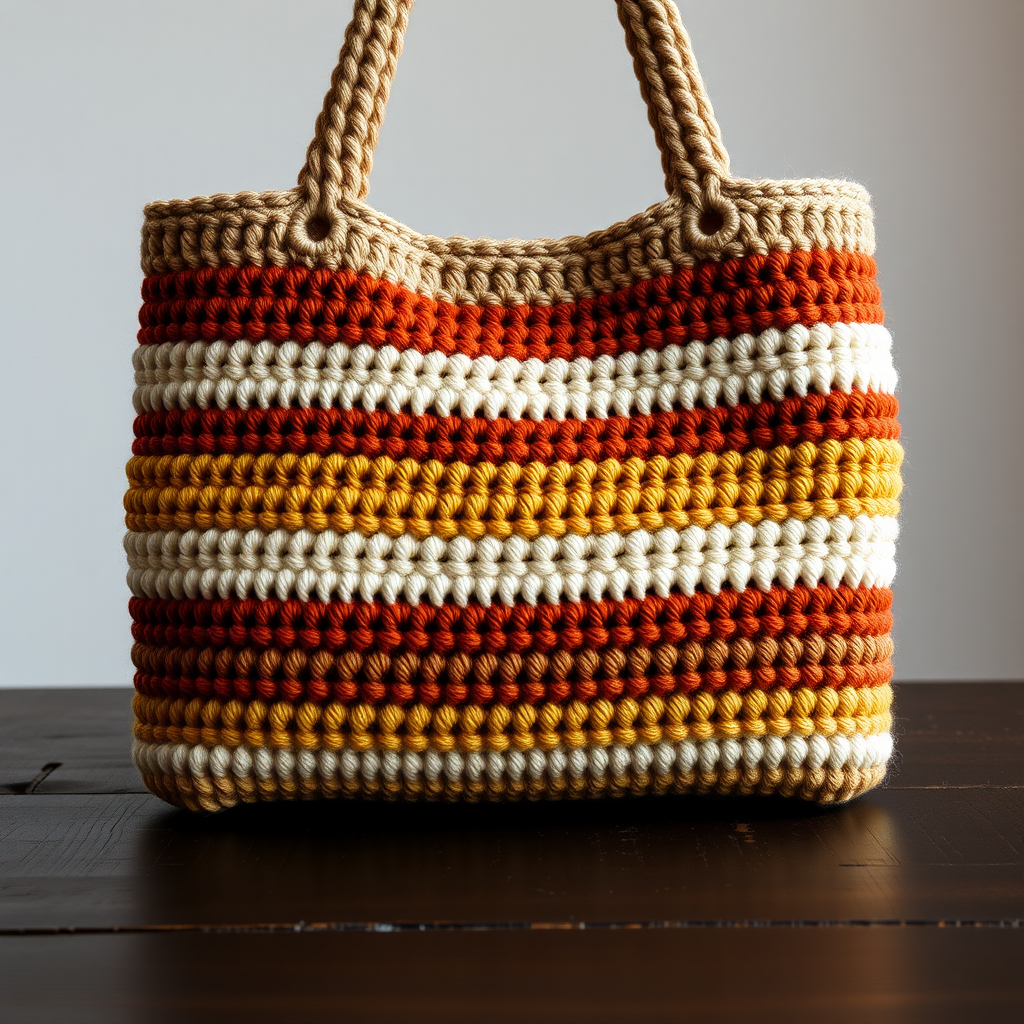
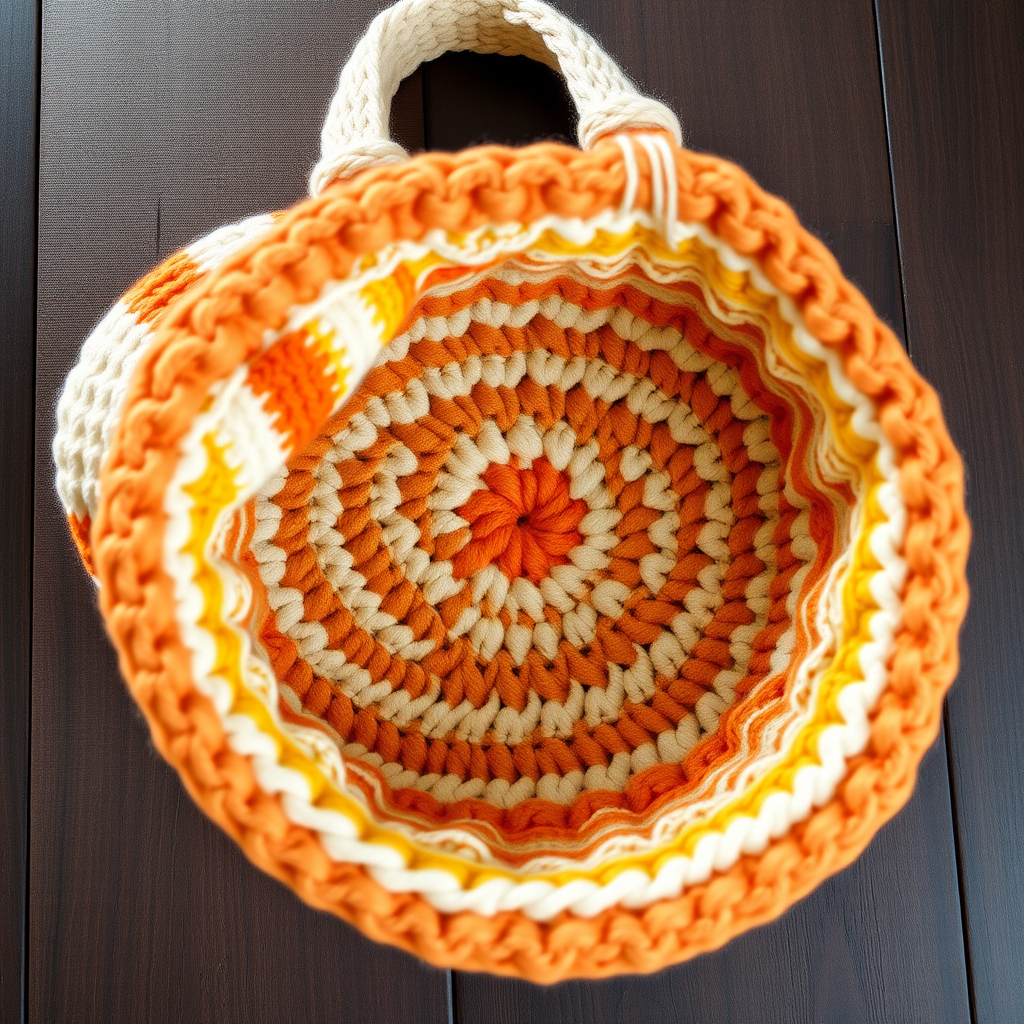
The Sun-Kissed Citrus Tote Free Pattern – A Crocheted Granny Square Bag with Woven Lemon Accents

The Sun-Kissed Citrus Tote: A Free Crochet Granny Square Bag Pattern
Carry a slice of summer wherever you go with this vibrant crochet tote! Featuring classic granny squares in sunny yellows and fresh whites, adorned with a charming woven lemon motif, this bag is the perfect accessory for farmers' markets, beach days, or simply adding a pop of color to your everyday outfit. This sturdy, stylish, and beginner-friendly pattern uses simple stitches and construction techniques to create a beautiful, handmade bag you'll be proud to carry.
Materials Needed
Before you begin, gather the following supplies. This project is perfect for using up worsted weight cotton yarn from your stash.
- Yarn: Worsted weight cotton yarn in three colors:
- Color A (Lemon Yellow): Approx. 150g
- Color B (White): Approx. 100g
- Color C (Sage Green): Approx. 50g
- Crochet Hook: 5.0 mm (US H-8) hook
- Other: Yarn needle for weaving in ends, scissors, and a small piece of cardboard (approx. 2 inches square) for the lemon motif (or a small piece of yellow yarn for an alternative method).
Gauge: One granny square = 4 inches x 4 inches (10 cm x 10 cm) after blocking. Gauge is important for the final size of the bag, so be sure to check your square size.
Step-by-Step Instructions
This bag is constructed from 12 granny squares (10 for the body, 2 for the base) and a woven lemon motif on the front. All squares are joined using the single crochet join method. Let's get started!
Granny Square Pattern (Make 12)
Each square is worked in the round. Follow these rounds carefully to create your squares.
Round 1: With color A, make a magic ring. Chain 3 (counts as first dc), 2 dc in ring, chain 2, (3 dc, chain 2) three times. Join with slip stitch to top of beginning chain-3. Fasten off A. (12 dc, 4 ch-2 spaces)
Round 2: Join color B in any ch-2 space. Chain 3, (2 dc, chain 2, 3 dc) in same space (corner made). *Chain 1, (3 dc, chain 2, 3 dc) in next ch-2 space.* Repeat from * around, ending with chain 1. Join with slip stitch to top of beginning chain-3. Fasten off B. (24 dc, 4 corners, 4 ch-1 spaces)
Round 3: Join color A in any corner ch-2 space. Chain 3, (2 dc, chain 2, 3 dc) in same space. *Chain 1, 3 dc in next ch-1 space, chain 1, (3 dc, chain 2, 3 dc) in next corner space.* Repeat from * around, ending with chain 1, 3 dc in last ch-1 space, chain 1. Join with slip stitch to top of beginning chain-3. Fasten off A. (36 dc, 4 corners, 8 ch-1 spaces)
Round 4: Join color C in any corner ch-2 space. Chain 3, (2 dc, chain 2, 3 dc) in same space. *Chain 1, 3 dc in next ch-1 space, chain 1, 3 dc in next ch-1 space, chain 1, (3 dc, chain 2, 3 dc) in next corner space.* Repeat from * around, ending with chain 1, 3 dc in each of the last two ch-1 spaces, chain 1. Join with slip stitch to top of beginning chain-3. Fasten off C. (48 dc, 4 corners, 12 ch-1 spaces)
Repeat this pattern to make a total of 12 squares. Weave in the ends of each square as you go to keep your work tidy.
Woven Lemon Motif (Make 1)
This charming detail adds the "citrus" touch to your tote. There are two ways to create it—choose the one you prefer.
Method 1 (Pom-Pom Style): Using a small piece of cardboard (approx. 2 inches square), wrap yellow yarn around it about 20 times. Carefully slide the loops off and tie tightly in the middle with a strand of yellow yarn. Cut the loops on both ends to create a pom-pom. Trim to form a neat circle. Using green yarn, embroider a small leaf shape (using satin stitch) on top of the pom-pom. This will be the lemon center.
Method 2 (Crocheted Circle): Make a magic ring, 6 sc in ring, then 2 sc in each stitch around (12 sc), fasten off. Sew this circle onto the center of one granny square, and embroider a leaf with green yarn.
Whichever method you choose, sew the finished lemon motif onto the center of one of your granny squares. This will be the front center panel of your bag.
Assembly
Now it's time to bring your bag together! Follow these steps carefully for a professional finish.
1. Arrange Squares: Lay out 10 squares in a rectangle: 2 squares wide by 5 squares tall. This will be the bag body. Place the square with the lemon motif in the center of the front panel (row 3, column 1).
2. Join Squares: With right sides facing up, use color B to single crochet the squares together through the back loops only. Join the squares horizontally first to form 5 rows of 2 squares each. Then join the rows vertically to form the body rectangle. This creates a beautiful, subtle ridge on the right side of the fabric.
3. Create the Base: Take the remaining 2 squares and join them together along one edge to form a 2x1 rectangle. This will be the bottom of the bag.
4. Attach Base: With right sides together, single crochet the base rectangle to the bottom edge of the body rectangle, matching the corners. Turn the bag right side out. This creates a flat, sturdy bottom for your tote.
5. Top Edge: Work one round of single crochet around the top opening of the bag. Then work a second round of reverse single crochet (crab stitch) for a finished, polished edge. This gives the bag a neat, professional look.
6. Handles: You have two options for handles—choose the one that suits your style.
- Braided Handles: Cut two lengths of yarn, each about 40 inches long. Fold each in half. Attach one folded handle to each side of the bag by pulling the loop through a stitch at the top edge, then pulling the ends through the loop. Braid the two strands together or twist them, and secure the ends by weaving them into the bag. Repeat for the other side.
- Crocheted Handles (Sturdier): For a more robust handle, crochet a chain of 60 stitches and single crochet back along the chain. Sew the ends securely to the inside of the bag on each side. This creates a thicker, more durable strap.
7. Finishing Touches: Weave in all ends carefully and block the bag lightly to shape. To block, simply dampen the bag and lay it flat to dry, shaping it as it dries. This will help the granny squares lay flat and give your tote a crisp, professional appearance.
Your Sun-Kissed Citrus Tote is now complete! Fill it with your favorite summer essentials and enjoy the compliments. This bag is not only beautiful but also durable, thanks to the sturdy cotton yarn and solid construction. Happy crocheting!