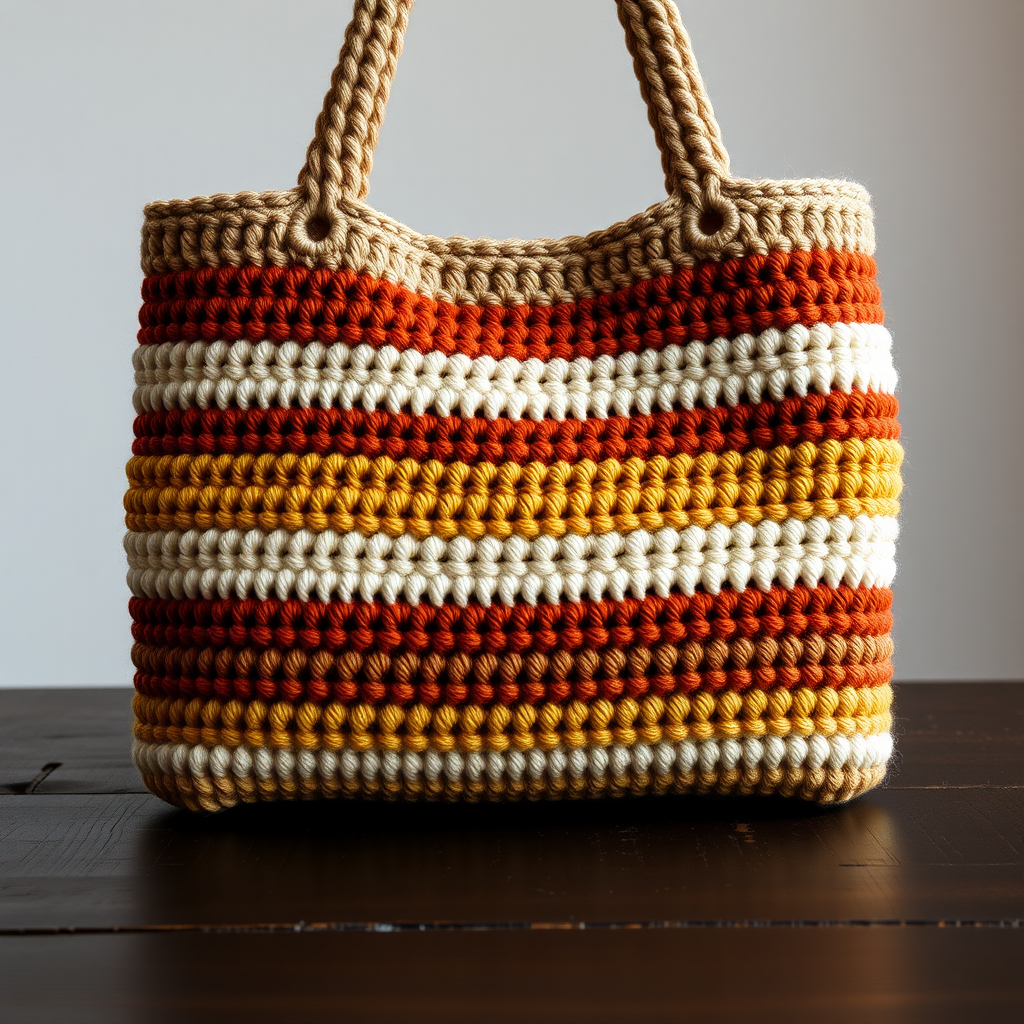
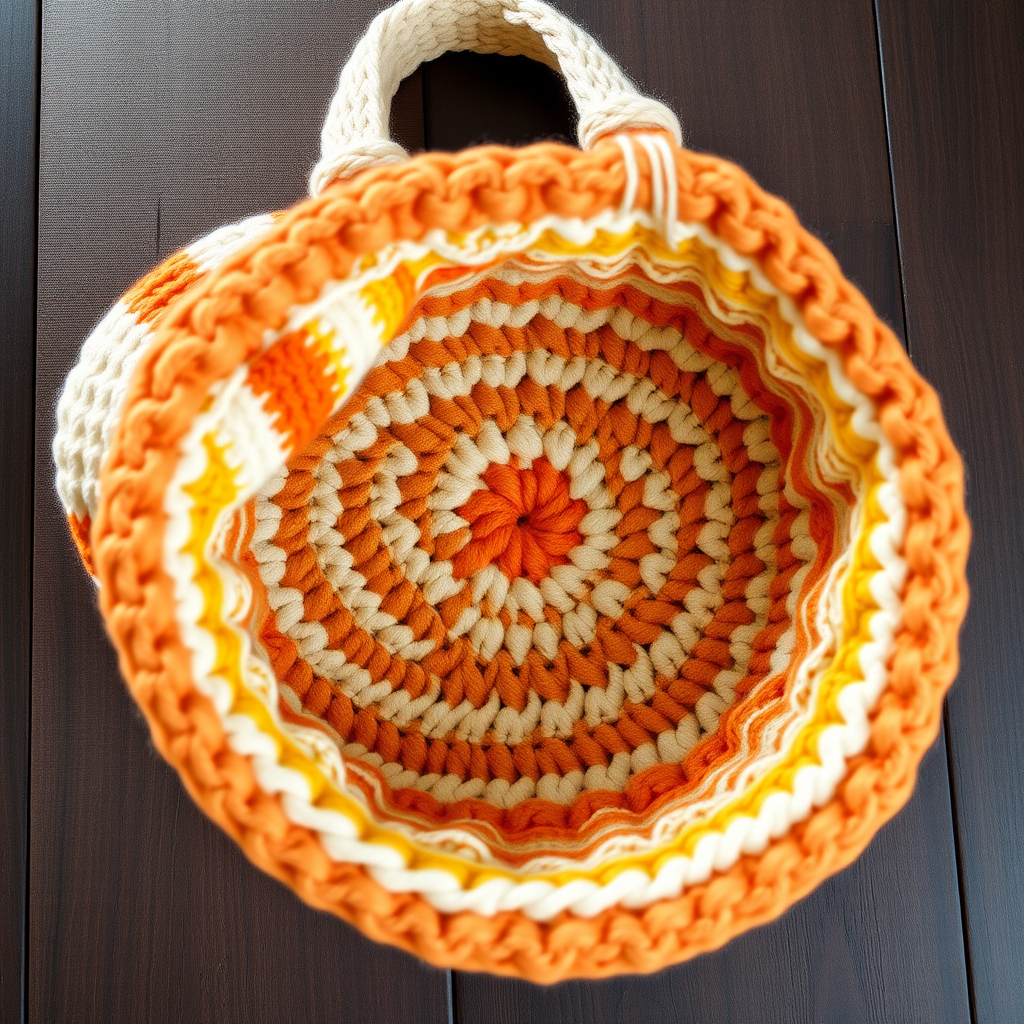
The Meadow Morn Market Bag: A Free Crochet Pattern for a Textured, Floral-Embellished Tote

Introduction: Bring the Garden with You
Carry a piece of the garden with you wherever you go with the Meadow Morn Market Bag. This charming, textured tote features a dense single crochet stitch that creates a sturdy, functional bag perfect for farmers' markets, library trips, or daily errands. The highlight is a handcrafted floral appliqué in a soft blush pink, adding a touch of whimsy and elegance to the sage green body. Designed for intermediate crocheters, this pattern is a delightful way to create a unique accessory that combines rustic charm with practical design. The bag’s rounded shape and long handles make it comfortable to carry, while the floral detail gives it a personalized, garden-inspired feel.
Materials Needed
Before you begin, gather the following supplies. Using the exact materials will ensure your bag matches the gauge and look of the original design.
- Yarn: Worsted weight cotton yarn (e.g., Lily Sugar'n Cream) in two colors:
- Main Color (MC): Sage Green – approximately 250 grams (about 5 balls of standard 50g cotton yarn)
- Contrast Color (CC): Blush Pink – approximately 50 grams (about 1 ball)
- Hook: 5.0 mm (H-8) crochet hook
- Other: Yarn needle for weaving in ends and sewing, scissors, stitch markers (optional)
Gauge: 14 single crochet stitches x 16 rows = 4 inches (10 cm). Always check your gauge to ensure the bag turns out the correct size. If your gauge is off, adjust your hook size accordingly.
Step-by-Step Instructions
Bag Body (Worked in the Round)
The bag is worked from the bottom up in a continuous spiral. Do not join at the end of rounds unless specified. Use a stitch marker to keep track of the first stitch of each round.
Round 1: With MC, make a magic ring. Chain 1 (does not count as a stitch). Work 8 single crochet (sc) into the ring. Pull the tail tight to close the ring. (8 stitches)
Round 2: Chain 1. Work 2 sc into each stitch around. (16 stitches)
Round 3: Chain 1. *Sc in the next stitch, 2 sc in the next stitch; repeat from * around. (24 stitches)
Round 4: Chain 1. *Sc in the next 2 stitches, 2 sc in the next stitch; repeat from * around. (32 stitches)
Round 5: Chain 1. *Sc in the next 3 stitches, 2 sc in the next stitch; repeat from * around. (40 stitches)
Round 6: Chain 1. *Sc in the next 4 stitches, 2 sc in the next stitch; repeat from * around. (48 stitches)
Round 7: Chain 1. *Sc in the next 5 stitches, 2 sc in the next stitch; repeat from * around. (56 stitches)
Round 8: Chain 1. *Sc in the next 6 stitches, 2 sc in the next stitch; repeat from * around. (64 stitches)
Round 9: Chain 1. *Sc in the next 7 stitches, 2 sc in the next stitch; repeat from * around. (72 stitches)
Round 10: Chain 1. *Sc in the next 8 stitches, 2 sc in the next stitch; repeat from * around. (80 stitches)
Rounds 11-30: Chain 1. Sc in each stitch around. (80 stitches per round) – This creates the straight sides of the bag. Work 20 rounds total.
Round 31 (Turning Ridge): Chain 1. Sc in each stitch around, but work through the back loop only of each stitch. This creates a subtle ridge that will separate the body from the top section. (80 stitches)
Round 32: Chain 1. Sc in each stitch around (through both loops as usual). (80 stitches)
Round 33 (Decrease Round): Chain 1. *Sc in the next 8 stitches, sc2tog (single crochet two together – insert hook into next stitch, yarn over, pull through, insert hook into next stitch, yarn over, pull through, yarn over and pull through all three loops on hook); repeat from * around. (72 stitches)
Round 34: Chain 1. *Sc in the next 7 stitches, sc2tog; repeat from * around. (64 stitches)
Round 35: Chain 1. *Sc in the next 6 stitches, sc2tog; repeat from * around. (56 stitches)
Round 36: Chain 1. *Sc in the next 5 stitches, sc2tog; repeat from * around. (48 stitches)
Round 37: Chain 1. *Sc in the next 4 stitches, sc2tog; repeat from * around. (40 stitches)
Round 38: Chain 1. *Sc in the next 3 stitches, sc2tog; repeat from * around. (32 stitches)
Round 39: Chain 1. Sc in each stitch around. (32 stitches)
Round 40: Chain 1. *Sc in the next 2 stitches, sc2tog; repeat from * around. (24 stitches)
Round 41: Chain 1. Sc in each stitch around. (24 stitches)
Round 42: Chain 1. *Sc in the next stitch, sc2tog; repeat from * around. (16 stitches)
Round 43: Chain 1. Sc2tog around. (8 stitches)
Fasten off, leaving a long tail (about 12 inches). Thread the tail through a yarn needle, weave it through the remaining 8 stitches, and pull tight to close the hole. Weave in the end securely on the inside of the bag.
Bag Straps (Make 2)
These straps are worked flat in rows. They are long and sturdy, perfect for carrying over the shoulder or by hand.
With MC, chain 101.
Row 1: Sc in the 2nd chain from the hook and in each chain across. (100 sc)
Row 2: Chain 1, turn your work. Sc in each stitch across. (100 sc)
Fasten off, leaving a long tail (about 12 inches) for sewing. Repeat to make a second strap.
Floral Appliqué (Make 1)
This simple flower adds the perfect garden touch. Work with CC (Blush Pink).
Chain 4, join with a slip stitch to the first chain to form a ring.
Round 1: Chain 1. Work 10 sc into the ring. Join with a slip stitch to the first sc. (10 stitches)
Round 2: *Chain 3, skip the next stitch, slip stitch in the next stitch; repeat from * around. You will have 5 chain-3 loops. (5 loops)
Round 3: In each chain-3 loop, work the following: (sc, half double crochet, 3 double crochet, half double crochet, sc). This creates one petal. Repeat for all 5 loops.
Fasten off, leaving a tail (about 8 inches) for sewing.
Assembly
Now it’s time to put everything together.
- Attach the Straps: Turn the bag inside out. Position one strap on the inside of the bag, about 3 inches down from the top edge (the turning ridge) and about 2 inches from the side seam. Pin or hold in place. Using the long tail from the strap, sew it securely to the inside of the bag using a whip stitch or mattress stitch. Repeat for the second strap on the opposite side.
- Attach the Flower: Turn the bag right side out. Position the floral appliqué in the center front of the bag, just below the turning ridge (about 1-2 inches below it). Using the tail from the flower, sew it securely to the bag with small, invisible stitches. Weave in the end on the inside.
- Final Weave: Weave in all remaining ends from the bag body, straps, and flower. Trim any excess yarn.
Your Meadow Morn Market Bag is complete! Fill it with fresh produce, a good book, or your daily essentials, and enjoy your handmade, garden-inspired accessory.