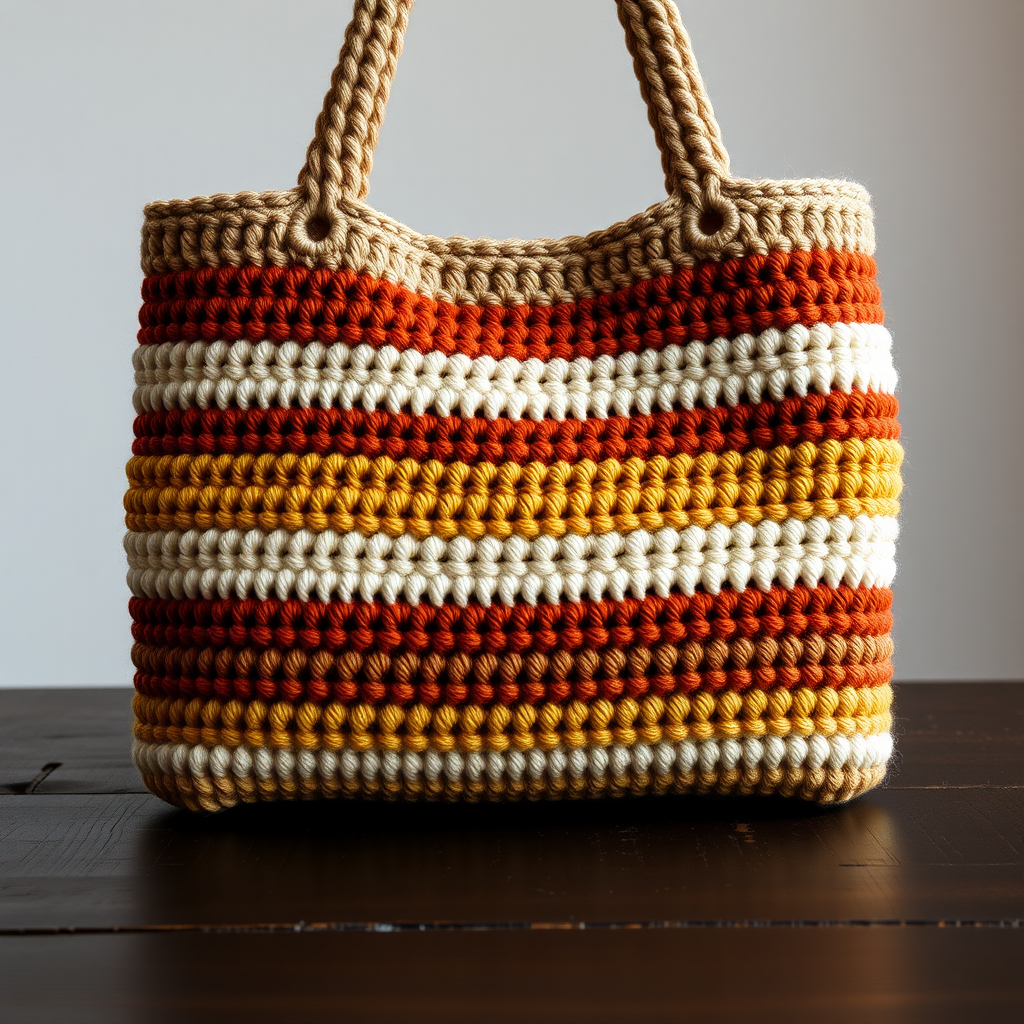
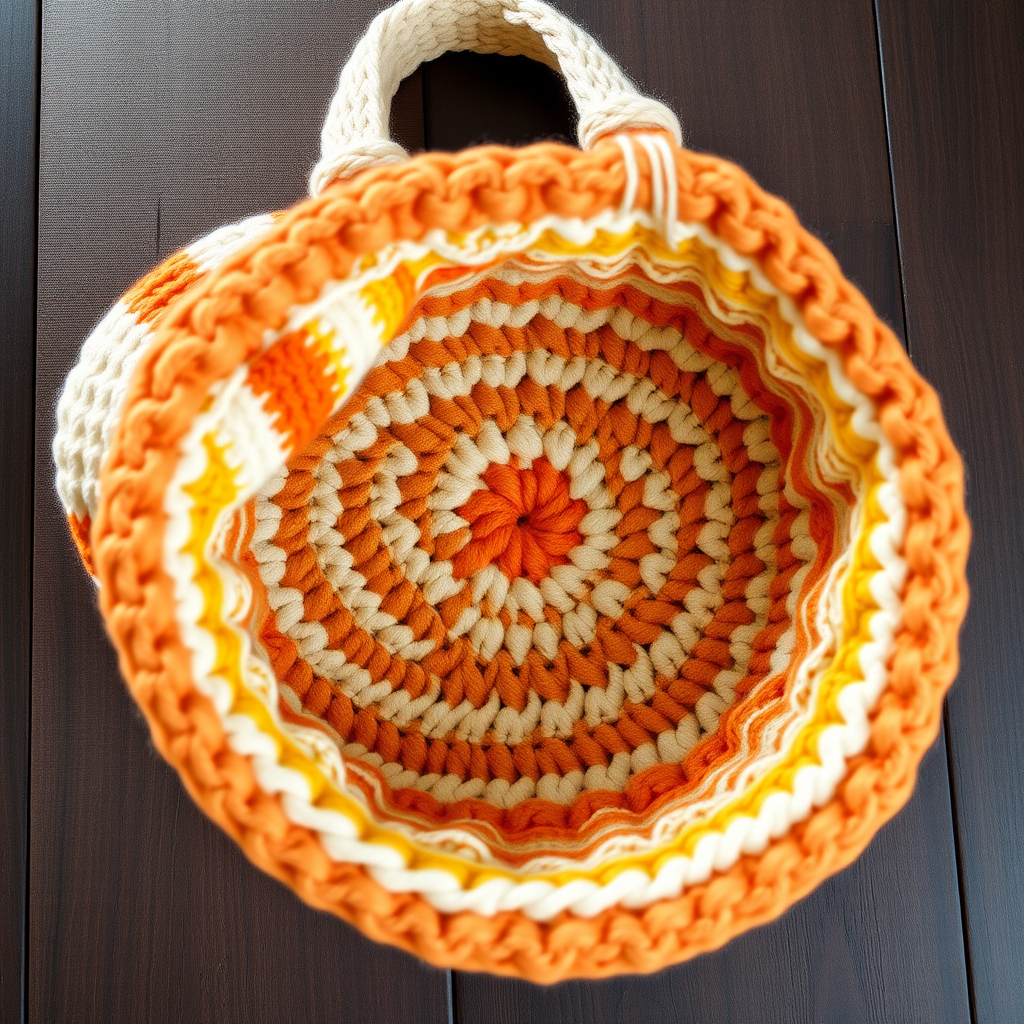
The Meadow Mist Market Tote Free Pattern – A Crocheted Wildflower Mesh Bag with Woven Leather Handles

The Meadow Mist Market Tote: A Free Crochet Pattern for Your Farmers Market Adventures
Imagine strolling through a sun-drenched farmers market, your arm looped through a beautifully textured tote that's as functional as it is gorgeous. The Meadow Mist Market Tote is exactly that—an airy, wildflower-inspired mesh bag that combines the rustic charm of handcrafted cotton with the sophistication of woven leather handles. Whether you're hauling fresh produce, library books, or beach essentials, this boho-chic bag elevates every errand into a small celebration of handmade style.
This pattern is perfect for confident beginners and intermediate crocheters alike. The construction is straightforward—worked in continuous rounds from the bottom up—and the repetitive mesh stitch creates a soothing, meditative rhythm. With its earthy palette of sage, cream, and terracotta, this tote brings a touch of artisan warmth to any outfit. Let's dive in and create something beautiful together!
Materials Needed
Before you begin, gather the following supplies. Having everything ready will make your crochet session smooth and enjoyable.
Yarn
- Lion Brand 24/7 Cotton (worsted weight, 100% cotton) in the following colors:
- Sage – approximately 150g
- Cream – approximately 150g
- Terracotta – approximately 100g
- Total yarn needed: approximately 400g
Hook & Notions
- 5.0 mm crochet hook (US H-8)
- Stitch markers (to track rounds)
- Yarn needle for weaving in ends
- Scissors
Handles & Finishing
- Two woven leather straps, each 24 inches long (natural tan color recommended)
- Leather sewing needle and heavy-duty thread
- Optional: fabric for lining (if you want extra durability)
Gauge
16 single crochet stitches x 18 rows = 4 x 4 inches in single crochet. Be sure to check your gauge to ensure your bag comes out the right size. If your gauge is off, adjust your hook size accordingly.
Step-by-Step Instructions
This pattern is worked in continuous rounds unless otherwise stated. Use a stitch marker to track the beginning of each round—this is crucial for keeping your stitch count accurate. The bag is worked from the bottom up, starting with a flat circular base, then moving into the mesh body, and finishing with a solid top border and handles.
Part 1: The Base (Worked in Rounds)
We'll start with the circular base using Sage yarn. This creates a sturdy foundation for your tote.
Round 1: With Sage, make a magic ring. Work 8 single crochet (sc) into the ring. Pull the ring tight to close. (8 stitches)
Round 2: Work 2 sc in each stitch around. (16 stitches)
Round 3: *Sc in the next stitch, 2 sc in the next stitch* — repeat from * to * around. (24 stitches)
Round 4: *Sc in the next 2 stitches, 2 sc in the next stitch* — repeat from * to * around. (32 stitches)
Round 5: *Sc in the next 3 stitches, 2 sc in the next stitch* — repeat from * to * around. (40 stitches)
Round 6: *Sc in the next 4 stitches, 2 sc in the next stitch* — repeat from * to * around. (48 stitches)
Round 7: *Sc in the next 5 stitches, 2 sc in the next stitch* — repeat from * to * around. (56 stitches)
Round 8: *Sc in the next 6 stitches, 2 sc in the next stitch* — repeat from * to * around. (64 stitches)
Round 9: *Sc in the next 7 stitches, 2 sc in the next stitch* — repeat from * to * around. (72 stitches)
Round 10: *Sc in the next 8 stitches, 2 sc in the next stitch* — repeat from * to * around. (80 stitches)
Round 11: *Sc in the next 9 stitches, 2 sc in the next stitch* — repeat from * to * around. (88 stitches)
Round 12: *Sc in the next 10 stitches, 2 sc in the next stitch* — repeat from * to * around. (96 stitches)
Fasten off the Sage yarn and weave in the end. Your circular base should measure approximately 8-9 inches in diameter.
Part 2: The Mesh Body (Worked in Rounds)
Now we'll create the beautiful wildflower mesh pattern. This is where the bag really comes to life with its open, lacy texture. The mesh is created with chain-3 spaces and single crochet stitches.
Round 13 (Cream): Join Cream yarn with a slip stitch in any stitch. Chain 1, work 1 sc in the same stitch. *Chain 3, skip 2 stitches, sc in the next stitch* — repeat from * to * around. End with chain 3, skip the last 2 stitches, and slip stitch to the first sc to close the round. (You should have 32 chain-3 spaces)
Round 14 (Cream): Slip stitch into the first chain-3 space. Chain 1, work 1 sc in the same space. *Chain 3, sc in the next chain-3 space* — repeat from * to * around. Slip stitch to the first sc to close the round.
Rounds 15-16 (Cream): Repeat Round 14. This gives you a nice solid cream stripe at the base of the body.
Round 17 (Terracotta): Change to Terracotta yarn. Repeat Round 14.
Rounds 18-19 (Terracotta): Repeat Round 14 in Terracotta. This creates a warm, earthy band.
Round 20 (Cream): Change back to Cream. Repeat Round 14.
Rounds 21-22 (Cream): Repeat Round 14 in Cream.
Round 23 (Sage): Change to Sage. Repeat Round 14.
Rounds 24-25 (Sage): Repeat Round 14 in Sage. The green stripe adds a fresh, botanical feel.
Round 26 (Cream): Change to Cream. Repeat Round 14.
Rounds 27-28 (Cream): Repeat Round 14 in Cream.
Round 29 (Terracotta): Change to Terracotta. Repeat Round 14.
Rounds 30-31 (Terracotta): Repeat Round 14 in Terracotta.
Round 32 (Cream): Change to Cream. Repeat Round 14.
Rounds 33-34 (Cream): Repeat Round 14 in Cream.
At this point, your bag body should measure approximately 10-11 inches tall from the base. The mesh pattern creates a beautiful, airy fabric that's perfect for carrying produce or everyday items.
Part 3: The Top Border (Worked in Rounds)
The top border gives your bag structure and a clean, finished edge. It also provides a sturdy base for attaching the handles.
Round 35 (Cream): With Cream, chain 1. Work 2 sc in each chain-3 space and 1 sc in each sc from the previous round. This should give you a total of 96 stitches. Slip stitch to the first sc to close the round.
Round 36 (Cream): Work 1 sc in each stitch around. (96 stitches)
Round 37 (Cream): Work 1 sc in each stitch around. (96 stitches)
Fasten off and weave in all loose ends. Your bag body is now complete!
Part 4: Attaching the Handles
Now for the finishing touch—the beautiful woven leather handles that give this tote its artisan character.
Step 1: Take your two leather straps, each 24 inches long. Fold each strap in half to form a loop. The folded end will be the top of your handle, and the two loose ends will attach to the bag.
Step 2: Position one handle loop on each side of the bag. To find the correct placement, fold your bag flat and mark the center point on each side. The handles should be centered on these points, approximately 3-4 inches apart from each other on each side.
Step 3: Thread the loose ends of the leather strap through the top border stitches from the inside of the bag to the outside. Position them so the handle loop extends upward.
Step 4: Using a leather sewing needle and heavy-duty thread, secure the strap ends to the bag. Make several firm stitches through the leather and the crochet fabric to ensure a strong attachment. Reinforce with a few extra stitches for durability—this bag is meant to carry heavy loads!
Step 5: Repeat on the other side with the second handle.
Part 5: Finishing Touches
Weave in all loose ends: Use your yarn needle to carefully weave in any remaining yarn tails from your color changes. This keeps the inside of your bag neat and prevents unraveling.
Block the bag lightly: To shape your tote and even out the mesh stitches, lightly mist the bag with water and gently shape it with your hands. Lay it flat to dry. This helps the bag hold its form beautifully.
Optional lining: For extra durability and to prevent small items from slipping through the mesh, you can add a fabric lining. Cut a piece of cotton fabric to fit the interior, sew it into a bag shape, and hand-stitch it to the inside of the top border. This is a lovely upgrade if you plan to carry smaller items like keys or sunglasses.
Your Meadow Mist Market Tote Is Complete!
Congratulations! You've just created a stunning, one-of-a-kind market tote that's both practical and beautiful. The combination of the airy mesh stitch, the earthy color palette, and the natural leather handles makes this bag a true statement piece. Whether you're heading to the farmers market, the beach, or just running daily errands, your Meadow Mist Tote will carry your belongings in style.
This pattern is wonderfully versatile—feel free to experiment with different color combinations to match your personal aesthetic. Swap the sage for a dusty blue, or the terracotta for a sunny yellow, and you'll have an entirely different look. The mesh stitch also makes this a great project for using up scrap yarn in creative ways.
We'd love to see your finished creation! Share your Meadow Mist Market Tote on social media with the hashtag #MeadowMistTote and tag us so we can admire your handiwork. Happy crocheting, and enjoy your beautiful new bag!