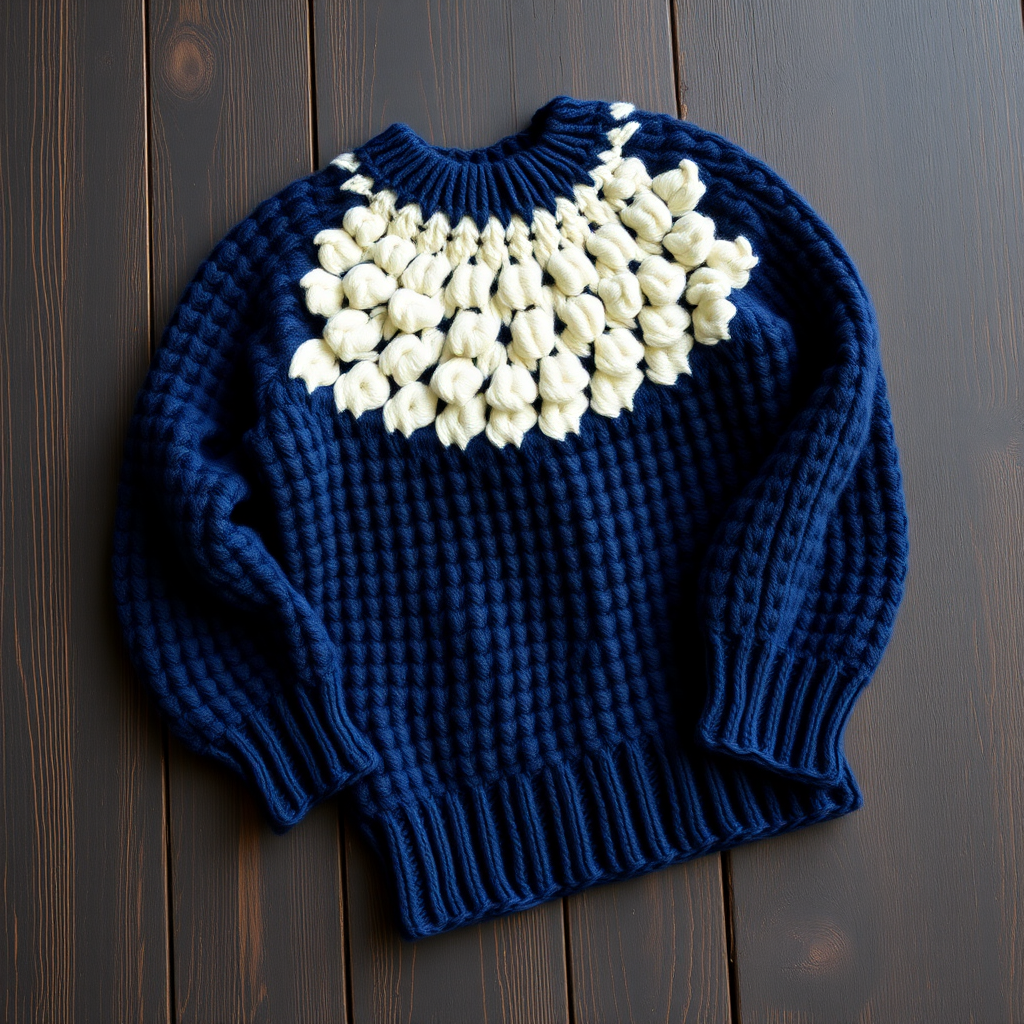
The Harbor Fog Fisherman Pullover Free Pattern – A Crocheted Cable-Knit Sweater with Stormy Sea Stripes
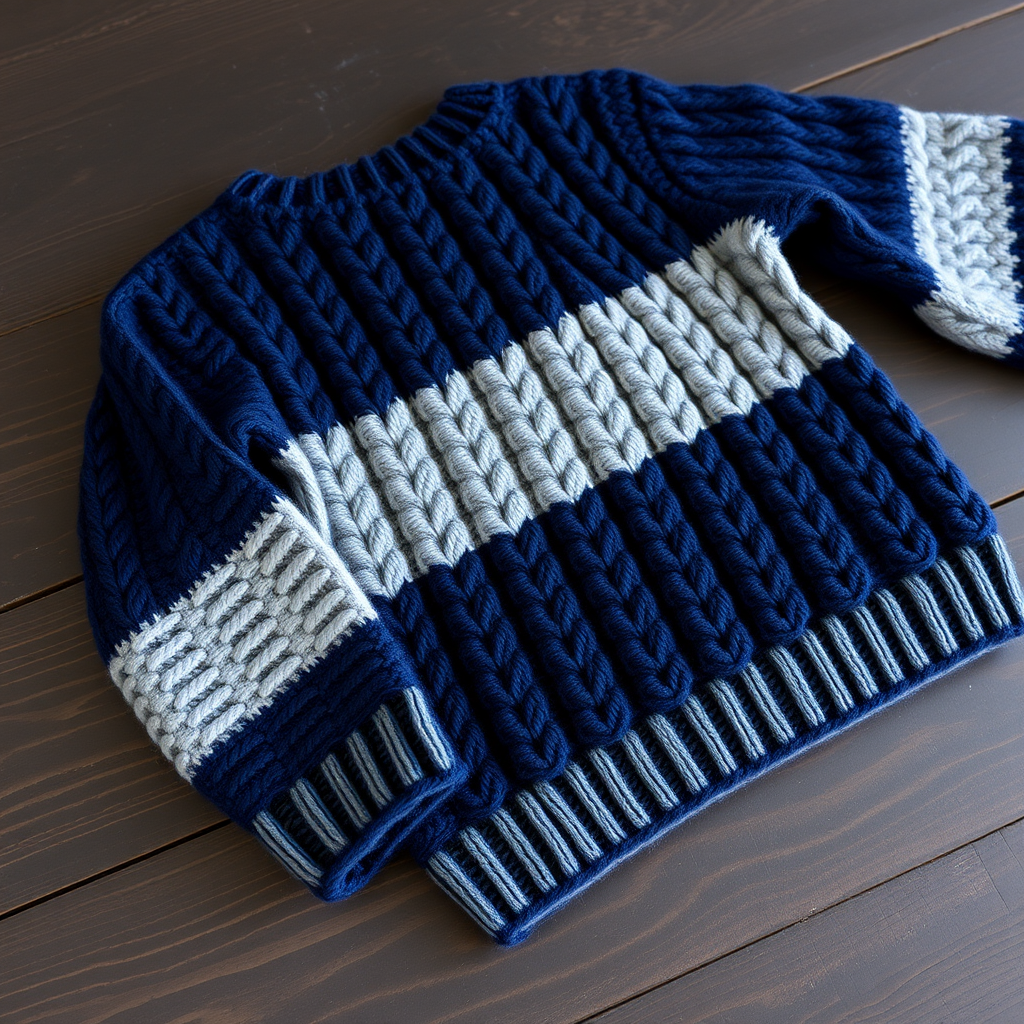
The Harbor Fog Fisherman Pullover: A Free Crochet Pattern for Coastal Comfort
There's something deeply comforting about wrapping yourself in a handcrafted sweater that echoes the rugged beauty of the sea. The Harbor Fog Fisherman Pullover captures that magic—combining traditional cable textures with misty, ocean-inspired stripes that evoke layers of coastal fog rolling over the water. This free crochet pattern blends timeless maritime style with a modern, oversized fit, making it the perfect project for chilly evenings, seaside walks, or simply curling up with a warm cup of tea.
Whether you're an experienced crocheter looking for a rewarding challenge or a confident beginner ready to expand your skills, this pattern offers clear guidance and stunning results. The deep navy and soft heather gray palette creates a sophisticated, wearable garment that will become a staple in your winter wardrobe for years to come.
Materials Needed
Before you begin your crochet journey, gather these essential supplies:
Yarn
- Worsted weight wool or wool-blend yarn (approximately 1200–1500 yards for sizes S–XXL)
- Main Color (MC): Deep navy blue – approximately 900–1100 yards
- Contrasting Color (CC): Soft heather gray – approximately 300–400 yards
Hooks
- 5.5 mm (I-9) crochet hook – for the main body and sleeves
- 5.0 mm (H-8) crochet hook – for ribbing and neckband
Additional Supplies
- Yarn needle for weaving in ends and seaming
- Stitch markers (at least 4)
- Measuring tape
- Scissors
- Blocking mats and pins (for finishing)
Gauge
16 stitches and 12 rows = 4 inches in cable stitch pattern (with 5.5 mm hook). Always check your gauge before starting—this ensures your sweater fits perfectly!
Step-by-Step Instructions
Sizes and Measurements
This pattern is written for sizes S (M, L, XL, XXL) with finished chest measurements of 38 (42, 46, 50, 54) inches. Choose the size that gives you 2–4 inches of positive ease for that cozy, oversized fit.
Abbreviations
- ch = chain
- sc = single crochet
- dc = double crochet
- fpdc = front post double crochet
- bpdc = back post double crochet
- st(s) = stitch(es)
- sk = skip
- sl st = slip stitch
- RS = right side
- WS = wrong side
- blo = back loop only
Special Stitches
Cable Stitch (over 6 stitches): This stitch creates the beautiful twisted cable texture that defines this sweater.
- Row 1 (RS): Skip next 3 sts, fpdc in next 3 sts, then working behind, fpdc in the 3 skipped sts (cross made).
- Row 2 (WS): dc in each st across.
Pattern Notes
- The sweater is worked in pieces (back, front, sleeves) from the bottom up, then seamed together.
- Ribbing is worked in rows of sc through the back loop only (blo) for a stretchy, knit-like finish.
- Stripe sequence: Work 4 rows of main color (MC), then 2 rows of contrasting color (CC), repeating throughout.
BACK PANEL
Ribbing:
With smaller hook (5.0 mm) and MC, chain 82 (90, 98, 106, 114).
Row 1: sc in 2nd ch from hook and in each ch across. Turn. (81, 89, 97, 105, 113 sts)
Rows 2–8: ch 1, sc blo in each st across. Turn. (Ribbing complete)
Body:
Switch to larger hook (5.5 mm).
Row 9 (RS): ch 3 (counts as dc), dc in next 3 sts, *cable stitch over next 6 sts (as described above), dc in next 6 sts; repeat from * across, ending with dc in last 4 sts. Turn.
Row 10 (WS): ch 3, dc in each st across. Turn.
Repeat Rows 9–10 for the pattern, working the stripe sequence: 4 rows MC, 2 rows CC, repeating throughout. Continue until the piece measures 16 (17, 18, 19, 20) inches from the bottom edge, ending with a WS row.
Armhole Shaping:
Next row (RS): sl st over first 4 (5, 6, 7, 8) sts, ch 3, work pattern across until 4 (5, 6, 7, 8) sts remain. Turn. (73, 79, 85, 91, 97 sts)
Continue straight in pattern until the armhole measures 8 (9, 10, 11, 12) inches. Place a marker at the center of the row. Work each shoulder separately.
Right Shoulder:
Work across the first 24 (26, 28, 30, 32) sts, turn. Decrease 1 st at the neck edge every row 3 times. Work even until the armhole measures 9 (10, 11, 12, 13) inches. Fasten off.
Left Shoulder:
Skip the center 25 (27, 29, 31, 33) sts, join yarn at the next st, work across the remaining sts. Decrease 1 st at the neck edge every row 3 times. Work even to the same length as the right shoulder. Fasten off.
FRONT PANEL
Work the front panel exactly as the back until the armhole measures 5 (6, 7, 8, 9) inches. Place a marker at the center of the row. Work each side separately.
Right Front:
Work across the first 30 (33, 36, 39, 42) sts, turn. Decrease 1 st at the neck edge every row 5 times. Work even until the armhole measures the same as the back. Fasten off.
Left Front:
Skip the center 13 (13, 13, 13, 13) sts, join yarn at the next st, work across the remaining sts. Decrease 1 st at the neck edge every row 5 times. Work even to the same length as the right front. Fasten off.
SLEEVES (Make 2)
Ribbing:
With smaller hook (5.0 mm) and MC, chain 38 (42, 46, 50, 54).
Rows 1–8: sc blo as for back ribbing. (37, 41, 45, 49, 53 sts)
Body:
Switch to larger hook (5.5 mm).
Row 9 (RS): ch 3, dc in next 2 sts, *cable stitch over next 6 sts, dc in next 6 sts; repeat from * across, ending with dc in last 3 sts. Turn.
Row 10: ch 3, dc in each st across. Turn.
Continue in pattern, increasing 1 st at each end every 6th row (by working 2 dc in the first and last st) until you have 57 (63, 69, 75, 81) sts. Work even until the sleeve measures 18 (19, 20, 21, 22) inches from the bottom. Fasten off.
ASSEMBLY
Seaming:
Sew the shoulder seams together using a yarn needle and mattress stitch or whip stitch. Set in the sleeves, matching the center of the sleeve cap to the shoulder seam. Sew the side and sleeve seams.
NECKBAND
With the smaller hook (5.0 mm) and MC, join yarn at the left shoulder seam. Work sc evenly around the neck opening (approximately 70–80 sts). Work 5 rounds of sc blo. Fasten off. Weave in all ends.
FINISHING
Block the sweater to the specified measurements using blocking mats and pins. This step is crucial for achieving the beautiful stitch definition and proper fit. Once dry, optionally add a leather patch at the elbows for a true fisherman look—a charming detail that adds both style and durability.
Weave in any remaining ends and give your sweater a final gentle steam or press. Your Harbor Fog Fisherman Pullover is now ready to wear!
Tips for Success
- Check your gauge before beginning—this ensures your sweater will fit perfectly.
- Use stitch markers to keep track of cable stitch repeats and shaping points.
- Count your stitches after each row, especially during the cable pattern.
- Block patiently—this step transforms your work into a professional-looking garment.
- Take breaks to avoid hand fatigue during this rewarding project.
The Harbor Fog Fisherman Pullover is more than just a sweater—it's a labor of love that connects you to centuries of maritime tradition while keeping you stylishly warm. The combination of rich cable textures and subtle fog-inspired stripes creates a garment that's both timeless and contemporary. Whether you're gifting it to a loved one or keeping it for yourself, this pullover is sure to become a cherished piece in any wardrobe.
Happy crocheting, and may your stitches always be even and your coffee always be warm!