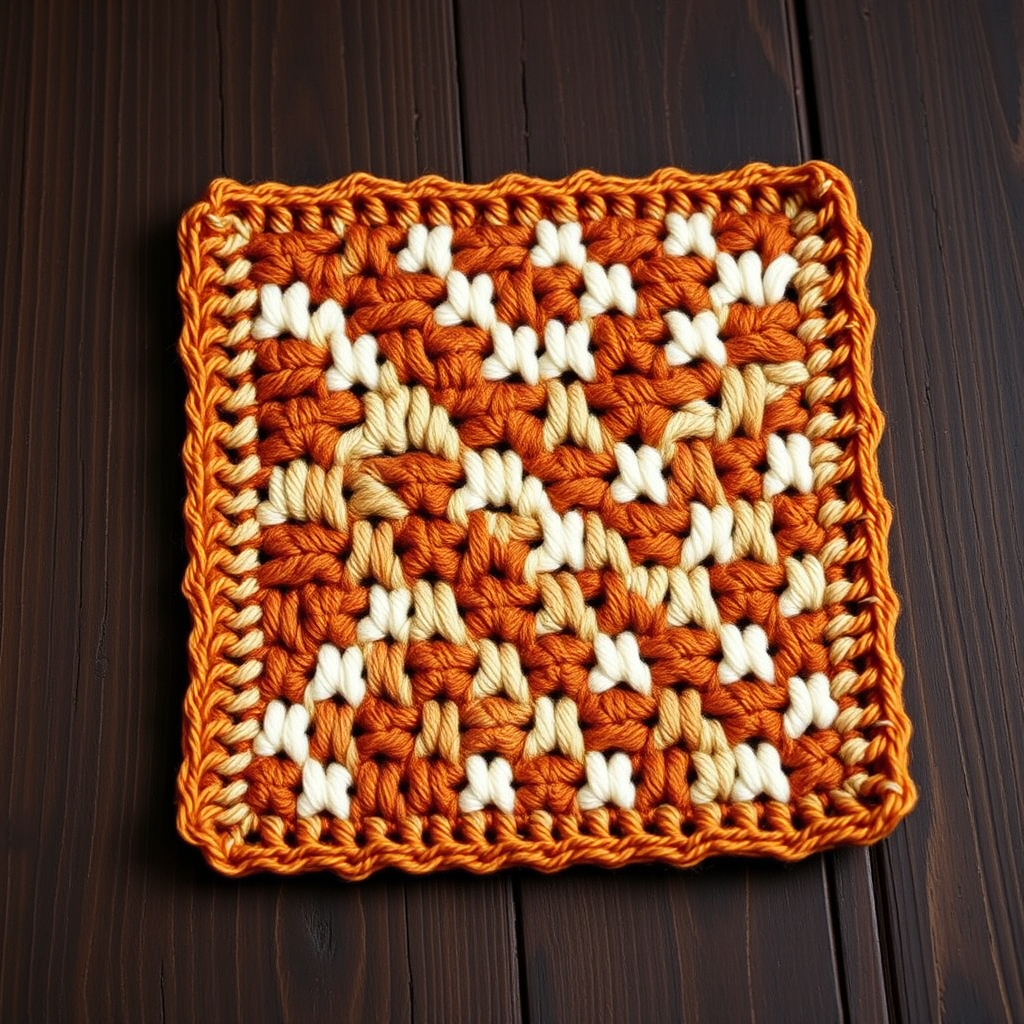
The Frosted Cupcake Dishcloth: A Free Knitting Pattern for a Textured, Sweet Kitchen Companion

Knit a Sweet Treat for Your Kitchen: The Frosted Cupcake Dishcloth
Bring a touch of whimsy to your daily chores with this charming knitted dishcloth. Designed to look just like a frosted cupcake, this pattern is as fun to make as it is to use. The textured seed stitch base mimics a paper liner, while a delicate lace pattern creates the look of swirled frosting, all topped with a tiny cherry. Made with durable cotton yarn, it's a practical and delightful addition to any kitchen. This free pattern is perfect for beginners looking to try simple lace techniques.
Materials Needed
Before you begin, gather the following supplies. Using the exact yarn weight and needle size ensures your dishcloth turns out the perfect size and texture.
- Yarn: Worsted weight cotton yarn (e.g., Lily Sugar'n Cream or Bernat Handicrafter) in three colors:
- Main Color (Frosting): 50 yards of light pink
- Contrast Color (Cupcake Base): 30 yards of brown
- Cherry: Small amount of red
- Knitting Needles: US Size 7 (4.5 mm)
- Other: Yarn needle for weaving in ends, scissors, tape measure (optional for checking gauge).
Gauge: 20 stitches and 26 rows = 4 inches in stockinette stitch. Getting the correct gauge ensures your dishcloth will be the right size, but slight variations are fine for a dishcloth.
Step-by-Step Instructions
This dishcloth is knit flat from the bottom up. Follow each section carefully, and you'll have a sweet kitchen companion in no time.
Abbreviations
- CO: Cast on
- K: Knit
- P: Purl
- K2tog: Knit two stitches together (decrease)
- YO: Yarn over (increase, creates a hole)
- RS: Right side (the front of the work)
- WS: Wrong side (the back of the work)
Cupcake Base (Brown Yarn)
The base uses a seed stitch to create a bumpy texture that looks like a paper cupcake liner.
- Cast on: With brown yarn, CO 30 stitches.
- Row 1 (RS): *K1, P1; repeat from * to end of row.
- Row 2 (WS): *P1, K1; repeat from * to end of row.
- Repeat: Continue repeating Rows 1 and 2 until you have completed a total of 20 rows, or until the piece measures about 3 inches from the cast-on edge. This creates the textured liner.
Frosting (Pink Yarn)
Now switch to the pink yarn to create the swirled frosting. The yarn over (YO) and knit two together (K2tog) create a delicate lace pattern.
- Switch yarn: Cut the brown yarn, leaving a 6-inch tail. Join the pink yarn.
- Row 1 (RS): K all stitches.
- Row 2 (WS): P all stitches.
- Row 3 (RS): K1, *YO, K2tog; repeat from * to last stitch, K1. (You will still have 30 stitches because each YO adds a stitch and each K2tog removes one.)
- Row 4 (WS): P all stitches.
- Row 5 (RS): K all stitches.
- Row 6 (WS): P all stitches.
- Repeat: Repeat Rows 3-6 for a total of 16 rows, or until the pink section measures about 2.5 inches from the color change. The YO and K2tog pattern will create a delicate, airy texture that looks like swirled frosting.
Cherry (Red Yarn)
The cherry is knit in stockinette stitch with decreases to create a rounded top.
- Switch yarn: Cut the pink yarn, leaving a 6-inch tail. Join the red yarn.
- Row 1 (RS): K all stitches.
- Row 2 (WS): P all stitches.
- Row 3 (RS): K1, K2tog, K to last 3 stitches, K2tog, K1. (You now have 28 stitches.)
- Row 4 (WS): P all stitches.
- Row 5 (RS): K1, K2tog, K to last 3 stitches, K2tog, K1. (You now have 26 stitches.)
- Row 6 (WS): P all stitches.
- Bind off: Bind off all stitches loosely. Do not pull the yarn tight; you want the top edge to be flexible and rounded.
Finishing
- Weave in ends: Use a yarn needle to weave in all loose yarn tails on the wrong side of the dishcloth. Trim any excess yarn.
- Block lightly: Wet the dishcloth with cool water and gently squeeze out excess moisture (do not wring). Lay it flat on a towel, shaping it into a rectangle with a softly rounded top. Allow it to dry completely. Blocking helps even out the stitches and gives the dishcloth a professional finish.
- Optional hanging loop: With brown yarn, crochet a chain of 10-12 stitches. Attach it to one corner of the base by threading the ends through the fabric and tying a secure knot. Weave in the ends.
Your Frosted Cupcake Dishcloth is now ready to use or give as a sweet gift! The cherry will naturally form a small rounded top, completing the cupcake look.