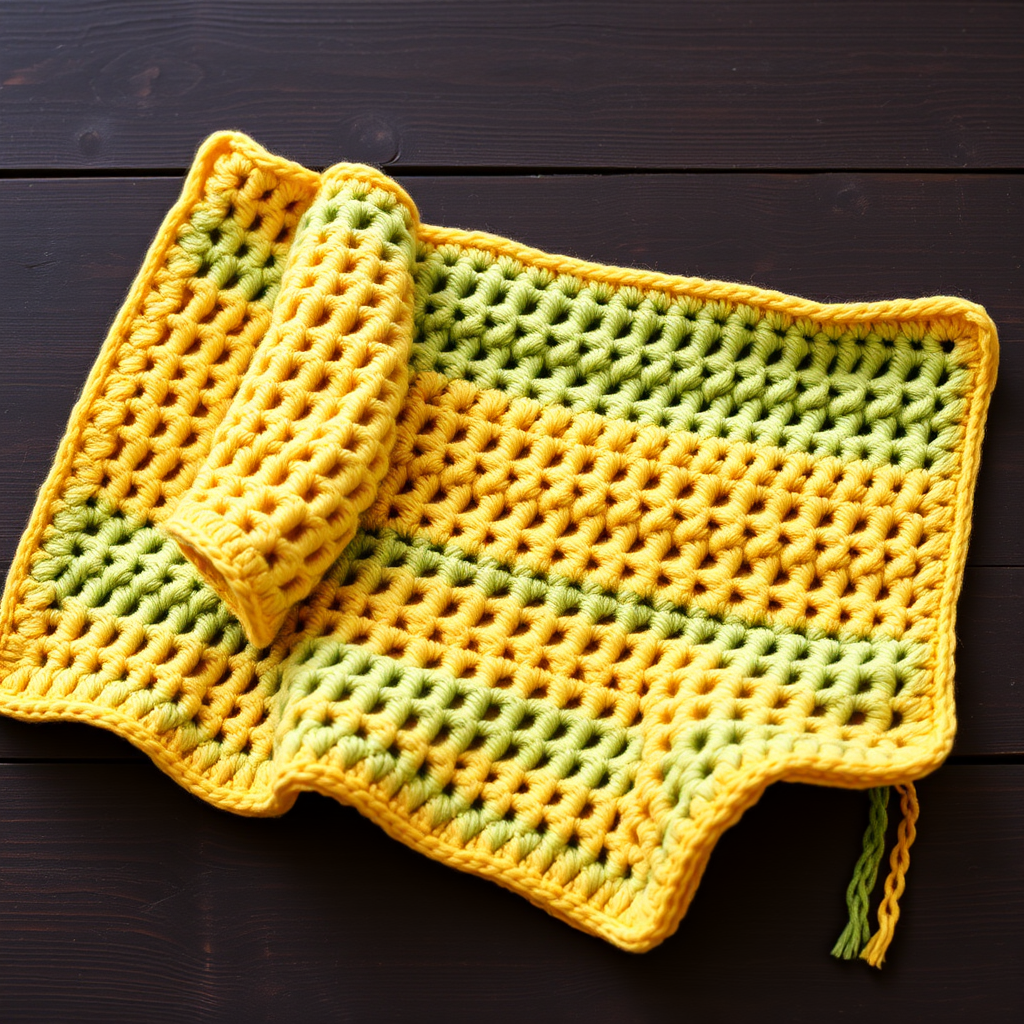
The Enchanted Emerald Cube Blanket: A Free Crochet Pattern for a Textured, 3D Granny Square Design

Introducing the Enchanted Emerald Cube Blanket
Dive into a world of tactile delight with this unique crochet blanket, featuring dimensional 'Emerald Cube' granny squares that create a stunning, modern geometric pattern. Each square is a joy to make, and the finished blanket is a cozy, heirloom-quality piece that adds a touch of magic to any room. This free pattern is designed for adventurous beginners and experienced crocheters alike, offering a satisfying project that builds into a lush, textured field of emerald cubes. The 3D effect is achieved through clever stitch placement, making each square pop with depth and dimension. Whether draped over a chair or spread across a bed, this blanket brings a sense of enchanted forest charm to your home.
Materials Needed
To create your own Enchanted Emerald Cube Blanket, you will need the following materials. Gather everything before you begin for a smooth crocheting experience.
Yarn
- Worsted weight (#4) yarn in three shades:
- A) Deep Emerald (MC): Approximately 1800 yards
- B) Forest Green (CC1): Approximately 800 yards
- C) Mint Green (CC2): Approximately 600 yards
- Total yarn needed: Approximately 3200 yards for a 48" x 60" blanket.
Hook and Notions
- Crochet Hook: Size H/8 (5.0 mm)
- Other: Yarn needle for weaving in ends, scissors, stitch markers (optional, for counting).
Gauge
- One completed cube square (after joining) measures 6" x 6".
- Gauge is not critical for this project, but consistency is key. Ensure all your squares are the same size by maintaining even tension throughout.
Step-by-Step Instructions
This pattern uses two special stitches. Practice them on a small swatch before starting your squares. Follow each step carefully for perfect results.
Special Stitches
- Cube Cluster (CC): Work 3 double crochet (dc) together into the same stitch or space. (Yarn over, insert hook, yarn over, pull up loop, yarn over, pull through 2 loops) 3 times, yarn over, pull through all 4 loops on hook.
- Front Post Double Crochet (FPdc): Yarn over, insert hook from front to back around the post of the stitch below, yarn over, pull up loop, (yarn over, pull through 2 loops) twice.
Square Pattern (Make 48)
Note: Each square is worked in continuous rounds. Do not turn your work at the end of rounds unless specified.
Round 1 (Base Center): With MC (Deep Emerald), make a magic ring. Ch 3 (counts as first dc), work 11 dc into the ring. Sl st to the top of the ch-3 to close the round. (12 dc total)
Round 2 (Increase): Ch 3 (counts as dc), dc in the same stitch (this is your first increase). Work 2 dc in each stitch around. Sl st to the top of the ch-3. (24 dc)
Round 3 (Increase): Ch 3, dc in same st. *Dc in next st, 2 dc in next st.* Repeat from * to * around. Sl st to top of ch-3. (36 dc)
Round 4 (Increase): Ch 3, dc in same st. *Dc in next 2 sts, 2 dc in next st.* Repeat from * to * around. Sl st to top of ch-3. (48 dc)
Round 5 (Cube Base - Final Increase): Ch 3, dc in same st. *Dc in next 3 sts, 2 dc in next st.* Repeat from * to * around. Sl st to top of ch-3. (60 dc)
Round 6 (Cube Walls - First Row): Ch 3 (counts as first dc). *FPdc around the post of the next stitch (the first dc of Round 5). Dc in the next stitch.* Repeat from * to * around, ending with a FPdc around the last stitch. Sl st to the top of the ch-3. (60 stitches: 30 dc, 30 FPdc)
Round 7 (Cube Walls - Second Row): Ch 3. *FPdc around the FPdc of the previous round. Dc in the next dc.* Repeat from * to * around. Sl st to top of ch-3. (60 stitches: 30 dc, 30 FPdc)
Round 8 (Cube Top - First Increase): Ch 3, dc in same st. *Dc in next 3 sts, 2 dc in next st.* Repeat from * to * around. Sl st to top of ch-3. (75 dc)
Round 9 (Cube Top - Second Increase): Ch 3, dc in same st. *Dc in next 4 sts, 2 dc in next st.* Repeat from * to * around. Sl st to top of ch-3. (90 dc)
Round 10 (Cube Top Edge): Ch 1 (does not count as a stitch). Sc in each stitch around. Sl st to the first sc to close the round. Fasten off MC and weave in the end. (90 sc)
Repeat this square pattern 48 times total.
Joining the Squares
Arrange your 48 squares in an 8x6 grid (8 squares wide, 6 squares tall). You can arrange them in any color order you like, but the pattern suggests using the same MC for all bases for a cohesive look.
Joining Method: Using CC1 (Forest Green), join squares with a flat slip stitch seam on the wrong side. Work through the back loops only of the sc edges (Round 10) of both squares. This creates a subtle, visible ridge on the right side. Join all squares in rows first, then join the rows together. Weave in ends as you go.
Border
Once all squares are joined, work the border around the entire blanket using CC2 (Mint Green).
Round 1 (Base Border): With CC2, sc evenly around the entire blanket. Work 3 sc in each corner stitch to turn corners smoothly. Sl st to the first sc to close the round.
Round 2 (Scallop Foundation): Ch 1. *Sc in next st, ch 3, skip 1 st.* Repeat from * to * around. At each corner, work (sc, ch 3, sc) in the same corner stitch. Sl st to the first sc.
Round 3 (Scallop Shells): Sl st into the first ch-3 space. Ch 3 (counts as first dc), work 2 dc in the same ch-3 space. *Ch 1, 3 dc in next ch-3 space.* Repeat from * to * around. At each corner ch-3 space, work (3 dc, ch 3, 3 dc) to create a larger corner shell. Sl st to the top of the ch-3.
Round 4 (Final Edge): Ch 1. Sc in each dc and ch-1 space around. At each corner ch-3 space, work 3 sc. Sl st to the first sc. Fasten off CC2. Weave in all remaining ends.
Your Enchanted Emerald Cube Blanket is complete! Block gently if desired to even out stitches and enhance the 3D effect. Enjoy your cozy, textured masterpiece.