Cozy Cloud Cocoon Cardi Blanket Free Pattern

Wrap Yourself in Comfort: The Cozy Cloud Cocoon Cardi Blanket
Imagine wrapping yourself in a soft, warm cloud on a chilly evening. That's exactly the feeling you'll get with the Cozy Cloud Cocoon Cardi Blanket. This oversized, chunky crochet project is the ultimate hybrid—part blanket, part cardigan—designed for lazy weekends, movie nights, or curling up with a good book. The dense, ribbed half double crochet texture creates a plush, cozy fabric that drapes beautifully over your body. Best of all, this free pattern is surprisingly simple, worked as one large rectangle and then seamed to create sleeves. Even if you're new to crochet, you can create this stunning, wearable throw in no time.
This pattern is perfect for those who love the look of high-end, chunky knitwear but want the satisfaction of making it themselves. The construction is genius in its simplicity: no complicated shaping, just a single rectangle that transforms into a stylish cocoon. Let's dive into how you can make this cozy masterpiece.
Materials Needed
Before you begin, gather these simple supplies. The beauty of this project is its minimalism—you only need a few things to get started.
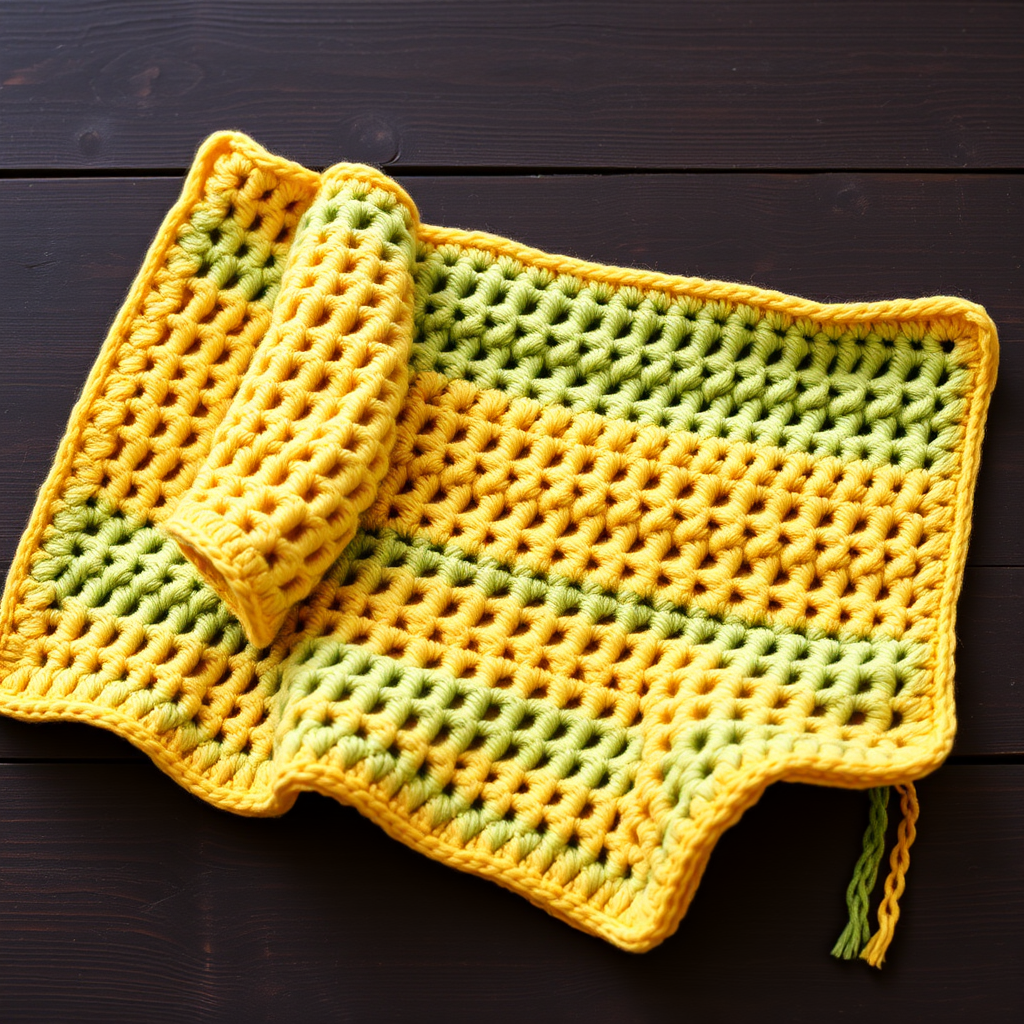
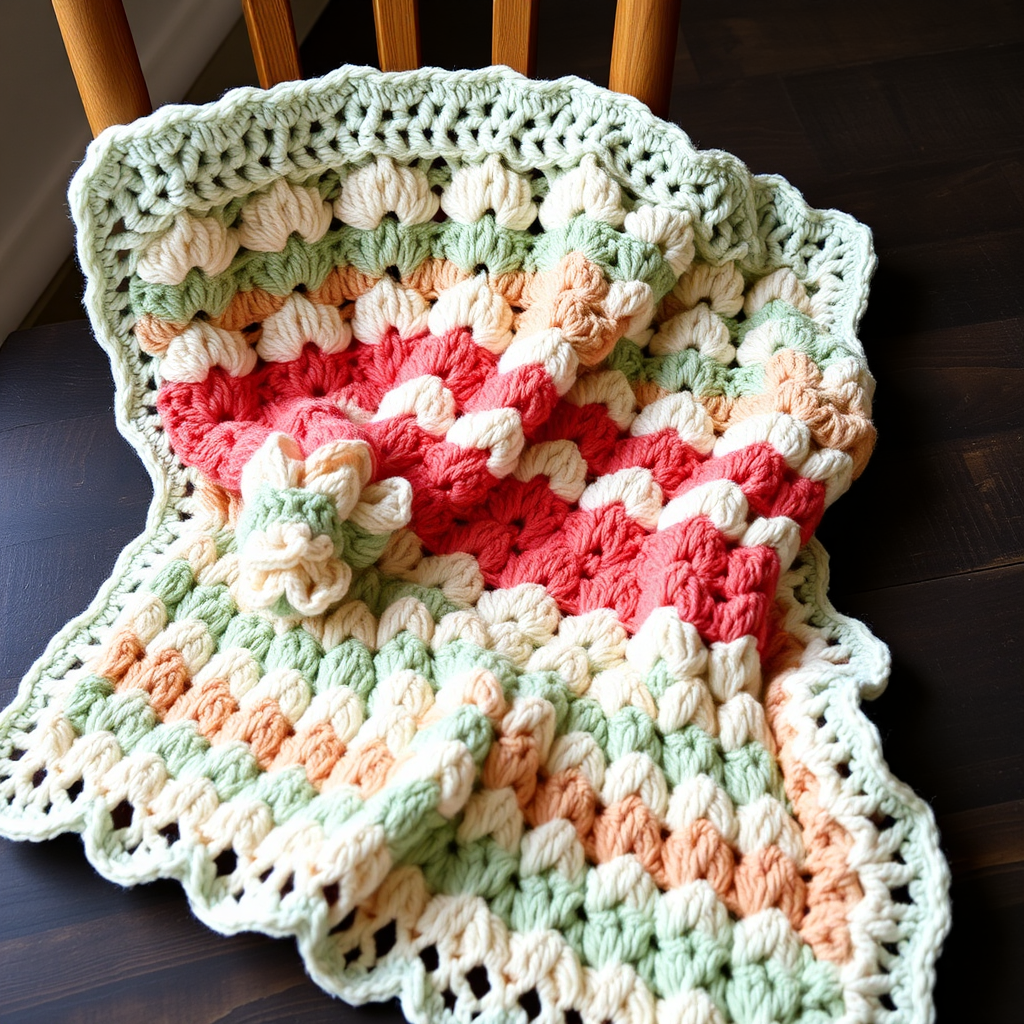
- Yarn: Super Bulky (weight 6) yarn in a soft cream or heather gray. You will need approximately 1200–1500 yards. This is roughly 6–7 skeins of a standard 200-yard super bulky yarn. The soft cream color in the photos gives it that dreamy, cloud-like appearance.
- Crochet Hook: Size N/P (10 mm) crochet hook. This large hook is essential for creating the loose, drapey fabric that makes this cocoon so comfortable.
- Other Tools: A yarn needle for weaving in ends, a pair of scissors, and stitch markers (optional, but helpful for marking the sleeve openings).
Gauge & Size
Getting the right gauge is important for achieving the correct size and drape. The pattern calls for a gauge of 8 stitches and 6 rows = 4 inches in half double crochet. Always make a small swatch first to check your tension. If your swatch is too small, try a larger hook; if it's too big, switch to a smaller hook. The finished cocoon is designed to be oversized and draped, so don't worry about being too precise—just aim for a fabric that feels soft and flexible, not stiff.
Step-by-Step Instructions
This pattern is broken down into three main parts: creating the main rectangle, seaming the sides for sleeves, and adding the finishing borders. Follow these steps carefully, and you'll have your own cozy cocoon in no time.
Part 1: The Main Rectangle
This is the body of your cocoon. It's a simple, repetitive pattern that works up quickly with the bulky yarn.
- Foundation Chain: Start by making a slip knot and chaining 80 stitches. Don't pull these too tight—you want them to be even and relaxed.
- Row 1: Half double crochet (hdc) in the 3rd chain from your hook. The first two chains count as your first hdc. Continue making 1 hdc in each chain across the row. When you reach the end, you should have a total of 78 hdc stitches. Turn your work.
- Row 2: Chain 2 (this counts as your first hdc). Make 1 hdc in each hdc stitch across the row. Turn your work.
- Repeat: Continue repeating Row 2 until your piece measures 60 inches from the start. This is a long rectangle, so be patient—the repetitive motion is quite relaxing! Remember to keep your tension consistent throughout.
- Fasten Off: Once you reach 60 inches, cut your yarn, leaving a long tail (about 6 inches). Pull the tail through the last loop on your hook to secure it.
Part 2: Folding and Seaming
This is where the magic happens. You'll transform your flat rectangle into a wearable cocoon.
- Fold the Rectangle: Lay your rectangle flat on a large surface. Fold it in half widthwise, bringing the two short ends together. The fold will become the top of your cocoon (the part that goes over your shoulders).
- Mark the Sleeves: On each side of the folded rectangle, measure 12 inches down from the fold. Place a stitch marker at this point on both sides. This 12-inch section will be the opening for your arms.
- Seam the Sides: Starting at the stitch marker on one side, use your yarn needle and a long piece of yarn to whip stitch the edges together, working from the marker down to the bottom edge. This creates the side seam of the cocoon. Repeat this process on the other side. The center section between the seams is left open for your body.
Part 3: Adding the Borders
Now we'll add clean, neat edges to the sleeves and bottom to give your cocoon a professional finish.
- Sleeve Cuffs: Attach your yarn with a slip stitch at the bottom of one of the sleeve openings (where you just seamed). Work 2 rounds of single crochet (sc) evenly around the entire opening. When you complete the second round, slip stitch to join and fasten off. Repeat this for the other sleeve opening. This creates a neat, slightly gathered cuff.
- Bottom Ribbing: Attach your yarn at the bottom edge of the cocoon, at one of the side seams. Work 3 rounds of single crochet (sc) evenly across the entire bottom edge. When you finish the third round, slip stitch to join and fasten off. This adds a sturdy, polished border to the bottom of your blanket.
Finishing Touches
Your Cozy Cloud Cocoon is almost complete! Here are the final steps to make it perfect.
- Weave in Ends: Use your yarn needle to carefully weave in all loose ends from your starting chain, fastening off points, and seams. This is crucial for durability and a clean look.
- Optional Button Closure: For a more cardigan-like fit, you can add a large, beautiful button at the top center of the cocoon. Simply sew the button onto one side of the top opening and create a loop of yarn on the other side to button it through. Alternatively, you can leave it open for a relaxed, draped look.
And there you have it—your very own Cozy Cloud Cocoon Cardi Blanket! This project is a joy to make and an even greater joy to wear. The oversized fit and plush texture make it a staple for cozy nights in. Whether you're a beginner looking for a rewarding project or an experienced crocheter seeking a quick and satisfying make, this pattern is sure to become a favorite. So grab your yarn and hook, and get ready to wrap yourself in handmade warmth.