Serenity Garden Lapghan Free Pattern

Introducing the Serenity Garden Lapghan: A Cozy Crochet Project for Mindful Making
There is something deeply soothing about wrapping yourself in a handmade blanket—especially one that carries the texture and tranquility of a garden. The Serenity Garden Lapghan is designed to bring that calm into your daily life. This beautiful, wheelchair-friendly throw is the perfect size to drape over your lap during a quiet afternoon with a cup of tea, a good book, or simply a moment of rest.
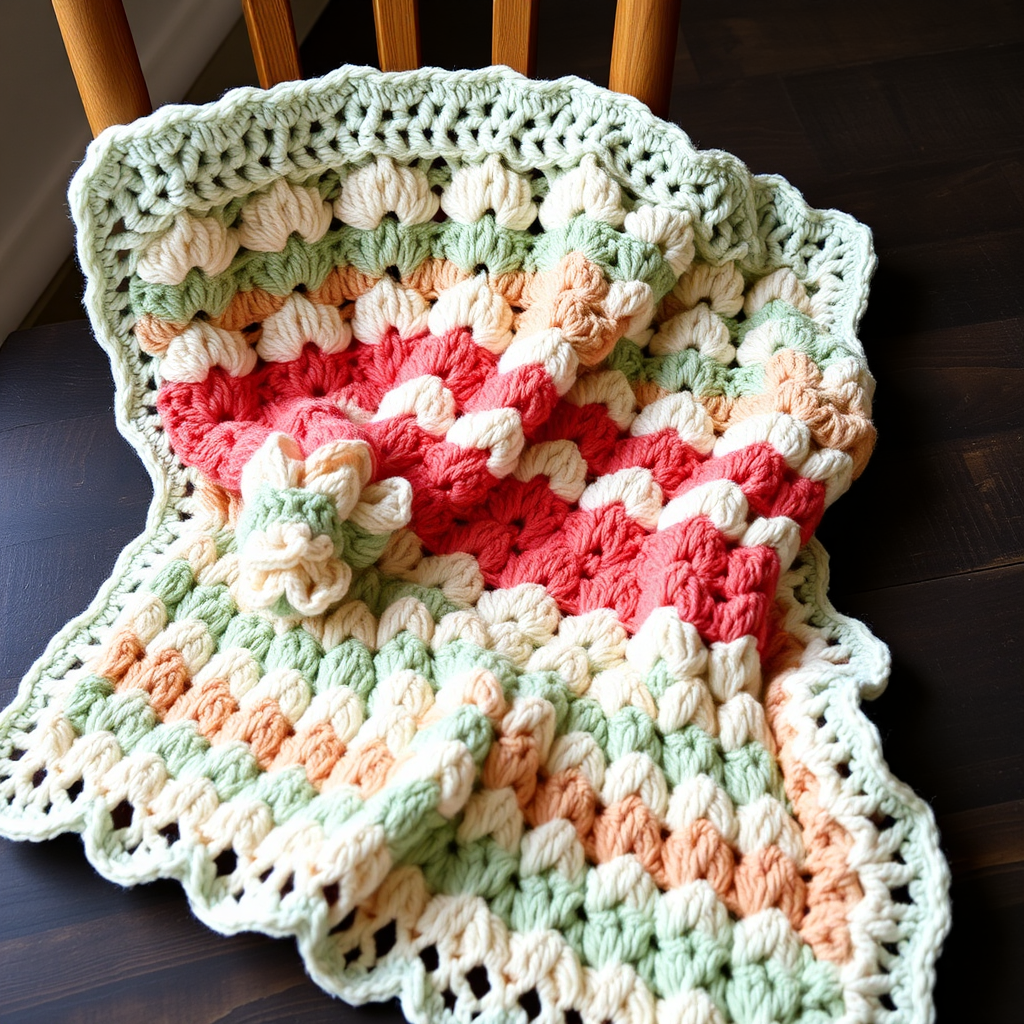
Featuring a delicate shell stitch border and a soft, textured center, this pattern is as enjoyable to create as it is to use. The rhythmic repetition of shells and double crochet creates a meditative flow, making it an ideal project for crocheters looking to expand their skills or simply unwind with their hook in hand. Whether you are crafting it for yourself or as a heartfelt gift for a loved one, the Serenity Garden Lapghan is a timeless piece that blends comfort with elegance.
In this comprehensive guide, we will walk you through every step—from gathering your materials to weaving in those final ends—so you can create a stunning, heirloom-quality lapghan with confidence.
Materials Needed for Your Serenity Garden Lapghan
Before you begin, gather the following supplies. Using the recommended materials will ensure your finished piece matches the intended drape, texture, and size.
Yarn
- Main Color (MC): Worsted weight yarn in a soft sage green. You will need approximately 1,200 yards (or about 3 skeins of a standard 400-yard worsted weight yarn).
- Contrast Color (CC): Worsted weight yarn in cream or ivory for the border. You will need approximately 300 yards (or about 1 skein).
Pro Tip: Choose a yarn with good stitch definition, such as a smooth acrylic, cotton blend, or soft wool, to make the shell texture really pop.
Hook & Notions
- Crochet Hook: Size J/10 (6.0 mm). This hook size is essential for achieving the correct gauge and a supple, cozy fabric.
- Yarn Needle: For weaving in ends.
- Scissors: For cutting yarn.
- Measuring Tape: To check your gauge and finished dimensions.
Gauge
To ensure your lapghan turns out the correct size, it is crucial to check your gauge. 14 double crochet stitches x 8 rows = 4 inches in double crochet. If your gauge is off, adjust your hook size accordingly—go up a size if your swatch is too small, or down a size if it is too large.
Step-by-Step Instructions: Crocheting the Serenity Garden Lapghan
This pattern is worked in rows from the bottom up, then finished with a beautiful scalloped border. The stitch pattern is simple to memorize, making it perfect for relaxing crochet sessions. Let’s dive in!
Understanding the Stitches & Abbreviations
- ch = chain
- sc = single crochet
- dc = double crochet
- sl st = slip stitch
- sk = skip
- sp = space
- shell = (2 dc, ch 1, 2 dc) all worked in the same stitch or space
Finished Size: Approximately 30 inches wide x 36 inches long. This size is perfect for draping over a lap, whether seated in a wheelchair or curled up on the sofa.
Getting Started: The Foundation
Foundation Row: With your Main Color (MC), make a slip knot and chain 106. This chain length is a multiple of 6 plus 4, which sets up the pattern repeat perfectly.
Row 1: Work a double crochet (dc) into the 4th chain from your hook. Remember: The first 3 chains count as your first double crochet. Now, work 1 dc into each of the remaining chains across the row. When you reach the end, you should have a total of 104 double crochet stitches. Turn your work.
Creating the Textured Body
Row 2: Chain 3 (this counts as your first dc). Work 1 dc into each dc across the row. Turn. This row creates a solid base for the shell pattern.
Row 3 (Shell Row): Chain 3 (counts as first dc). *Skip the next 2 dc, work a shell (2 dc, ch 1, 2 dc) into the next dc, skip the next 2 dc, then work 1 dc into the next dc.* Repeat from * to * across the row, ending with a final dc into the top of the turning chain from the previous row. Turn.
Row 4: Chain 3 (counts as first dc). *Work 1 dc into each of the next 2 dc, chain 1, work 1 dc into each of the next 2 dc, then work 1 dc into the center dc of the shell (the single dc between the shell groups).* Repeat from * to * across the row, ending with a dc into the top of the turning chain. Turn.
Row 5: Chain 3 (counts as first dc). *Work 1 dc into each of the next 2 dc, work a shell into the ch-1 space from the row below, work 1 dc into each of the next 2 dc, then work 1 dc into the next dc (the center dc of the previous shell).* Repeat from * to * across the row, ending with a dc into the top of the turning chain. Turn.
Rows 6 to 45: This is where the magic happens. You will now alternate between Row 4 and Row 5. This creates the beautiful, raised shell texture that gives the blanket its garden-inspired feel. Continue this pattern until your piece measures approximately 34 inches from the foundation edge, making sure to end with a Row 4 repeat (a solid row without shells). This ensures your border will sit flat and even.
Note: As you work, the fabric will naturally develop a lovely, textured relief. Don't worry if it curls slightly at the edges—the border will help flatten it out.
Adding the Delicate Shell Border
Now it's time to switch to your Contrast Color (CC) and create that stunning, finished edge. Do not fasten off your MC yet—you will weave that in later.
Round 1 (Setup Round): With CC, join your yarn with a slip stitch in any corner. Chain 1. Work single crochet (sc) evenly around all four edges of the blanket. When you reach a corner, work 3 sc into the corner stitch to help the border turn smoothly. Continue around the entire perimeter, working 3 sc in each corner. Join with a slip stitch to the first sc. Tip: Try to keep your sc count consistent along the edges—roughly 1 sc for each dc row and 2 sc for each shell row works well.
Round 2 (Shell Border): Chain 1. *Work 1 sc into the next sc, skip the next sc, work a shell (2 dc, ch 1, 2 dc) into the next sc, skip the next sc.* Repeat from * to * around the entire blanket. When you reach a corner, work the pattern as evenly as possible, using the 3 corner sc to help you turn the corner neatly. Join with a slip stitch to the first sc.
Round 3 (Finishing Round): Chain 1. Work 1 sc into each sc and 1 sc into each ch-1 space around the entire border. At each corner, work 3 sc into the corner stitch to keep the corners flat and square. Join with a slip stitch to the first sc.
Finishing Touches: Fasten off your yarn, leaving a 6-inch tail. Thread your yarn needle and carefully weave in all loose ends—both from your color changes and your starting tail. Give your lapghan a gentle block if desired (lay it flat and mist with water, then let it dry) to enhance the stitch definition.
Your Serenity Garden Lapghan is now complete! The soft sage green body with its raised, floral-like shells, framed by the delicate cream scalloped edge, creates a piece that is both cozy and elegant. Whether you keep it for yourself or gift it to someone special, this lapghan is sure to bring warmth and a touch of garden serenity to any space.
Happy crocheting, and enjoy the peaceful rhythm of your craft!