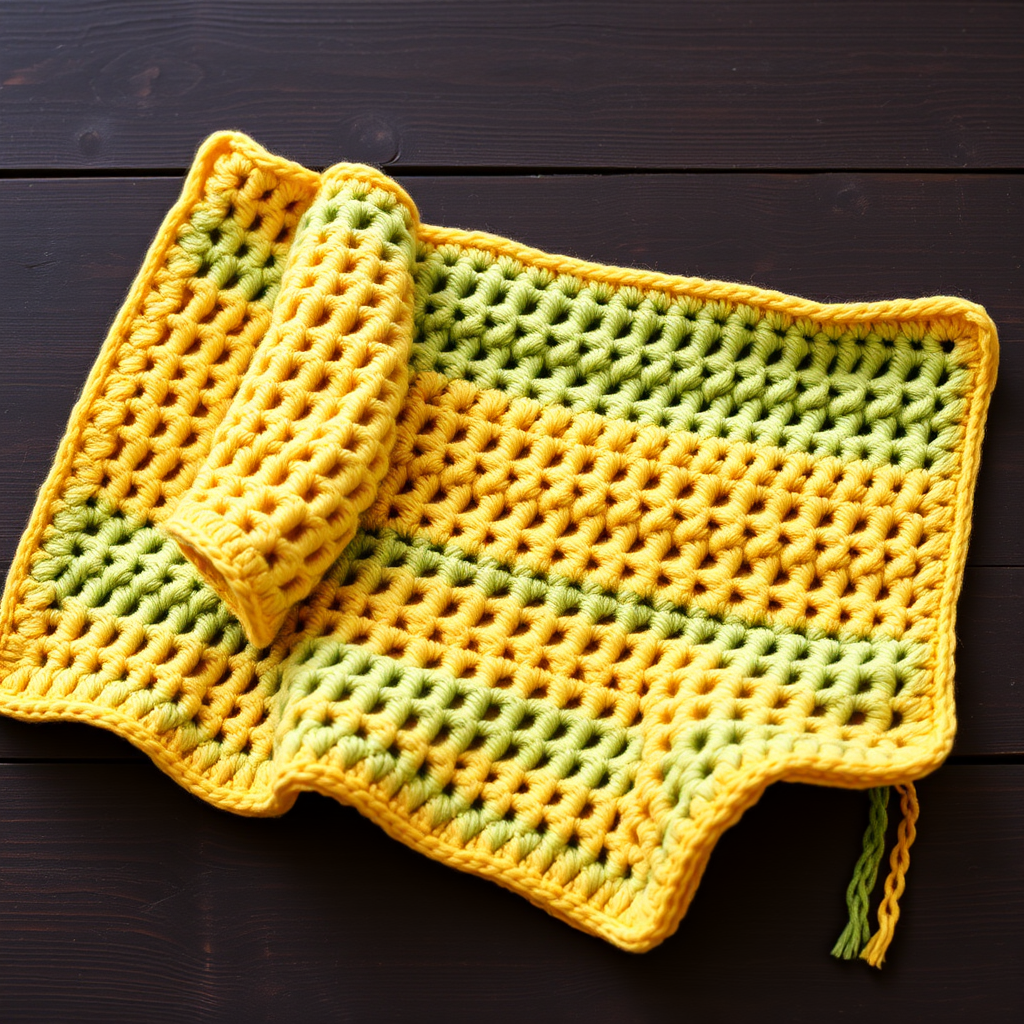
Ocean Mist Feather and Fan Throw Free Pattern – Crochet Heirloom Blanket
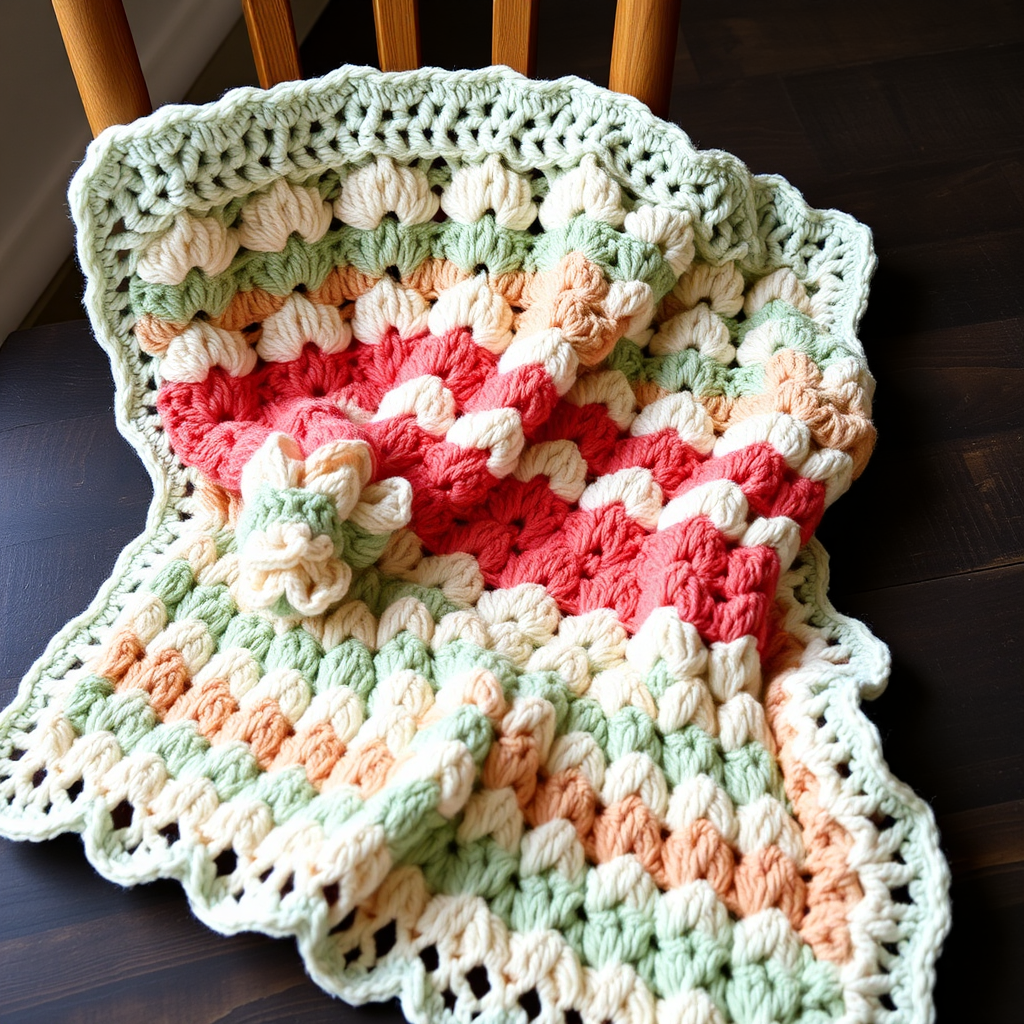
Ocean Mist Feather and Fan Throw: A Beginner-Friendly Heirloom Crochet Blanket
There's something magical about a crochet blanket that captures the rhythm of the sea. The Ocean Mist Feather and Fan Throw does exactly that—its gentle, wave-like scallops ripple across the fabric in soothing coastal hues of seafoam, sand, coral, and white. This heirloom-quality pattern is not only stunning but also surprisingly accessible for beginners who are ready to move beyond basic stitches. The feather and fan stitch, also known as the old shale stitch, creates a beautiful textured fabric that drapes elegantly over a sofa or chair, bringing a serene beach atmosphere to any room.
In this comprehensive guide, I'll walk you through every step, from gathering your materials to weaving in those final ends. By the time you finish, you'll have a gorgeous 50" x 60" throw that looks like it came from a high-end coastal boutique—but made with your own hands and love.
Why You'll Love This Pattern
The feather and fan stitch is a classic crochet technique that has been passed down through generations. Its name comes from the way the stitches fan out like feathers or ocean waves. This pattern takes that timeless stitch and gives it a modern, coastal twist with horizontal color stripes. The result is a blanket that feels both nostalgic and contemporary—perfect for curling up on cool evenings or draping over a reading chair.
Best of all, this pattern uses only basic stitches: single crochet (sc), double crochet (dc), and chains (ch). If you can master those three, you can create this entire heirloom piece.
Materials Needed
Before you begin, gather the following supplies. Having everything ready will make your crochet session smooth and enjoyable.
Yarn
- Worsted weight cotton blend yarn in 4 colors (approximately 1800 yards total):
- Color A (Seafoam): 450 yards
- Color B (Sand): 450 yards
- Color C (Coral): 450 yards
- Color D (White): 450 yards
Pro tip: A cotton blend yarn gives the blanket beautiful drape and stitch definition. Look for a soft, medium-weight yarn that feels pleasant against your skin. The muted coastal tones work beautifully together, but feel free to choose your own color palette—the pattern is wonderfully versatile.
Hook and Notions
- 5.5 mm (I-9) crochet hook
- Scissors
- Yarn needle for weaving in ends
- Stitch markers (optional, but helpful for keeping track of rows)
Gauge
4 pattern repeats (16 sts) and 8 rows = 4 inches in feather and fan pattern. Be sure to check your gauge before starting—this ensures your blanket comes out the right size. If your gauge is off, adjust your hook size accordingly.
Understanding the Feather and Fan Stitch
Before diving into the pattern, let's break down the feather and fan stitch so you understand what you're creating. The pattern is worked in multiples of 12 + 1 stitches. This means your foundation chain needs to be a multiple of 12, plus 1 extra stitch.
The stitch pattern alternates between two types of rows:
- Row A (the "fan" row): Creates the scalloped, fan-like shapes with groups of double crochet
- Row B (the "feather" row): Creates the open, airy spaces with chains and single crochet
When you alternate these rows, the fans nestle into the spaces created by the previous row, creating that beautiful wave-like texture. It's simpler than it looks—once you get the rhythm, you'll be crocheting along without even thinking about it.
Step-by-Step Instructions
Now, let's get to the fun part! Follow these instructions carefully, and you'll have a beautiful throw in no time.
Important Notes Before You Begin
- The blanket is crocheted in horizontal stripes, with each stripe worked in a different color.
- Use a loose tension for better drape—this is a blanket, not a stiff doily!
- Each stripe consists of 7 rows. You'll repeat the 4-color stripe sequence until the blanket reaches 60 inches in length.
- Chain counts are given for each stripe. Follow them carefully.
Foundation Row (Color A - Seafoam)
Chain 121 (this is a multiple of 12 + 1: 12 × 10 = 120, plus 1 = 121).
Row 1: Work 1 single crochet (sc) in the 2nd chain from your hook, then work 1 sc in each chain across. Turn. (You should have 120 sc total.)
Stripe 1 (Color A - Seafoam)
Row 1: Chain 3 (this counts as your first double crochet), skip the first stitch. *Work 2 dc in the next stitch, 3 dc in the next stitch, 3 dc in the next stitch, 2 dc in the next stitch. Skip 2 stitches, work 1 sc in the next stitch, skip 2 stitches.* Repeat from * to * across the row, ending with 2 dc in the last stitch. Turn.
Row 2: Chain 1, work 1 sc in the first stitch. *Chain 3, skip 3 stitches, work 3 dc in the next stitch, 3 dc in the next stitch, 3 dc in the next stitch. Chain 3, skip 3 stitches, work 1 sc in the next stitch.* Repeat from * to * across, ending with 1 sc in the last stitch. Turn.
Row 3: Chain 3 (counts as first dc), skip the first stitch. *Work 2 dc in the next stitch, 3 dc in the next stitch, 3 dc in the next stitch, 2 dc in the next stitch. Skip 2 stitches, work 1 sc in the next stitch, skip 2 stitches.* Repeat from * to * across, ending with 2 dc in the last stitch. Turn.
Row 4: Repeat Row 2.
Row 5: Repeat Row 3.
Row 6: Repeat Row 2.
Row 7: Chain 1, work 1 sc in the first stitch. *Chain 3, skip 3 stitches, work 3 dc in the next stitch, 3 dc in the next stitch, 3 dc in the next stitch. Chain 3, skip 3 stitches, work 1 sc in the next stitch.* Repeat from * to * across, ending with 1 sc in the last stitch. Do not turn. Fasten off Color A.
Stripe 2 (Color B - Sand)
Row 8: With the right side facing you, join Color B with a sc in the first stitch of the last row. Chain 3, skip the first stitch. *Work 2 dc in the next stitch, 3 dc in the next stitch, 3 dc in the next stitch, 2 dc in the next stitch. Skip 2 stitches, work 1 sc in the next stitch, skip 2 stitches.* Repeat from * to * across, ending with 2 dc in the last stitch. Turn.
Rows 9-14: Repeat Rows 2-7 of Stripe 1, but using Color B. Fasten off at the end of Row 14.
Stripe 3 (Color C - Coral)
Row 15: With the right side facing you, join Color C with a sc in the first stitch of the last row. Chain 3, skip the first stitch. *Work 2 dc in the next stitch, 3 dc in the next stitch, 3 dc in the next stitch, 2 dc in the next stitch. Skip 2 stitches, work 1 sc in the next stitch, skip 2 stitches.* Repeat from * to * across, ending with 2 dc in the last stitch. Turn.
Rows 16-21: Repeat Rows 2-7 of Stripe 1, but using Color C. Fasten off at the end of Row 21.
Stripe 4 (Color D - White)
Row 22: With the right side facing you, join Color D with a sc in the first stitch of the last row. Chain 3, skip the first stitch. *Work 2 dc in the next stitch, 3 dc in the next stitch, 3 dc in the next stitch, 2 dc in the next stitch. Skip 2 stitches, work 1 sc in the next stitch, skip 2 stitches.* Repeat from * to * across, ending with 2 dc in the last stitch. Turn.
Rows 23-28: Repeat Rows 2-7 of Stripe 1, but using Color D. Fasten off at the end of Row 28.
Repeating the Stripes
Now that you've completed one full sequence of all four colors, repeat Stripes 1-4 until your blanket measures approximately 60 inches in length. You should end with a full stripe. In total, you'll have 4 stripes of each color (16 stripes total).
Tip: As you work, periodically measure your blanket to ensure you're on track. It's much easier to adjust early than to rip out rows later!
Adding the Border
Once your blanket reaches the desired length, it's time to add a beautiful scalloped border that ties everything together.
Round 1: With the right side facing you, join Color A (Seafoam) in any corner. Chain 1, then work single crochet evenly around the entire blanket. When you reach each corner, work 3 sc in the corner stitch. Join with a slip stitch to the first sc.
Round 2: Chain 1, work 1 sc in each sc around, working 3 sc in each corner. Join with a slip stitch to the first sc.
Round 3: Chain 1. *Work 1 sc in the next stitch, chain 3, skip 1 stitch.* Repeat from * to * around the entire blanket. At each corner, work (sc, ch 3, sc) in the corner stitch. Join with a slip stitch to the first sc.
Fasten off and weave in all ends with your yarn needle. Take your time with this step—properly woven ends ensure your blanket will last for generations.
Finishing Touches and Care
Once all your ends are woven in, give your blanket a gentle block. Lay it flat on a clean surface, gently shape it to its proper dimensions, and let it air dry. This will help the stitches settle and give your blanket that professional, polished look.
To care for your finished throw, hand wash in cool water with a gentle detergent and lay flat to dry. This will keep the cotton blend yarn looking beautiful for years to come.
Customization Ideas
While the coastal color palette is absolutely stunning, don't be afraid to make this pattern your own! Here are a few ideas:
- Monochrome magic: Use a single color for a subtle, textured look that lets the stitch pattern shine.
- Seasonal swap: Try warm autumn tones like rust, mustard, and cream for a cozy fall throw.
- Baby blanket version: Use a lighter weight yarn and smaller hook for a delicate baby blanket.
- Add a personal touch: Embroider a monogram in the corner for a truly heirloom piece.
Final Thoughts
Creating the Ocean Mist Feather and Fan Throw is more than just a crochet project—it's an opportunity to slow down, connect with a timeless craft, and create something beautiful that will be treasured for years. Whether you're making it for yourself or as a gift for someone special, this blanket carries with it the warmth and care of handmade craftsmanship.
Remember, every expert was once a beginner. Take your time, enjoy the process, and don't be afraid to make mistakes—they're just part of the journey. Before you know it, you'll have a stunning heirloom-quality throw that captures the serene beauty of the ocean, right in your own home.
Happy crocheting, and may your stitches always be even and your coffee always be warm!