The Enchanted Bloom Market Bag: A Free Crochet Pattern for a Textured, Rose Motif Tote

Carry a Garden with You: The Enchanted Bloom Market Bag
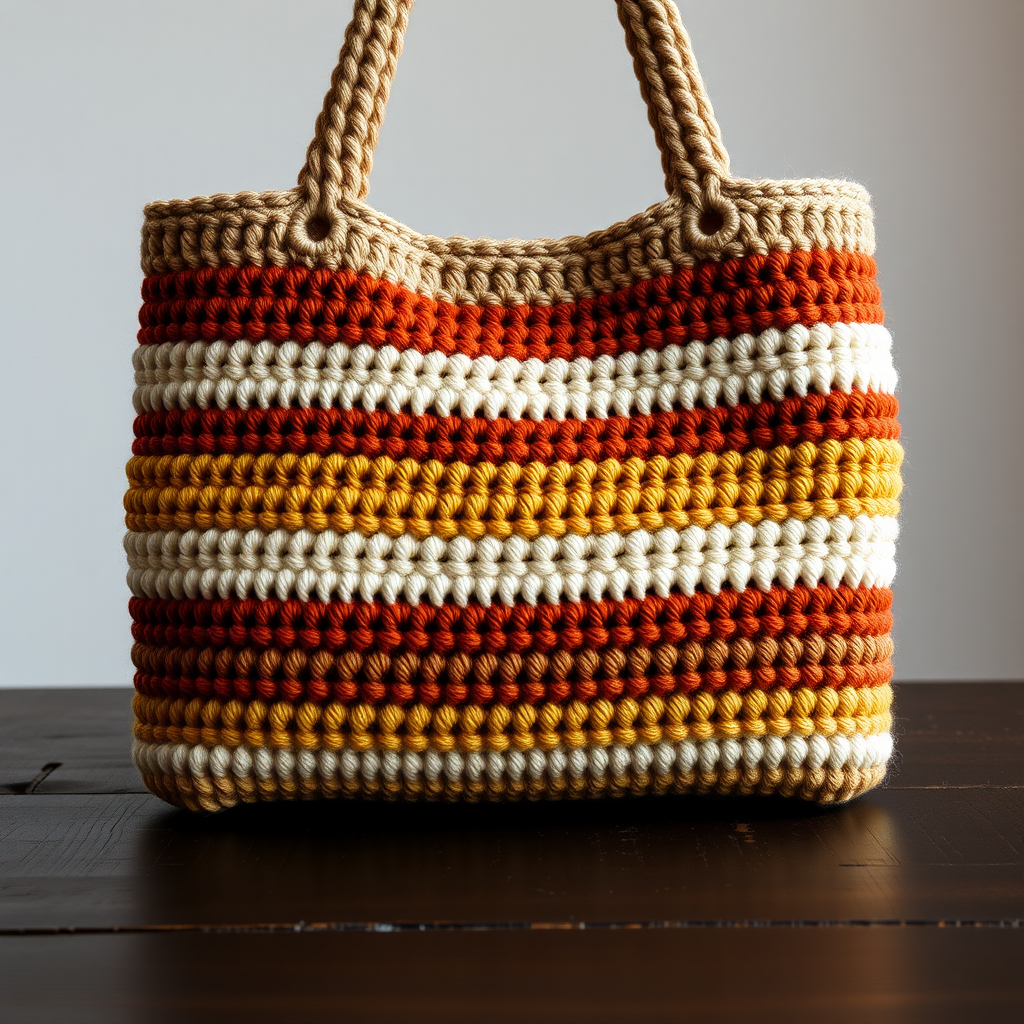
Imagine strolling through a farmers' market with a bag that's as beautiful as the produce you're carrying. The Enchanted Bloom Market Bag is exactly that—a stunning, textured tote featuring a dimensional rose motif that brings a touch of the garden to your everyday errands. This free crochet pattern combines the sturdy, all-cotton construction of a classic market bag with a romantic, handmade floral accent. The body is worked in the easy-to-master Lemon Peel Stitch, which creates a lovely, bumpy texture that's both durable and visually interesting. Whether you're a seasoned crocheter or a confident beginner looking for a rewarding project, this bag is a joy to make and an even greater joy to carry.
Materials Needed
Before you begin, gather the following supplies. Using the exact yarn and hook size will ensure your bag matches the gauge and finished size described.
- Yarn: Worsted weight cotton yarn (e.g., Lion Brand 24/7 Cotton) in two colors:
- Main Color (MC) - Sage Green: Approx. 250 yards
- Contrast Color (CC) - Dusty Rose: Approx. 150 yards
- Hook: Size H/8 (5.0 mm) crochet hook
- Other: Yarn needle for weaving in ends and sewing, scissors, stitch marker (optional)
Gauge: 14 single crochet (sc) x 16 rows = 4 inches. Making a gauge swatch is important for achieving the correct size and fit of the bag.
Step-by-Step Instructions
Notes & Abbreviations
Important Notes: The bag is worked in the round from the bottom up. The rose motif is crocheted separately and sewn on at the end. The bag body uses the "Lemon Peel Stitch," which is simply alternating single crochet (sc) and double crochet (dc) stitches.
Abbreviations:
- ch: chain
- sc: single crochet
- dc: double crochet
- sl st: slip stitch
- st(s): stitch(es)
- MC: Main Color (Sage Green)
- CC: Contrast Color (Dusty Rose)
Part 1: The Bag Bottom (Worked in Continuous Rounds)
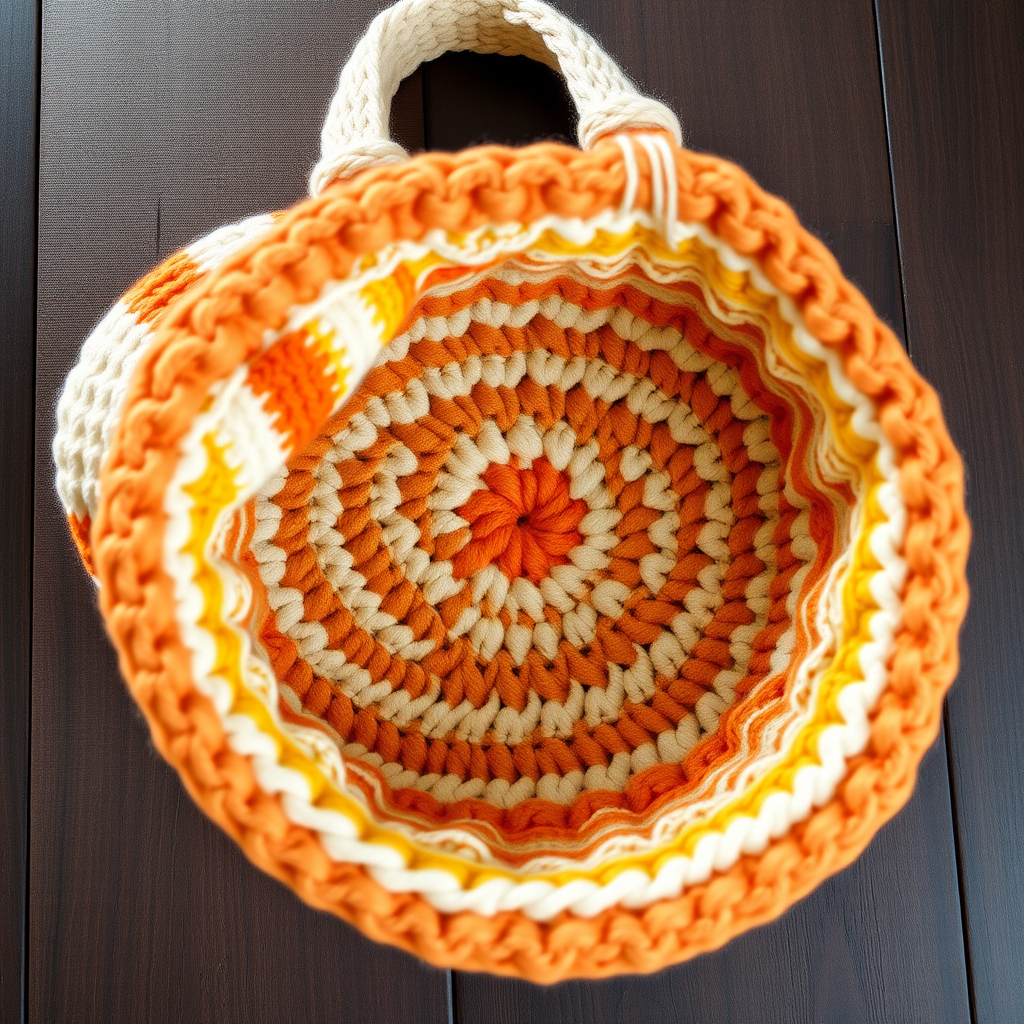
We'll start by creating a flat, circular base. Do not join at the end of each round; just continue working in a spiral. Use a stitch marker to keep track of the first stitch of each round.
- Round 1: With MC, make a magic ring. Work 6 sc into the ring. Pull the tail to close the ring tightly. (6 sts)
- Round 2: Work 2 sc in each stitch around. (12 sts)
- Round 3: *Sc in the next stitch, 2 sc in the next stitch* repeat from * to * around. (18 sts)
- Round 4: *Sc in the next 2 stitches, 2 sc in the next stitch* repeat from * to * around. (24 sts)
- Round 5: *Sc in the next 3 stitches, 2 sc in the next stitch* repeat from * to * around. (30 sts)
- Round 6: *Sc in the next 4 stitches, 2 sc in the next stitch* repeat from * to * around. (36 sts)
- Round 7: *Sc in the next 5 stitches, 2 sc in the next stitch* repeat from * to * around. (42 sts)
- Round 8: *Sc in the next 6 stitches, 2 sc in the next stitch* repeat from * to * around. (48 sts)
- Round 9: *Sc in the next 7 stitches, 2 sc in the next stitch* repeat from * to * around. (54 sts)
- Round 10: *Sc in the next 8 stitches, 2 sc in the next stitch* repeat from * to * around. (60 sts)
- Round 11: *Sc in the next 9 stitches, 2 sc in the next stitch* repeat from * to * around. (66 sts)
- Round 12: *Sc in the next 10 stitches, 2 sc in the next stitch* repeat from * to * around. (72 sts)
Fasten off MC. Your circle should be flat and measure about 6 inches in diameter.
Part 2: The Bag Body (Worked in Joined Rounds)
Now we'll build the textured sides of the bag. For this section, you will join each round with a slip stitch to the first stitch.
- Round 1: Join MC with a sl st to any stitch of the last round. Ch 1 (does not count as a stitch). Work 1 sc in the same stitch, then 1 dc in the next stitch. *Work 1 sc in the next stitch, 1 dc in the next stitch* repeat from * to * around. Join with a sl st to the first sc of the round. (72 sts total: 36 sc and 36 dc)
- Round 2: Ch 1. Work 1 sc in the first stitch (which is a dc from the previous round), then 1 dc in the next stitch (which is a sc from the previous round). *Work 1 sc in the next stitch, 1 dc in the next stitch* repeat from * to * around. Join with a sl st to the first sc.
- Rounds 3-20: Repeat Round 2 until the bag body measures 10 inches from the bottom edge. Fasten off MC.
Part 3: The Handles (Make 2, Worked Flat)
These sturdy handles are crocheted separately and sewn on.
- Row 1: With MC, ch 60. Work 1 sc in the 2nd ch from the hook and in each ch across. Turn. (59 sc)
- Row 2: Ch 1, work 1 sc in each stitch across. Turn.
- Row 3: Ch 1, work 1 sc in each stitch across. Fasten off, leaving a long tail (about 18 inches) for sewing.
Repeat these 3 rows to make a second handle.
Part 4: Assembly
- Create the Casing: Fold the top edge of the bag body down about 1 inch to the inside. This creates a neat, finished edge and a casing for the handles.
- Attach the Handles: Position the handles on the inside of the casing. Space them evenly apart (about 4 inches between the two ends of each handle on each side of the bag). Using the long tails, sew each end of the handle securely to the inside of the casing. Make sure the stitches are tight and hidden as much as possible.
Part 5: The Rose Motif (Make 1)
This is the star of the show! The rose is made from a crocheted strip that is then rolled into a flower.
- Foundation: With CC, ch 26.
- Row 1: Work 1 dc in the 4th ch from the hook (the skipped 3 chs count as the first dc). *Ch 1, skip the next ch, work 1 dc in the next ch* repeat from * to * across. Turn. (You should have 12 dc and 11 ch-1 spaces).
- Row 2: Ch 3 (this counts as your first dc). Work 2 dc in the first ch-1 space. *Ch 1, work 3 dc in the next ch-1 space* repeat from * to * across. Turn. (You will have 12 groups of 3 dc, with 11 ch-1 spaces between them).
- Row 3: Ch 1, work 1 sc in the first dc. *Ch 3, work 1 sc in the next ch-1 space* repeat from * to * across. Fasten off, leaving a long tail (about 12 inches) for sewing.
- Form the Rose: Starting from the end where you fastened off, tightly roll the crocheted strip into a spiral, with the scalloped edge (from Row 3) on the outside to form the petals. The flat edge will be the base.
- Secure the Rose: Using the long tail and a yarn needle, sew through the base of the rose several times to secure all the layers together. Make sure it holds its shape.
- Attach the Rose: Sew the completed rose onto the front of the bag, centered about 2-3 inches above the bottom edge. Stitch securely around the base of the rose.
Part 6: Finishing
Weave in all remaining yarn ends using a yarn needle. To give your bag a professional look, you can lightly block it by misting it with water and shaping it flat to dry. Your Enchanted Bloom Market Bag is now ready to carry your treasures!