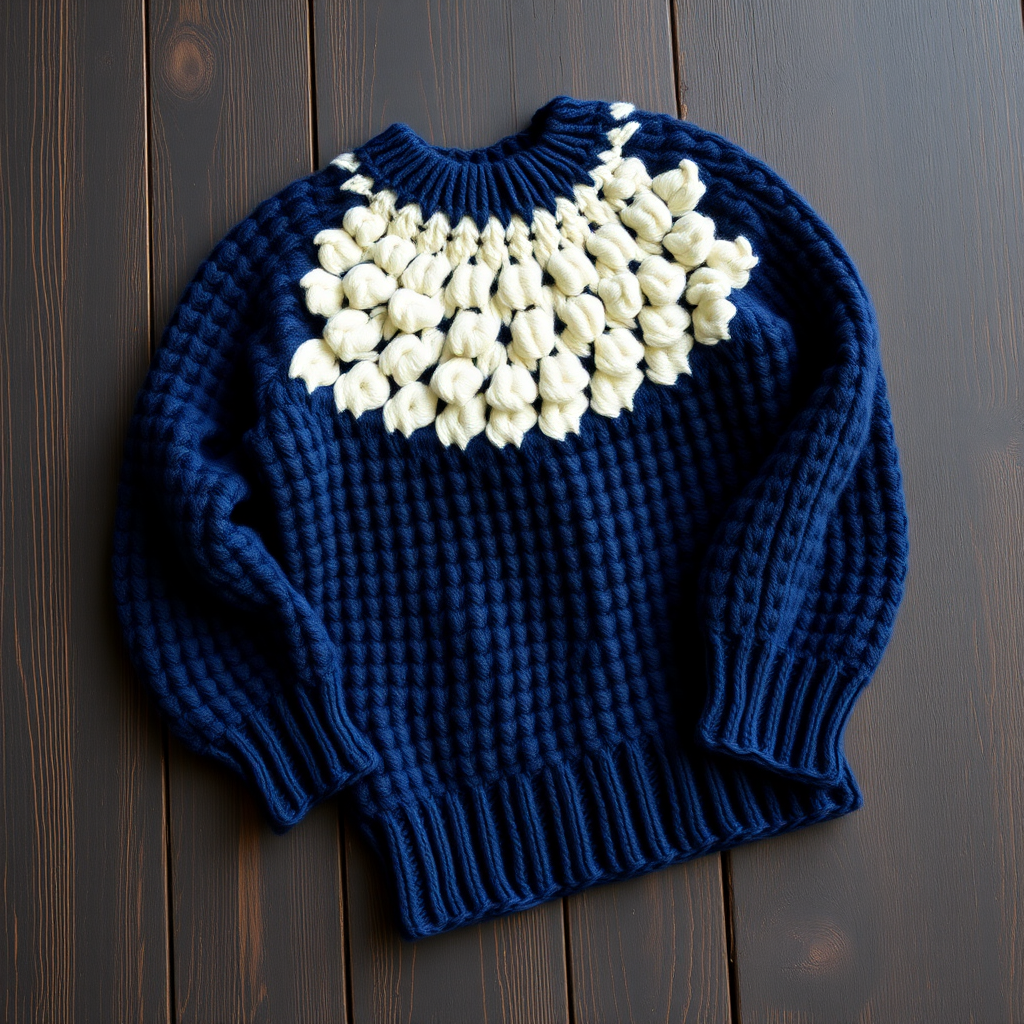
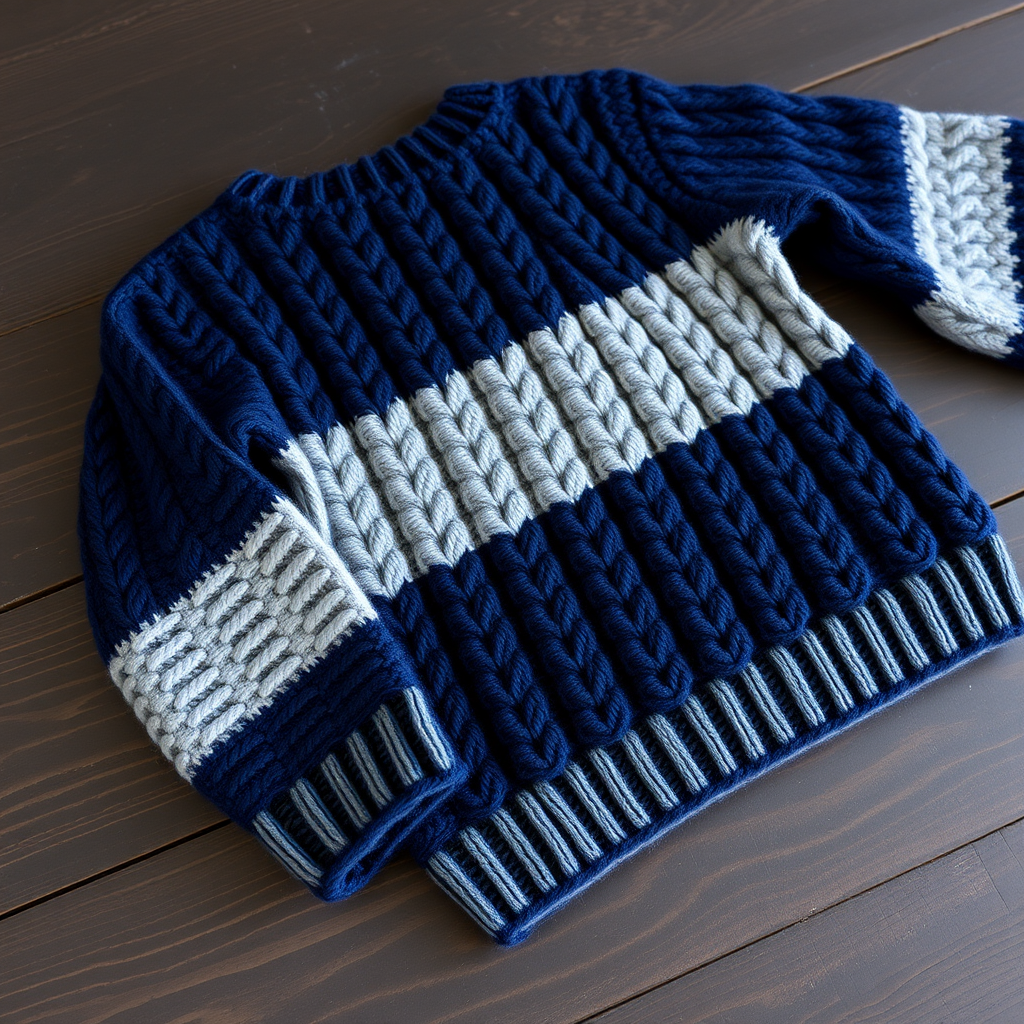
The Ember Dune Cocoon Cardigan Free Pattern – A Crocheted Woven Wrap with Sunset Ombre Stripes

The Ember Dune Cocoon Cardigan Free Pattern – A Crocheted Woven Wrap with Sunset Ombre Stripes
Wrap yourself in the warm, earthy glow of a desert sunset with this oversized cocoon cardigan. Featuring a unique herringbone double crochet texture and hand-woven fringe accents, this drapey, cozy layer is perfect for cool evenings and adds a touch of artisan charm to any outfit. The dense, woven fabric creates a beautiful drape that flatters any body type, while the broad ombre stripes of burnt orange, terracotta, and cream evoke the serene beauty of dusk settling over the dunes. This pattern is beginner-friendly and works up surprisingly quickly, making it an ideal weekend project for those seeking a statement piece with a handmade, boho soul.
Materials Needed
Before you begin, gather the following supplies to ensure a smooth and enjoyable crochet experience. All materials are readily available at most craft stores or online yarn retailers.
- Yarn: Worsted weight (Category 4) yarn in 3 shades:
- Color A (Burnt Orange) – approx. 400g
- Color B (Terracotta) – approx. 400g
- Color C (Cream) – approx. 400g
- Crochet Hook: 6.0 mm (J-10) crochet hook. A hook with a comfortable grip is recommended for extended stitching sessions.
- Other Tools: Yarn needle (for weaving in ends and seaming), scissors, stitch markers (optional, but helpful for marking sleeve seams), and a measuring tape.
Gauge
To achieve the correct size and drape, it is crucial to match the gauge. Work a swatch in the herringbone double crochet pattern to check your tension.
Gauge: 12 herringbone double crochet stitches x 8 rows = 4 inches (10 cm) in pattern.
If your gauge is too loose, try a smaller hook. If it's too tight, switch to a larger hook. Getting the gauge right ensures your cardigan fits as intended.
Step-by-Step Instructions
This cardigan is worked flat in one piece from the bottom up, then folded and seamed at the sleeves. The herringbone double crochet (HBDC) stitch creates a dense, woven fabric that drapes beautifully. Follow the instructions carefully, and you'll have a stunning, custom-made garment in no time.
Stitch Abbreviations
- ch = chain
- hbdc = herringbone double crochet (yarn over, insert hook into stitch, yarn over and pull through stitch and first loop on hook, yarn over and pull through two loops, yarn over and pull through remaining two loops)
- sc = single crochet
- sl st = slip stitch
Main Body (Worked Flat)
The body of the cardigan is a simple rectangle, worked in horizontal stripes. The herringbone stitch is worked in rows, and you'll change colors at the end of each stripe section. Take your time with the color changes to keep the edges clean.
Row 1: With color A, ch 121 (or any odd number to reach desired width, approx. 40 inches). HBDC in the 3rd ch from the hook and in each ch across. Turn. (120 HBDC)
Note: The first two chains count as your first HBDC. Ensure your foundation chain is not twisted before you begin.
Row 2: Ch 2 (counts as first HBDC), HBDC in each stitch across. Turn.
Tip: When working into the previous row, insert your hook under both loops of the stitch to create a uniform, dense fabric.
Rows 3-10: Repeat Row 2, continuing with color A. At the end of Row 10, fasten off color A.
You should have a solid block of burnt orange, measuring approximately 5 inches in height.
Row 11: Join color B in the first stitch. Ch 2, HBDC in each stitch across. Turn.
To join a new color, simply pull a loop of the new yarn through the first stitch and chain 2. Leave a tail of about 6 inches to weave in later.
Rows 12-20: Repeat Row 2 with color B. At the end of Row 20, fasten off color B.
This terracotta stripe will be the same height as the first, maintaining the balanced ombre effect.
Row 21: Join color C in the first stitch. Ch 2, HBDC in each stitch across. Turn.
Rows 22-30: Repeat Row 2 with color C. At the end of Row 30, fasten off color C.
The cream stripe adds a soft, light contrast in the center of the cardigan, mimicking the bright horizon of a sunset.
Row 31: Join color B again. Ch 2, HBDC in each stitch across. Turn.
Rows 32-40: Repeat Row 2 with color B. At the end of Row 40, fasten off color B.
You are now mirroring the color sequence, creating a symmetrical design.
Row 41: Join color A again. Ch 2, HBDC in each stitch across. Turn.
Rows 42-50: Repeat Row 2 with color A. At the end of Row 50, fasten off.
Your rectangle should now measure approximately 25 inches in length and 40 inches in width. This will form the body of the cardigan.
Sleeve Seams
Now we will transform the flat rectangle into a cocoon-shaped cardigan by creating the sleeve openings. This is a simple folding and seaming process.
- Fold the rectangle in half lengthwise, with the right sides together. The fold will be the top of the shoulders. Ensure the edges align neatly.
- Measure 10 inches down from the fold on each side and mark with a stitch marker or a contrasting piece of yarn. This marks the bottom of the armhole opening.
- Sew or crochet the side seams from the bottom edge up to the marks. Use a whip stitch with a yarn needle, or a slip stitch with your crochet hook, to join the sides. Leave the center section open for the armholes.
- Turn the cardigan right side out. The armholes should be wide and comfortable, and the body should drape loosely.
Fringe Accents
The fringe adds a playful, bohemian touch to the bottom edge. It's simple to make and uses all three colors for a cohesive look.
- Cut strands of yarn in colors A, B, and C, each 12 inches long. You will need enough strands to place fringe every 2-3 stitches along the bottom edge.
- For each fringe, take 3 strands (one of each color) and hold them together.
- Fold the strands in half to create a loop at the top.
- Insert your hook through the edge stitch at the bottom of the cardigan, from front to back.
- Pull the loop through the stitch using your hook.
- Pull the ends of the strands through the loop and tighten gently to secure the fringe.
- Repeat every 2-3 stitches along the entire bottom edge of the cardigan.
Finishing
To complete your cardigan, follow these final steps for a polished, professional look.
- Weave in all ends using a yarn needle. Be sure to secure the tails from your color changes and the ends from your seams.
- Block the cardigan lightly to even out the stitches and enhance the drape. To block, lay the cardigan flat on a towel, mist it with water, and gently shape it to the desired dimensions. Allow it to dry completely before wearing.
- Trim the fringe to ensure all strands are even in length, if desired.
Your Ember Dune Cocoon Cardigan is now complete! This versatile piece can be worn open over a simple tee and jeans for a casual look, or draped over a dress for a more polished ensemble. The warm, earthy tones and textured stitch make it a timeless addition to any handmade wardrobe. Enjoy the compliments and the cozy comfort of your new favorite layer!