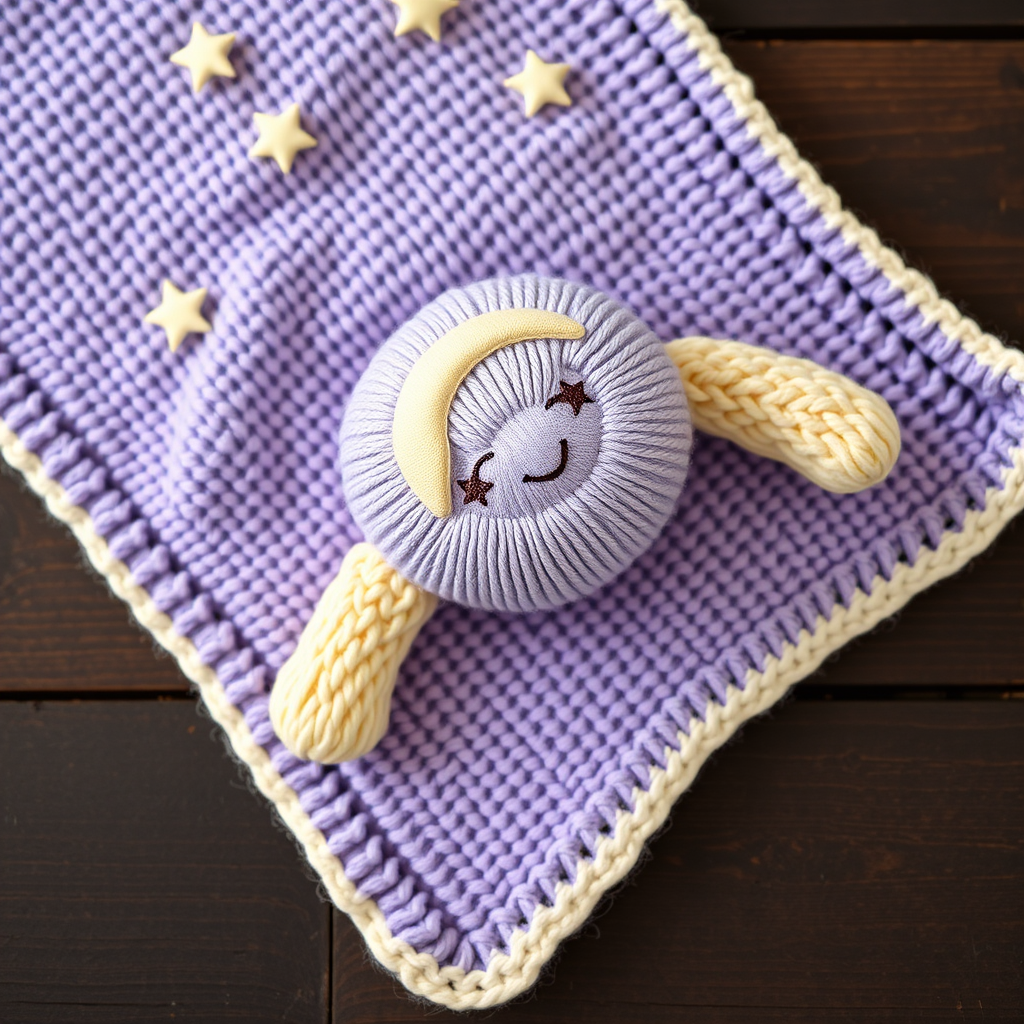
The Cloud Drift Preemie Blanket Free Pattern – A Knitted Bubbly Texture Wrap

The Cloud Drift Preemie Blanket: A Free Knitting Pattern for a Bubbly, Heirloom-Quality Wrap
There is nothing quite as tender as creating something by hand for a tiny new life. The Cloud Drift Preemie Blanket is designed to be that special project—a modern heirloom that wraps your littlest one in a gentle ripple of bobbles and delicate eyelets. This pattern is as soothing to knit as it is heavenly for a baby's sensitive skin. The unique, cloud-like texture is created with a simple bobble stitch and a subtle wave pattern, finished with a romantic scalloped picot edge. Whether you're knitting for a preemie, a new arrival, or as a cherished keepsake, this pattern is a beautiful way to express love, stitch by stitch.
This free knitting pattern is perfect for intermediate beginners who are comfortable with basic knit and purl stitches and are ready to try something a little more textured. The result is a plush, drapey, and reversible blanket that feels like a soft cloud in your hands.
Materials Needed
Before you begin, gather your supplies. This pattern uses simple, readily available materials to create a luxurious finish.
- Yarn: DK weight (light worsted) superwash merino or a soft cotton blend in a soft ivory or buttery yellow. You will need approximately 400-450 yards. The superwash merino offers a beautiful drape and is machine-washable, while a cotton blend provides a cooler, breathable option for warmer climates.
- Needle: US 6 (4.0 mm) 24-inch circular knitting needle. The circular needle is used to accommodate the number of stitches comfortably, but you will be working flat, back and forth.
- Other: A tapestry needle for weaving in ends, stitch markers (optional, but helpful for keeping track of pattern repeats), and blocking pins.
Gauge: 20 stitches and 28 rows = 4 inches in stockinette stitch (after blocking). Getting the correct gauge is important for achieving the finished size, so be sure to knit a swatch first.
Step-by-Step Instructions
This pattern is worked flat from the bottom up. The border is knit first, followed by the main textured body, and finished with a garter stitch border and a delicate picot bind-off. Follow these instructions carefully, and you'll have a beautiful blanket in no time.
Finished Size
Approximately 20 x 24 inches (50 x 60 cm) – perfect for a preemie or as a small security blanket.
Abbreviations
- CO: Cast on
- K: Knit
- P: Purl
- K2tog: Knit two stitches together (decrease)
- YO: Yarn over (increase, creates an eyelet hole)
- MB: Make bobble (K1, P1, K1, P1, K1 into the same stitch, then pass the 2nd, 3rd, 4th, and 5th stitches over the 1st stitch – one bobble made)
- Rep: Repeat
- St(s): Stitch(es)
- RS: Right side
- WS: Wrong side
Pattern Notes
- The blanket is worked flat back and forth on a circular needle to accommodate the number of stitches.
- The pattern creates a lovely reversible texture, with the bobbles appearing on the right side and a subtle nubby texture on the wrong side.
- The first and last 5 stitches of every row are edge stitches, worked in garter stitch (knit every row) to prevent curling and create a clean, finished border.
Getting Started: The Border
We begin with a simple garter stitch border to create a solid foundation for the textured body.
- CO 101 sts.
- Row 1 (RS): K all sts.
- Row 2 (WS): K all sts.
- Row 3 (RS): K all sts.
- Row 4 (WS): K all sts.
You have now completed a 4-row garter stitch border. This will form the bottom edge of the blanket.
The Main Body: The Cloud Ripple Pattern
Now we begin the main textured pattern. The pattern repeat is a multiple of 10 stitches, plus 10 edge stitches (5 on each side). The combination of bobbles, yarn overs, and decreases creates the beautiful "cloud ripple" effect.
- Row 5 (RS): K5 (edge), *K2, MB, K2, K2tog, YO, K1, YO, K2tog, K2, MB, K2, rep from * to last 5 sts, K5 (edge).
- Row 6 (WS): K5 (edge), P to last 5 sts, K5 (edge).
- Row 7 (RS): K5 (edge), *K2, K1, K2, K2tog, YO, K1, YO, K2tog, K2, K1, K2, rep from * to last 5 sts, K5 (edge). (This row is all knit stitches except for the YOs and K2togs, which creates the eyelet pattern and lets the bobbles from the previous row pop.)
- Row 8 (WS): K5 (edge), P to last 5 sts, K5 (edge).
- Row 9 (RS): K5 (edge), *K2, MB, K2, K2tog, YO, K1, YO, K2tog, K2, MB, K2, rep from * to last 5 sts, K5 (edge).
- Row 10 (WS): K5 (edge), P to last 5 sts, K5 (edge).
- Row 11 (RS): K5 (edge), *K2, K1, K2, K2tog, YO, K1, YO, K2tog, K2, K1, K2, rep from * to last 5 sts, K5 (edge).
- Row 12 (WS): K5 (edge), P to last 5 sts, K5 (edge).
Repeat Rows 5-12 until the blanket measures approximately 22 inches from the cast-on edge, ending with a WS row (Row 6, 8, 10, or 12). This will create the beautiful, rhythmic cloud pattern across the body of the blanket.
Finishing Border
Once the main body reaches the desired length, we add a simple garter stitch border to match the bottom.
- Knit 4 rows of garter stitch (knit all stitches) across all stitches. This will create a solid, non-curling edge at the top of the blanket.
The Scalloped Picot Bind-Off
This delicate bind-off creates the romantic, scalloped edge that gives the blanket its heirloom feel. It's easier than it looks!
- Bind off loosely as follows: K2, *slip the first stitch back to the left needle, CO 2 sts using the knitted cast-on, bind off 4 sts, rep from * to end.
Detailed explanation of the picot bind-off:
- Knit the first 2 stitches.
- Slip the first stitch (the one on the right needle that was knit first) back over the second stitch and off the needle. You now have 1 stitch on the right needle.
- Slip this remaining stitch back to the left needle.
- Using the knitted cast-on method, cast on 2 new stitches onto the left needle. (To do this: knit into the first stitch on the left needle, but don't drop the stitch off; place the new loop back onto the left needle. Repeat once more.)
- Now, bind off 4 stitches: Knit the first stitch (or slip it), then knit the next stitch, and pass the first stitch over the second. Repeat this "pass over" until you have bound off 4 stitches total.
- Repeat from * across the row. This creates a series of small, decorative loops that form the scalloped edge.
Finishing Touches
- Weave in all ends with a tapestry needle, being careful to weave them in on the wrong side of the blanket so they are invisible.
- Block gently to size. Soak the blanket in lukewarm water with a gentle wool wash, then gently squeeze out excess water (do not wring). Lay flat on a towel, and roll up to remove more water. Then, lay flat on a blocking mat, pinning out the picot edge to accentuate the scallops. Allow to dry completely.
Care Instructions
To keep your Cloud Drift Blanket beautiful for years to come, hand wash in lukewarm water with a gentle wool wash. Lay flat to dry. This blanket is perfect for a preemie, a new baby, or as a cherished keepsake that will be passed down through generations.
Happy knitting! We hope you enjoy creating this special piece as much as we enjoyed designing it.