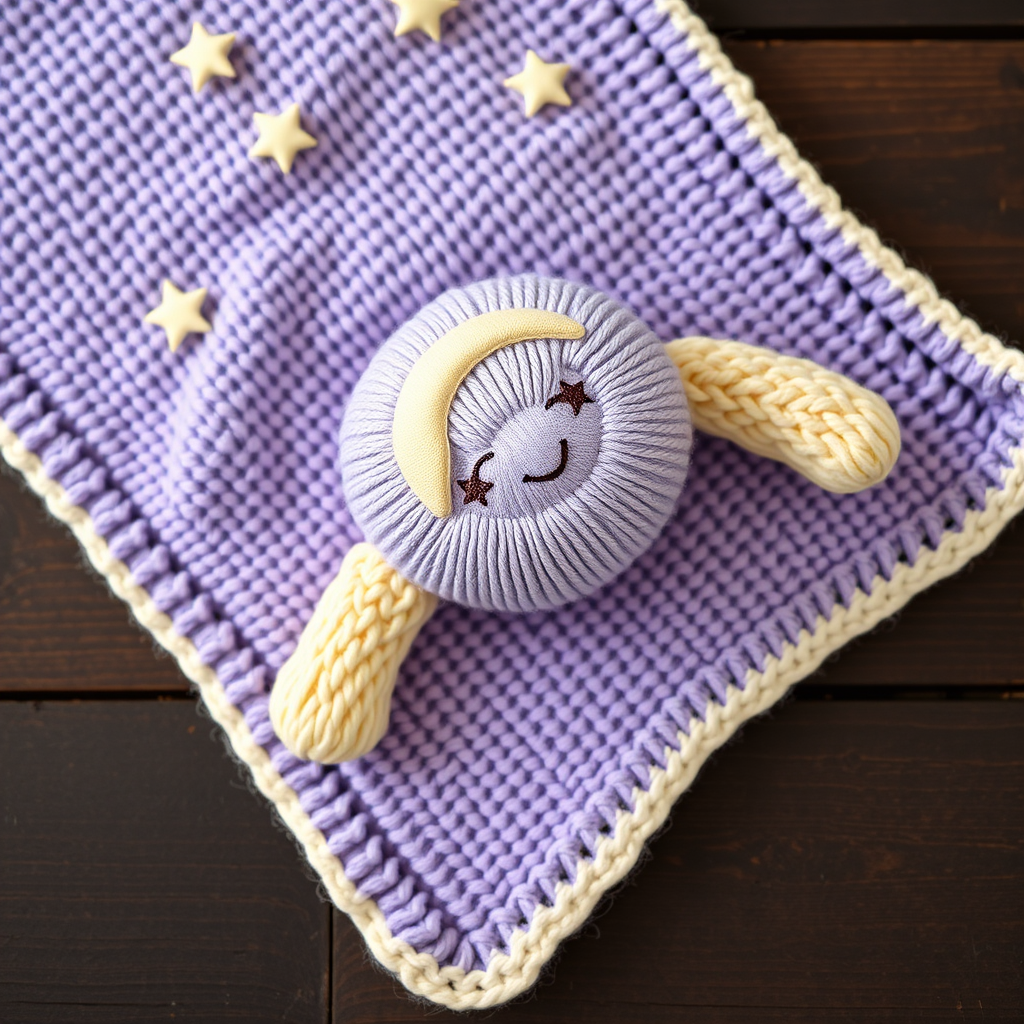
Poppys Meadow Baby Blanket Free Knitting Pattern – Seeded Stitch Garden

Poppy's Meadow Baby Blanket: A Seeded Stitch Garden Heirloom
Imagine wrapping your little one in a field of hand-knitted poppies, where every stitch tells a story of love and patience. The Poppy's Meadow Baby Blanket is more than just a cozy accessory—it's a timeless heirloom piece designed to grow with your child from stroller rides to storytime snuggles. This textured blanket features a dense seeded stitch that mimics scattered petals, with delicate sage green leaves and cream poppy centers woven throughout. The result is a gentle, garden-like pattern that brings warmth and natural beauty to any nursery.
Whether you're a seasoned knitter or a confident beginner ready for a rewarding challenge, this pattern offers a satisfying project with stunning results. The worsted-weight cotton yarn creates a soft, breathable fabric that's perfect for sensitive baby skin, while the scalloped edges add a touch of vintage charm. Let's dive into creating this heirloom masterpiece together.
Materials Needed
Before you begin, gather the following supplies to ensure a smooth knitting experience:
- Yarn: Worsted weight cotton or cotton-blend yarn in three colors:
- Deep Crimson (MC – Main Color): approximately 1200 yards
- Soft Sage Green (CC1 – Contrast Color 1): approximately 300 yards
- Cream (CC2 – Contrast Color 2): approximately 200 yards
- Needles: US 7 (4.5 mm) circular needle, 32 inches or longer (or straight needles if preferred)
- Stitch markers (optional, for tracking motif placement)
- Bobbins (for intarsia colorwork, or you can use small balls of yarn)
- Tapestry needle for weaving in ends
- Blocking mats and pins for finishing
Gauge: 20 stitches and 28 rows = 4 inches in Stockinette stitch (blocked). Always knit a gauge swatch first to ensure your blanket matches the intended dimensions of approximately 32 inches by 36 inches.
Step-by-Step Instructions
Blanket Body (Worked Flat)
Step 1: Cast On and Border
With your Main Color (MC), cast on 160 stitches using a long-tail cast-on method. Work 6 rows in garter stitch (knit every row) to create a stable, non-curling border for the bottom of your blanket.
Step 2: Establish the Seeded Stitch Pattern
Now you'll begin the seeded stitch pattern that forms the beautiful textured background. This pattern creates a bumpy, seed-like texture that mimics scattered poppy petals.
Row 1 (Right Side): Knit 5 (garter border), *knit 1, purl 1, repeat from * until 5 stitches remain, knit 5.
Row 2 (Wrong Side): Knit 5, *purl 1, knit 1, repeat from * until 5 stitches remain, knit 5.
Row 3: Knit 5, *purl 1, knit 1, repeat from * until 5 stitches remain, knit 5.
Row 4: Knit 5, *knit 1, purl 1, repeat from * until 5 stitches remain, knit 5.
Repeat Rows 1–4 until your piece measures 10 inches from the cast-on edge, ending with a wrong-side row. The garter stitch borders on each side will prevent curling and create a clean frame for your garden.
Poppy Motif Insert (Intarsia Colorwork)
Now comes the magical part—adding the poppy motifs! Each poppy is a 20-stitch wide, 24-row tall chart. You'll use CC1 (sage green) for leaves and CC2 (cream) for poppy centers, with MC (crimson) as the background.
Step 3: Plan Your Motif Placement
You'll place 5 poppies across the width of the blanket. With 160 stitches total (minus 10 border stitches = 150 working stitches), each poppy takes 20 stitches, and you'll space them 20 stitches apart. Here's the math: 5 poppies × 20 stitches = 100 stitches, plus 4 spaces × 20 stitches = 80 stitches, totaling 180 stitches. Since we have 150 working stitches, adjust the spacing to 10 stitches between each poppy instead: 5 × 20 = 100, plus 4 × 10 = 40, totaling 140 stitches, leaving 10 extra stitches to distribute evenly (add 2 stitches to each end section).
Step 4: Working the Motifs
On right-side rows, knit the motif stitches in CC1 or CC2 according to your chart, purling on wrong-side rows. Carry unused yarn loosely across the back of the work, or use separate bobbins for each color section to prevent tangling. For intarsia, twist the yarns together at color changes to avoid holes.
Step 5: Complete the First Row of Poppies
Work the poppy motifs over 24 rows, following your chart carefully. Once complete, continue in the seeded stitch pattern for another 10 inches, ending with a wrong-side row.
Step 6: Add the Second Row of Poppies
Now add a second row of poppies, offset by half a motif width (10 stitches). This staggered placement creates a natural, organic garden feel. Work these motifs over 24 rows, then continue in seeded stitch until the piece measures 30 inches from the cast-on edge, ending with a wrong-side row.
Scalloped Edge (Worked After Binding Off)
Step 7: Bind Off
Bind off all stitches loosely to maintain the stretchy edge. Cut your yarn, leaving a long tail for seaming.
Step 8: Pick Up Stitches for the Scallop Edge
With the right side facing, pick up and knit 1 stitch in every bound-off stitch along the top edge. This gives you approximately 160 stitches to work with.
Step 9: Work the Scallop Pattern
Row 1 (Right Side): *Knit 2 together, yarn over, knit 1, yarn over, knit 2 together, repeat from * to end.
Row 2 (Wrong Side): Purl all stitches.
Row 3: *Knit 2 together, knit 3, knit 2 together, repeat from * to end.
Row 4: Purl all stitches.
Row 5: *Knit 2 together, knit 1, knit 2 together, repeat from * to end.
Row 6: Purl all stitches.
Row 7: *Knit 2 together, repeat from * to end.
Cut your yarn, leaving a generous tail. Thread the tail through a tapestry needle, then pass it through all remaining stitches on your needle. Pull tight to gather the scallops into place, and secure firmly.
Step 10: Repeat for the Bottom Edge
Repeat Steps 8–9 for the bottom edge of the blanket. This creates a beautiful, symmetrical scalloped frame on both ends.
Finishing Touches
Step 11: Weave in All Ends
Using your tapestry needle, carefully weave in all loose yarn ends on the wrong side of the blanket. Take your time to ensure they're secure and invisible from the right side.
Step 12: Block to Perfection
Blocking is essential for this blanket to achieve its full beauty. Soak the blanket in lukewarm water with a gentle wool wash for 20 minutes. Gently squeeze out excess water (never wring!), then lay flat on blocking mats. Pin the blanket to its final dimensions of approximately 32 inches by 36 inches, paying special attention to pinning each scallop into its graceful curve. Allow to dry completely before removing pins.
Tips for Success
- Keep your tension consistent throughout the seeded stitch pattern for an even texture.
- Use stitch markers to mark the beginning of each poppy motif, making it easier to track your place.
- Wind bobbins for each color section to prevent yarn tangling during intarsia work.
- Count your stitches regularly to catch any mistakes early.
- Block generously—this is where the magic happens, and your scallops will thank you!
Your Poppy's Meadow Baby Blanket is now complete—a stunning, heirloom-quality piece that will be treasured for generations. The combination of seeded stitch texture, delicate poppy motifs, and graceful scalloped edges creates a truly special gift for a new baby or a beautiful addition to your own nursery. As you wrap your little one in this handcrafted garden, you'll know that every stitch was made with love.
Happy knitting, and may your meadow bloom with joy!