Sunlit Stroll Tote Free Crochet Pattern

Carry a Little Sunshine: The Sunlit Stroll Tote Free Crochet Pattern
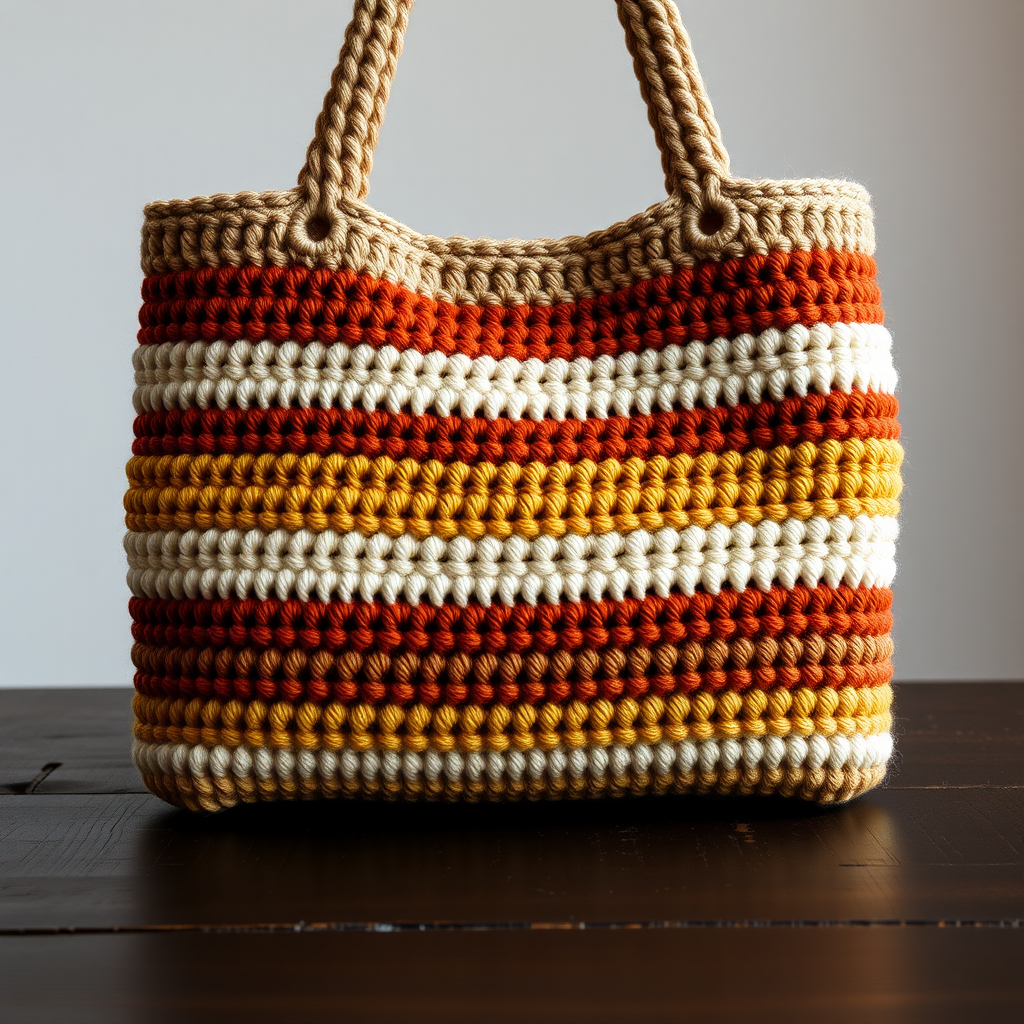
There’s something magical about a handmade bag—it’s not just an accessory, but a little piece of art you can carry with you. The Sunlit Stroll Tote is designed to bring that feeling to life. With its warm golden yellow and soft cream stripes, this textured crochet bag captures the essence of a sun-drenched afternoon. The unique alternating single and double crochet stitch pattern creates a subtle waffle-like texture that’s as delightful to touch as it is to look at. Whether you’re heading to the farmer’s market, the beach, or just around town, this tote is the perfect companion—practical, stylish, and completely beginner-friendly.
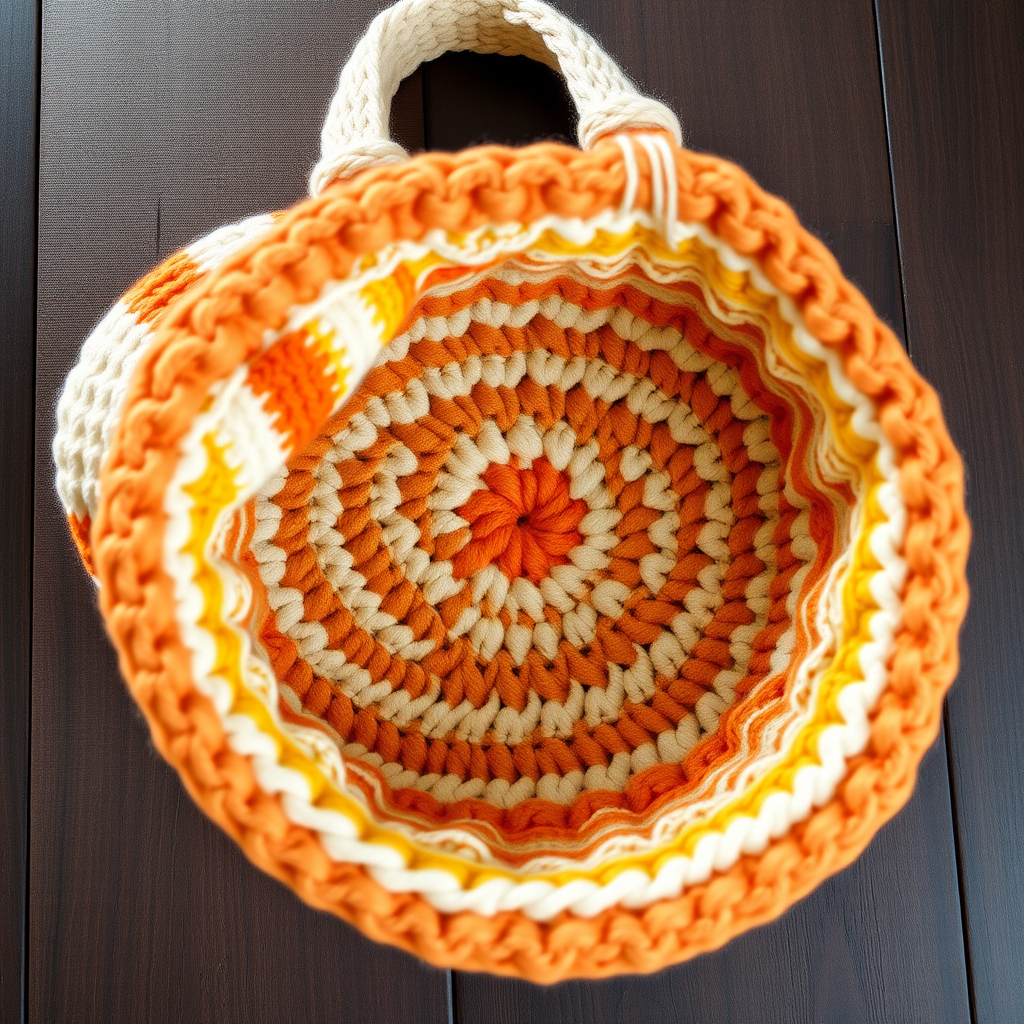
This free pattern is worked in the round, starting with a flat circular base that blossoms into a roomy cylindrical body. The integrated handles are cleverly built into the top edge, so there’s no complicated sewing or attaching required. Grab your hook, pick your favorite summer colors, and let’s get started on a project that’s sure to become your go-to bag for the season.
Materials Needed
Before you begin, gather these simple supplies. The beauty of this pattern is that it uses just a few basic materials, making it an accessible project for any crocheter.
- Yarn: Worsted weight cotton yarn in two colors:
- Main Color (MC): Warm golden yellow (approx. 200 yards)
- Contrast Color (CC): Soft cream (approx. 150 yards)
- Hook: G/6 (4.0 mm) crochet hook
- Other: Yarn needle for weaving in ends, scissors, stitch marker (optional but helpful)
Gauge: 7 single crochet (sc) and 9 rows = 2 inches in the round. Gauge is important for achieving the correct finished size, so take a moment to check your tension before starting.
Step-by-Step Instructions
This pattern is broken down into two main sections: the flat circular base and the textured body with handles. Follow along carefully, and you’ll have a beautiful tote in no time.
Part 1: The Base (Worked in Continuous Rounds)
The base of the bag is a simple circle, worked entirely in single crochet with increases in each round. Note: Do not join at the end of these rounds; work in a spiral and use a stitch marker to keep track of your starting point.
Round 1: With MC, make a magic ring. Work 6 sc into the ring. (6 sts)
Round 2: 2 sc in each st around. (12 sts)
Round 3: *Sc in next st, 2 sc in next st* repeat around. (18 sts)
Round 4: *Sc in next 2 sts, 2 sc in next st* repeat around. (24 sts)
Round 5: *Sc in next 3 sts, 2 sc in next st* repeat around. (30 sts)
Round 6: *Sc in next 4 sts, 2 sc in next st* repeat around. (36 sts)
Round 7: *Sc in next 5 sts, 2 sc in next st* repeat around. (42 sts)
Round 8: *Sc in next 6 sts, 2 sc in next st* repeat around. (48 sts)
Round 9: *Sc in next 7 sts, 2 sc in next st* repeat around. (54 sts)
Round 10: *Sc in next 8 sts, 2 sc in next st* repeat around. (60 sts)
Round 11: *Sc in next 9 sts, 2 sc in next st* repeat around. (66 sts)
Round 12: *Sc in next 10 sts, 2 sc in next st* repeat around. (72 sts)
Your base should now be a flat circle measuring about 6.5 inches in diameter. If it’s curling up, your tension might be too tight; if it’s ruffling, it might be too loose.
Part 2: The Textured Body (Worked in Joined Rounds)
Now we’ll start the beautiful waffle-like texture. From this point on, you will join each round with a slip stitch to the first stitch, and the chain 1 does not count as a stitch.
Round 13: With MC, ch 1. *Sc in next st, dc in next st* repeat around. Join with sl st to first sc. (72 sts)
Round 14: Ch 1. *Dc in next st, sc in next st* repeat around. Join with sl st to first dc. (72 sts)
Tip: In Round 14, you are offsetting the pattern—placing a double crochet where you had a single crochet in the previous round. This creates the textured, woven look.
Rounds 15-16: Repeat Rounds 13-14. (This completes the first MC stripe.)
Round 17: With CC, repeat Round 13.
Round 18: With CC, repeat Round 14.
Rounds 19-20: With MC, repeat Rounds 13-14.
Rounds 21-22: With CC, repeat Rounds 13-14.
Rounds 23-24: With MC, repeat Rounds 13-14.
Rounds 25-26: With CC, repeat Rounds 13-14.
Rounds 27-28: With MC, repeat Rounds 13-14.
Rounds 29-30: With CC, repeat Rounds 13-14.
Rounds 31-32: With MC, repeat Rounds 13-14.
Rounds 33-34: With CC, repeat Rounds 13-14.
Rounds 35-36: With MC, repeat Rounds 13-14.
When changing colors, simply drop the old color and pick up the new one at the start of the round. You can carry the yarn up the inside of the bag, or cut and weave in ends at the end—whatever you prefer.
Part 3: Finishing the Top Edge
Now we’ll add a clean, simple border to finish the top of the bag body.
Round 37: With MC, ch 1. Sc in each st around. Join with sl st to first sc. (72 sts)
Round 38: Ch 1. Sc in each st around. Join with sl st to first sc. (72 sts)
Part 4: Creating the Handles
This is where the bag comes together! We’ll create two openings for your handles by skipping stitches and making chains.
Round 39: Ch 1. Sc in next 18 sts, ch 20, skip 18 sts, sc in next 18 sts, ch 20, skip 18 sts. Join with sl st to first sc. (72 sts + 40 ch)
Explanation: You are creating two handle openings. The first 18 sc form the front of the bag, then you chain 20 and skip 18 stitches to create the first handle opening. Then you sc in the next 18 stitches (the back of the bag), and chain 20 and skip 18 stitches for the second handle opening.
Round 40: Ch 1. Sc in each st and each ch around. Join with sl st to first sc. (112 sts)
This round works single crochets into the chain stitches as well, creating a solid, sturdy handle.
Round 41: Ch 1. Sc in each st around. Join with sl st to first sc. (112 sts)
Finish off and weave in all ends with your yarn needle. Give your tote a gentle block if desired, and it’s ready for its first stroll in the sun!
Your Sunlit Stroll Tote is now complete. With its cheerful stripes and satisfying texture, this bag is sure to become a favorite. Happy crocheting!