Sunlit Orchard Market Tote Free Pattern – Crochet a Woven Citrus Stripe Bag
Sunlit Orchard Market Tote Free Pattern – Crochet a Woven Citrus Stripe Bag
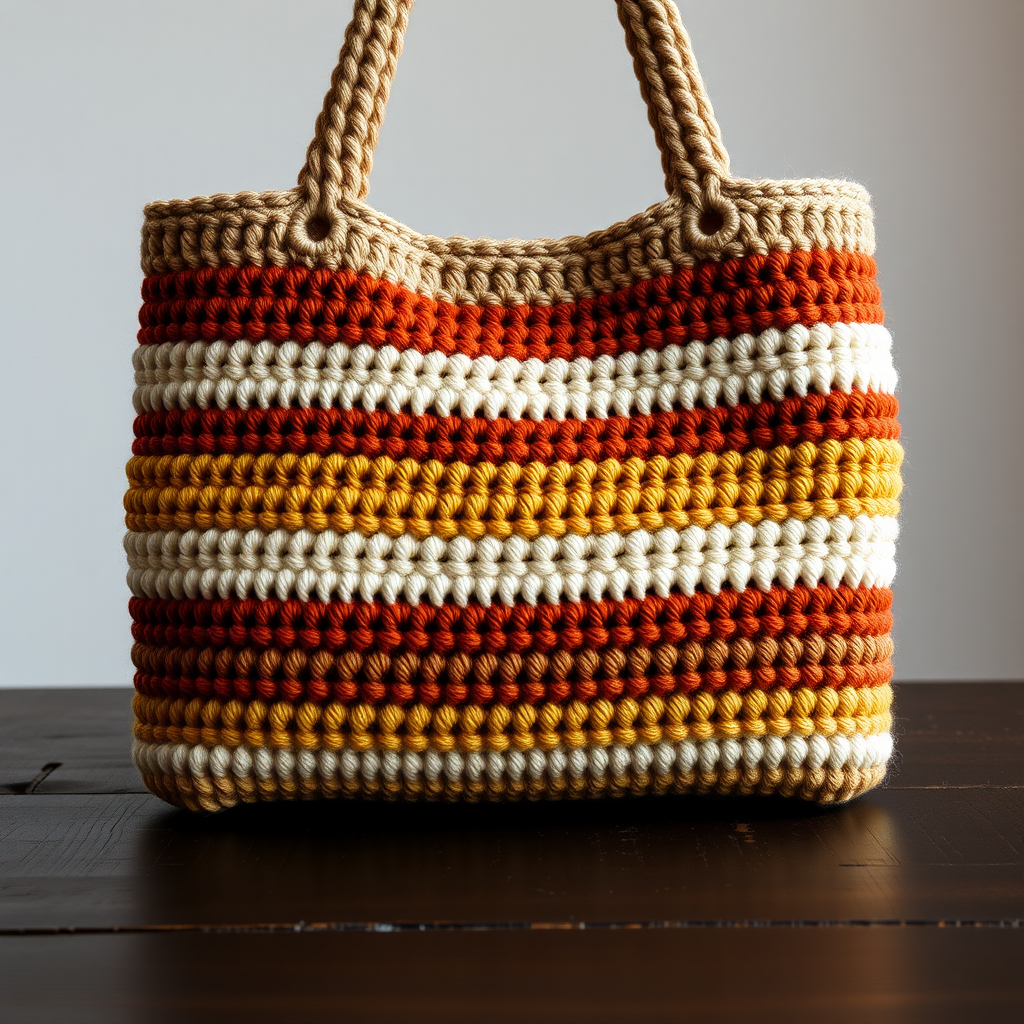
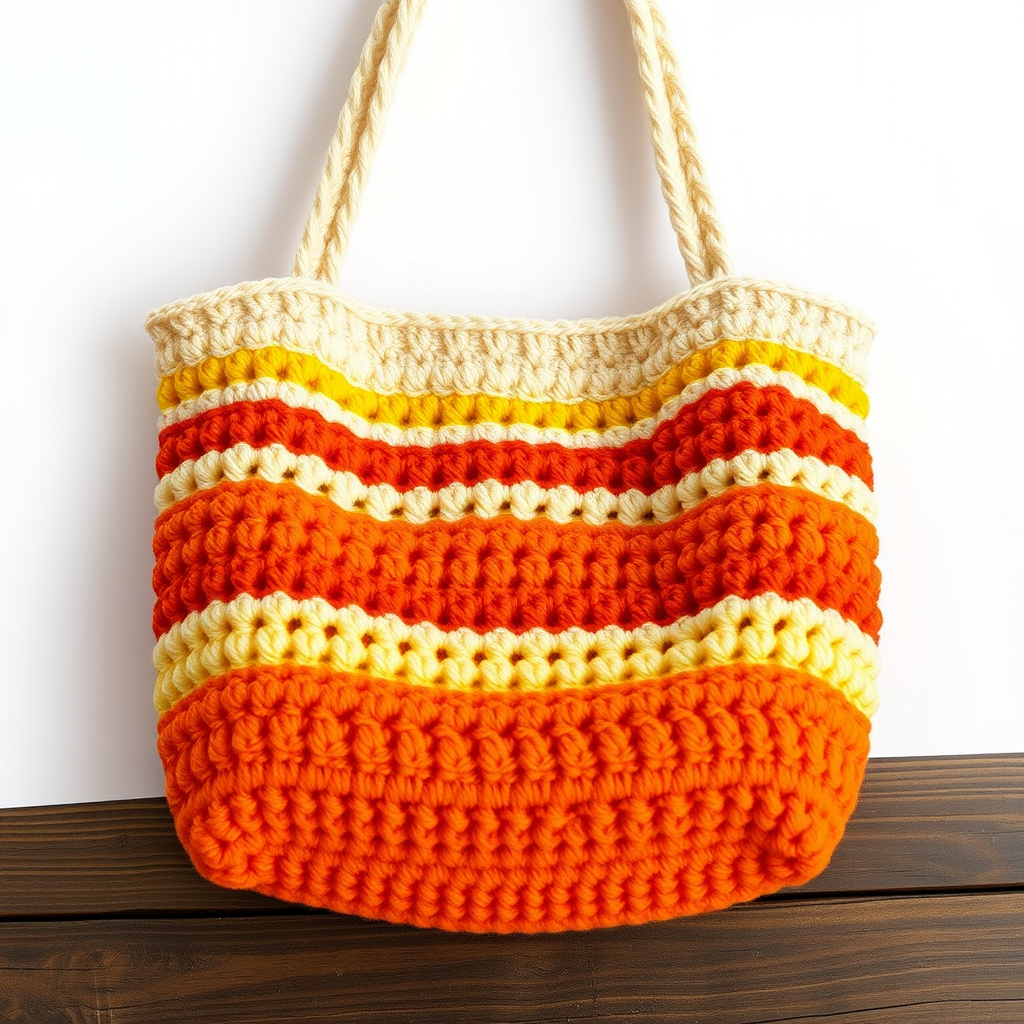
Carry a slice of summer with this vibrant crochet market tote, featuring a juicy orange and cream waffle stitch body and sturdy woven straps. It's the perfect handmade companion for farmers' markets, beach days, or everyday errands. This beginner-friendly pattern uses simple stitches and color changes to create a stunning, textured bag that's as functional as it is beautiful.
Whether you're a seasoned crocheter or just starting your yarn journey, this pattern is designed to be approachable and rewarding. The waffle stitch creates a thick, sturdy fabric that's perfect for carrying groceries, books, or beach essentials. The bright citrus colors will bring a smile to your face every time you use it!
Materials Needed
Before you begin, gather the following supplies:
- Yarn: Worsted weight cotton yarn in:
- Color A: Orange (approx. 120g)
- Color B: Cream (approx. 100g)
- Color C: Lemon Yellow (approx. 80g)
- Hook: 5.0 mm crochet hook (US H-8)
- Notions: Stitch markers, yarn needle, scissors
Gauge: 14 dc x 8 rows = 4 x 4 inches in waffle stitch (after blocking). Gauge is important for achieving the correct bag size, so be sure to check your tension before starting.
Step-by-Step Instructions
Important Notes Before You Begin
- Worked in continuous rounds unless stated otherwise.
- Ch 2 at the beginning of a round does not count as a dc.
- Use stitch markers to keep track of the beginning of each round.
- When changing colors, work the last yarn over of the final stitch of the old color with the new color to create a seamless transition.
Part 1: Creating the Base
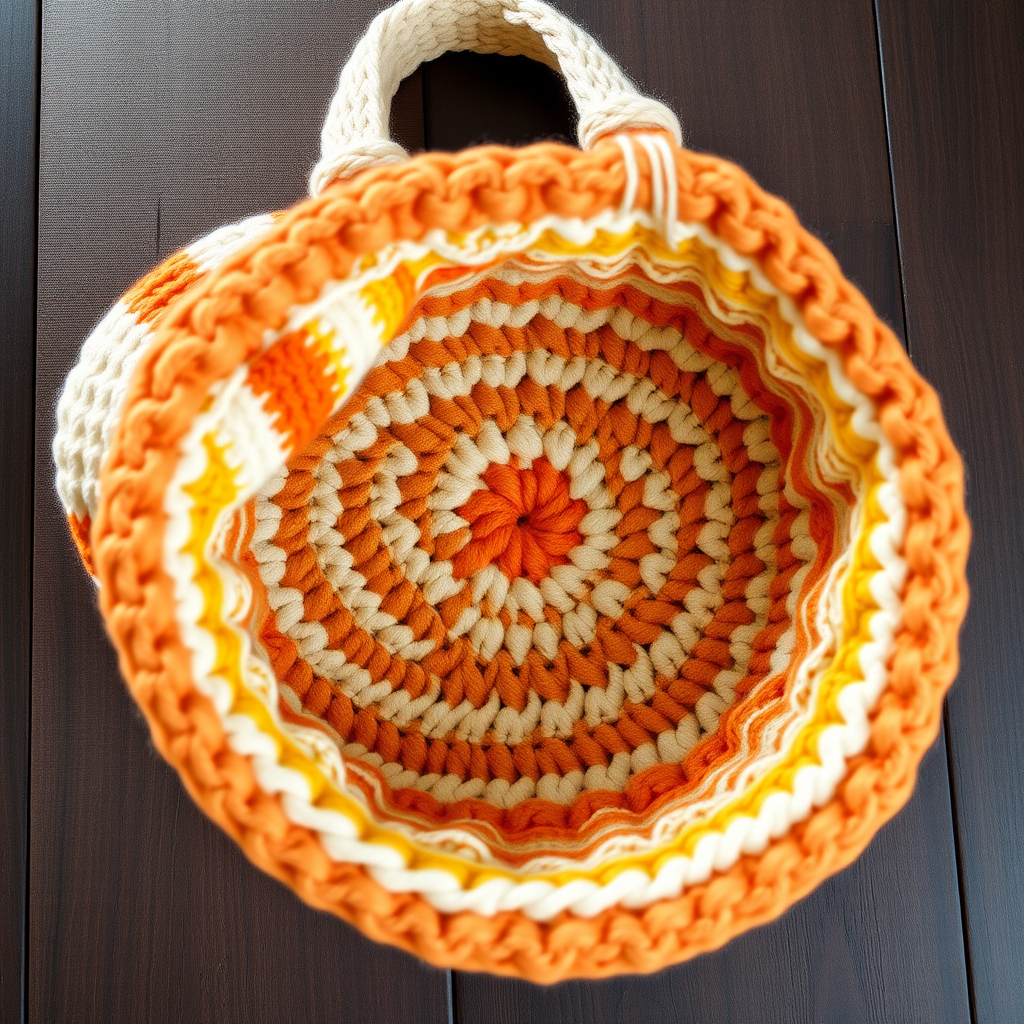
The base of the bag is worked in a flat circle using double crochet increases. This creates a sturdy, roomy bottom for your tote.
Round 1: With Color A, make a magic ring. Ch 2, work 10 dc into the ring. Pull the ring closed tightly and sl st to join. (10 dc)
Round 2: Ch 2, 2 dc in each dc around, sl st to join. (20 dc)
Round 3: Ch 2, *2 dc in next dc, 1 dc in next dc*, repeat from * to * around, sl st to join. (30 dc)
Round 4: Ch 2, *2 dc in next dc, 1 dc in next 2 dc*, repeat from * to * around, sl st to join. (40 dc)
Round 5: Ch 2, *2 dc in next dc, 1 dc in next 3 dc*, repeat from * to * around, sl st to join. (50 dc)
Round 6: Ch 2, *2 dc in next dc, 1 dc in next 4 dc*, repeat from * to * around, sl st to join. (60 dc)
Round 7: Ch 2, *2 dc in next dc, 1 dc in next 5 dc*, repeat from * to * around, sl st to join. (70 dc)
Round 8: Ch 2, *2 dc in next dc, 1 dc in next 6 dc*, repeat from * to * around, sl st to join. (80 dc)
Your base should now be a flat circle approximately 7-8 inches in diameter. If it's curling, your tension may be too tight; if it's ruffling, your tension may be too loose.
Part 2: Working the Waffle Stitch Body
The waffle stitch creates the beautiful textured pattern of the bag. It's worked by alternating front post double crochet (fpdc) and regular double crochet (dc) stitches. The fpdc creates the raised "bumps" while the dc creates the recessed "valleys."
Round 9: Ch 2, *fpdc around next dc, dc in next dc*, repeat from * to * around, sl st to join. (80 sts)
Round 10: Ch 2, *dc in next dc, fpdc around next dc*, repeat from * to * around, sl st to join. This offsets the pattern to create the waffle texture.
Rounds 11-12: Repeat Round 9.
Round 13: Change to Color B (Cream). Repeat Round 9.
Round 14: Repeat Round 10.
Rounds 15-16: Repeat Round 9.
Round 17: Change to Color C (Lemon Yellow). Repeat Round 9.
Round 18: Repeat Round 10.
Rounds 19-20: Repeat Round 9.
Round 21: Change to Color A (Orange). Repeat Round 9.
Round 22: Repeat Round 10.
Rounds 23-24: Repeat Round 9.
Round 25: Change to Color B (Cream). Repeat Round 9.
Round 26: Repeat Round 10.
Rounds 27-28: Repeat Round 9.
Round 29: Change to Color C (Lemon Yellow). Repeat Round 9.
Round 30: Repeat Round 10.
Rounds 31-32: Repeat Round 9.
Round 33: Change to Color A (Orange). Repeat Round 9.
Round 34: Repeat Round 10.
Rounds 35-36: Repeat Round 9.
Round 37: Change to Color B (Cream). Repeat Round 9.
Round 38: Repeat Round 10.
Rounds 39-40: Repeat Round 9.
At this point, your bag body should measure approximately 10-11 inches tall. The waffle stitch pattern should be clearly visible with alternating raised and recessed sections.
Part 3: Creating the Strap Openings
Now we'll create openings for the straps. This is where the bag will have gaps in the stitching to accommodate the handles.
Round 41: Ch 2, work 20 dc in waffle pattern (fpdc/dc as established), ch 20, skip 20 sts, work 20 dc in waffle pattern, ch 20, skip 20 sts, sl st to join. (80 sts + 40 ch)
Round 42: Ch 2, work waffle stitch over the 20 dc sts, work 20 dc into the ch space, repeat for the other side, sl st to join. This closes the openings and creates solid fabric again.
Round 43: Repeat Round 9 (waffle stitch) around all sts to reinforce the top edge.
Round 44: Ch 1, sc in each st around, sl st to join. Fasten off and weave in all ends.
Part 4: Making the Straps (Make 2)
The straps are simple, sturdy strips of single crochet that will be attached to the bag.
Row 1: With Color A (Orange), ch 8, sc in 2nd ch from hook and in each ch across. (7 sc)
Row 2-60: Ch 1, turn, sc in each sc across. (7 sc)
Continue until the strap measures approximately 18-20 inches long, or your desired strap length. Fasten off, leaving a long tail (at least 12 inches) for sewing.
Repeat to make a second strap.
Part 5: Attaching the Straps
Position each strap on the inside of the bag at the strap openings. The straps should be centered over the openings, with the ends overlapping the fabric by about 1 inch on each side.
Using the long tail and a yarn needle, whip stitch the straps securely to the inside of the bag. Sew through both the strap and the bag fabric, making sure to catch the stitches firmly. Go over each end twice to ensure durability—you don't want your straps pulling loose when the bag is full!
Part 6: Finishing Touches
Weave in all remaining ends using a yarn needle. Be sure to weave them in securely on the inside of the bag so they don't show on the outside.
Block the bag to shape: wet the bag thoroughly, gently squeeze out excess water (don't wring!), and lay it flat to dry, shaping it into a rectangular tote form. You can stuff it with towels or use blocking mats to help it hold its shape while drying.
Once dry, your Sunlit Orchard Market Tote is ready to use! Fill it with fresh produce, beach essentials, or your latest library haul—this bag is as practical as it is pretty.
Tips for Success
- Keep your tension consistent: The waffle stitch is very forgiving, but consistent tension will give you the neatest results.
- Use stitch markers: Mark the first stitch of each round to avoid losing your place, especially when working in continuous rounds.
- Count your stitches: Periodically count your stitches to ensure you haven't accidentally added or dropped any.
- Blocking makes a difference: Don't skip the blocking step—it helps the waffle stitch open up and gives the bag a professional, finished look.
This pattern is perfect for using up cotton yarn scraps in bright, cheerful colors. Feel free to customize the color scheme to match your personal style—the waffle stitch looks gorgeous in any color combination!
Happy crocheting, and enjoy your beautiful new market tote!